Kitchen Renovation – The Plan, Part 1
As I have lived with my kitchen in a constant state of disarray and change over the past 6 months, I’ve had plenty of time to dream and come up with a plan for this space. I’m going for a traditional-industrial-farmhouse look. Since I have a lot of projects and plans, I’ve broken this post up in to two parts.
Let’s start with the sink wall. Here is how it looked when we moved in.
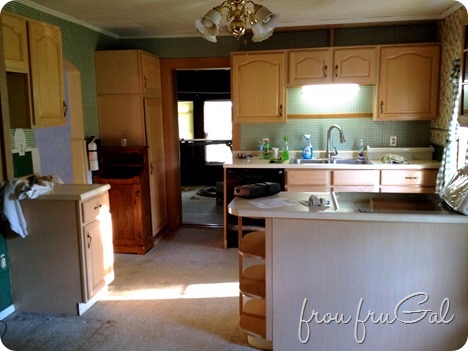
Here is my plan. I’ve already moved the dishwasher to the other side of the sink. Since there is a little galley between the stove peninsula and the sink wall, I didn’t like the dishwasher blocking off the area if it was ever open. We also moved the cabinet base you see on the left to the spot where the dishwasher is in the picture.
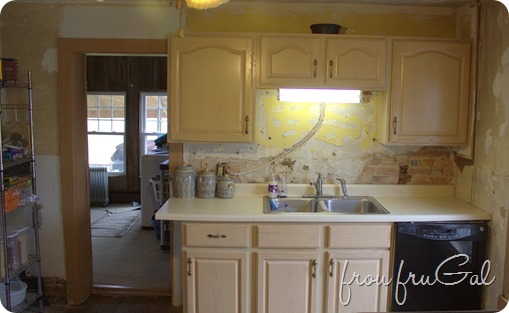
See how much the old countertop overhangs? We didn’t like the cabinets over the door casing. I still need to flip that cupboard door around, though. You can also see that I moved the pantry cupboard from the left side of the doorway (feel free to ignore my laundry in the background. I certainly do!).
Here is the plan for this wall.
1 – Expose the Brick
This used to be the outside of the house before they built the addition that included the bathrooms! Since this is no longer an outer wall, I want to see the brick. I’ve already started chipping away.
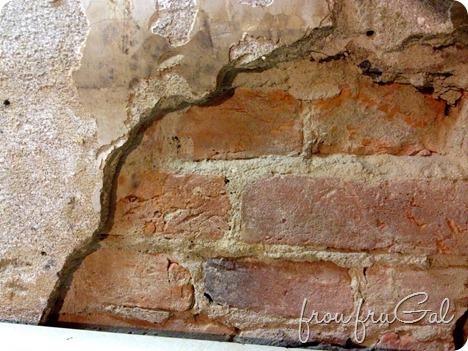
We have some bricks we will have to replace, but we have bricks laying around the property so I’m not too worried about it.
2 – Open Shelves
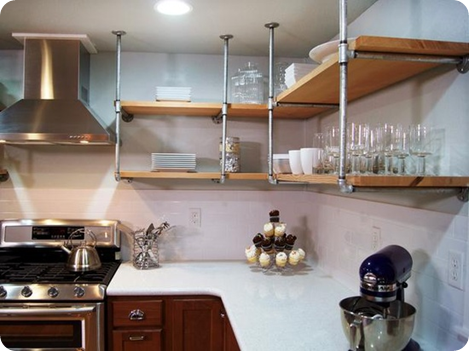
I am going to take down the cupboards and the light and will put up open shelves. I’m thinking something like this idea I found on Better Homes and Garden.
Instead of the ugly light that is there now, my Mason Jar Light has been patiently waiting in the basement for it’s new home.
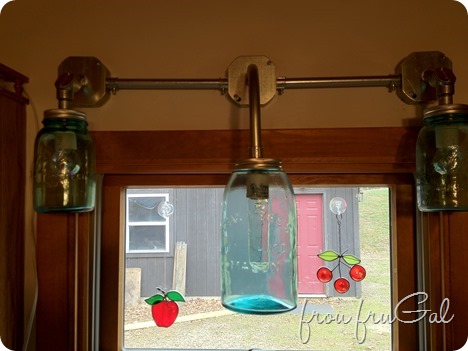
The electrical wire you see there now will be in a conduit that will come up from behind the sink and run up to the light.
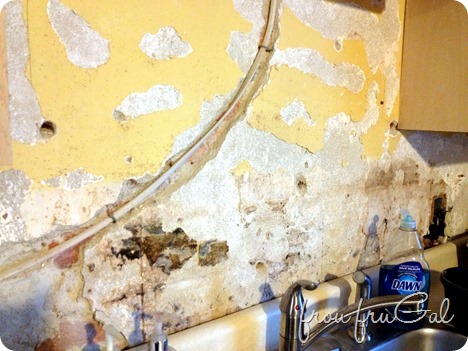
I’m also thinking of making the center light look the same as the side lights, but I want to wait until we are closer to installation before making that decision.
3- Farm Sink
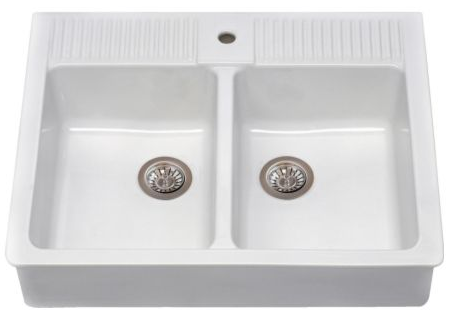
Our sink will be replaced with Ikea’s DOMSJÖ Double bowl farm sink. The challenge with using this sink is that our sink base is 36″ wide. Ikea had the bright idea of making their sink 36 AND 5/8″ wide. Since we replaced our cabinet to the left of the sink with a smaller cabinet, we have some wiggle room to make this adjustment. It’s worth the effort since this sink is only $313 compared to other ceramic sinks that usually start for about twice as much.
4 – Industrial Shelf
For the area where the pantry used to be, I am a little less certain about what I want to do there. Right now I just have a shelf that used to be in a bathroom in an old house. We didn’t really have a place for it so it’s being pressed into service at the moment to hold storage containers, breakfast foods and dog treats.
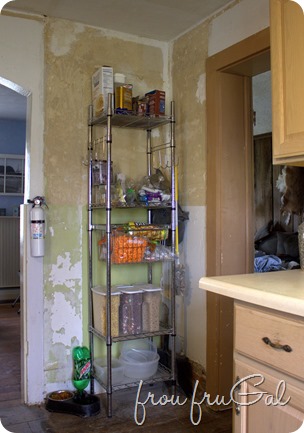
I am thinking of knocking off the Emerson shelf that I saw at World Market. It is $400, though, and I’m guessing I can make a reasonable facsimile for a whole lot less.
5 – Cabinet Feet (optional)
I like the idea of upgrading the look of the cabinets by doing something like Sheila at Plum Doodles did to her cabinets. I like the idea, but I may do something with fewer curves. I’m not sure on this idea yet. I need to get some of the other elements of the kitchen completed before I decide if I want to do this or not.
Up next is the window wall and stove area.
1 – Board and Batten
I had considered exposing the brick on this wall as well, but as I mentioned before, I get a little claustrophobic around repeating patterns and it makes me nervous to have brick on both the sink and the window wall. Also, it gets cold in Ohio in the winter and there is just brick and plaster and glass between me and Mother Nature. I don’t want to make my kitchen colder.
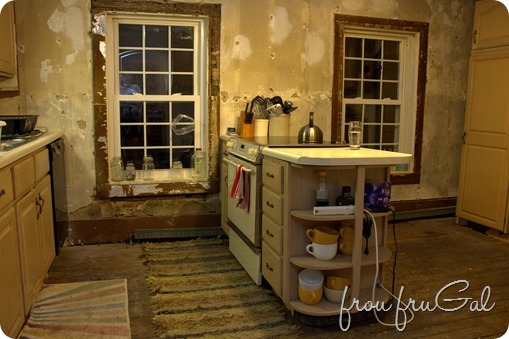
As you can see, I’ve already started this process.
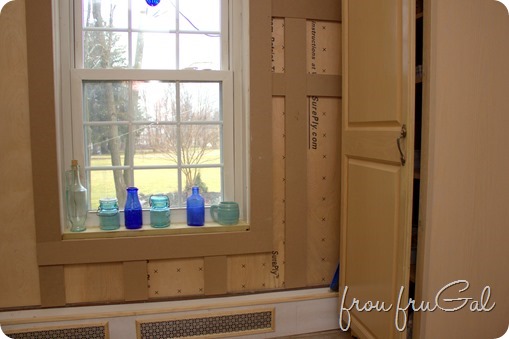
There was some damage to the plaster under the left window that has some of the brick exposed.

The plaster is nearly an inch thick, so I will need to chip out some of the remaining plaster and then attach some furring strips in this area so I can anchor my board to the wall.
To finish up the board and batten, we have to pull out everything on the sink wall again. This will be a several day project that includes exposing all the brick, fortifying the sink cabinet and putting in the new sink as well as finishing the board and batten. We will also need to bump all the cabinets down on the sink wall to give the dishwasher some clearance room from the window casings.
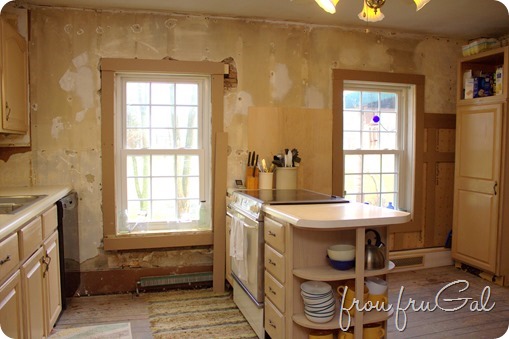
I’m waiting until after I take Katie back to Utah before starting on part of the kitchen project. Living with a torn up kitchen is hard enough on a family, but it really is asking a lot for a special needs person like Katie who requires order in her life. I’m okay with waiting a few more weeks.
2 – Radiator Cover
Even though I have some industrial elements to my kitchen design, the old cover in this kitchen was just a little too ugly industrial for my tastes.
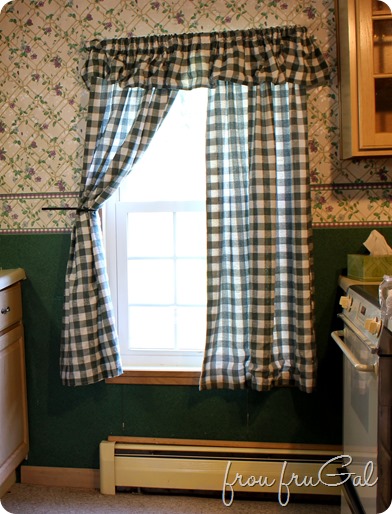
I have always disliked the look of these heaters, both the electrical and the radiant heat varieties. At our last house, I had a plan to build a cover for the electrical ones that I never got to implement. I just adapted it to this house.
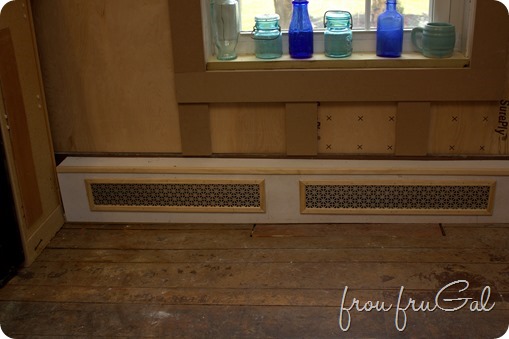
If you look closely, you can see how much our floors slope in this house. The cover is level on the top, but you can see that the space below the grill on the left is bigger than the grill on the right. It’s about an inch difference. I’m not too concerned about it because of my next idea, though.
3 – Stove and Bar Peninsula
See that space between the back of the stove and the window? There is 16 inches to extend the counter behind the stove and make a bar area.
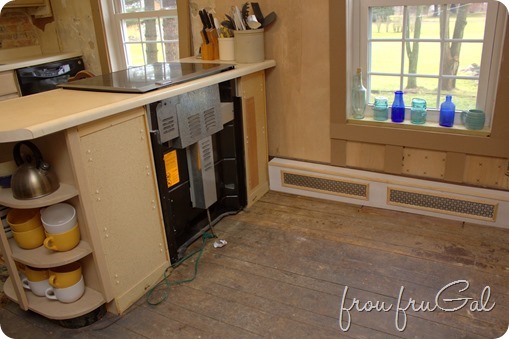
I’m thinking something like this from Country Living.
Having a bar area behind the stove would hide the radiator height issue.
While I was thinking of just building it the same height as the stove, after looking at stools this weekend, I’m thinking it may need to be a bit higher. Plus, I like the idea of hiding the stove area a bit from the doorway. This part of Ohio has no shortage of old barn wood, so I’m thinking I can do this pretty inexpensively.
4 – Beefed Up Window Molding
KariAnne at Thistlewood Farms showed how she beefed up her window moldings for $22.
I plan to rip off her idea here, only I will use brick molding for the top piece instead of crown molding.
The top of my windows are quite a bit shorter than the tops of the cabinets. It looks odd, so bigger molding will help fix this problem. Also, we had some problems with the window casings that required some fixing, so the windows will definitely be getting some lovin’.
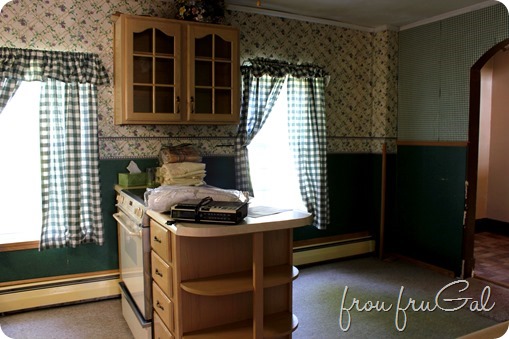
Okay, that’s it for my plans for the sink and window walls. I haven’t decided on the color for the walls yet, but I keep flip-flopping between a buttery yellow and a soft aqua color. The moldings and board and batten and radiator covers will all be white. I will be painting my cupboards, but I’m leaning towards a light grey instead of the typical white.
I will be back to talk about my plans for the rest of the kitchen, along with my ideas for the floor, ceiling and countertops.
I’d love to hear any color suggestions or ideas you would do in this space. We haven’t gotten too far along yet, so a lot of our plans can still change, but I’m excited to dig in and figure this out.

