Master Bedroom Makeover–Pottery Barn Knock Off Quilt
Today’s post is more of a cautionary tale. Trust me, you’ll thank me for the warning.
Do you remember my sad sack of a bedroom? The one a muted rainbow barfed all over? Allow me to refresh your memory.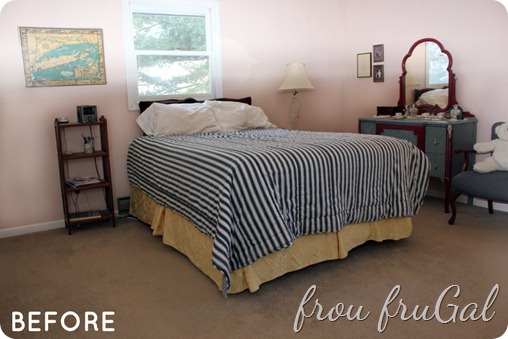
Oh geez. It’s so harsh to see the before. *hanging head in shame*
I showed you the mid-progress update with some new bedding when Hubs had a I-Can’t-Stand-It-No-Mores fit one day.
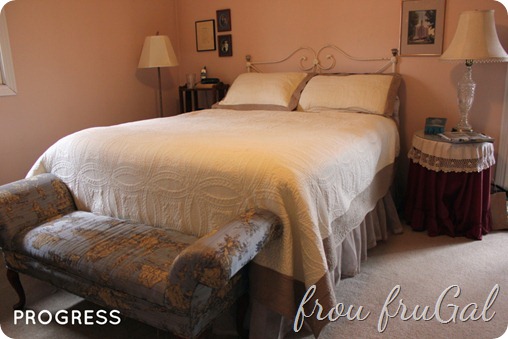
It was already such a big improvement, but my grand scheme for my room had something froufier in mind. If you will recall, I wanted this Pottery Barn Duvet:
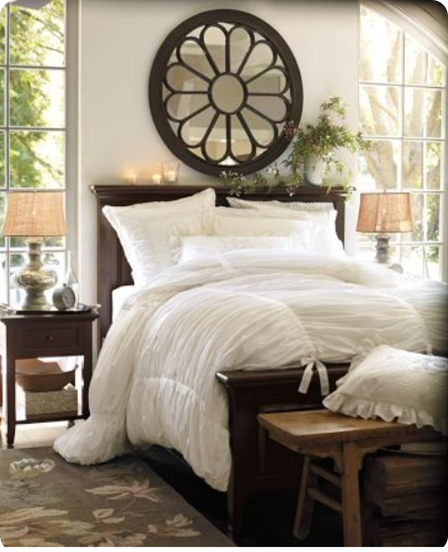
At $179 for the duvet and another $179 for the comforter to fill the duvet, you can imagine the heart palpitations a frugal Gal like me felt when realizing that the bedding of her dreams carried a $358 price tag. I couldn’t use my old comforter in the quilt, lest the blue and white stripes show through. Plus, for our queen sized bed, we actually needed the king-sized quilt, due to the thickness of our mattress. I don’t know if you’ve ever priced out king sized anything, but it gets pricey.
Oh, how I wish I could take this next thought back. I can make that, I thought in a spot-on impression of Pollyanna. I can do it! I saw a tutorial from Fussy Monkey Business, even. It doesn’t look that hard. Oh, and since I hate getting too hot at night and this bedding is going to have a lot of fabric, I’ll just make it a quilt and not a duvet. Genius, Suesan. You. Are. A. Genius! That’s what the pep talk in my head was like.
What my head should have been saying, whilst playing the music from the Psycho shower scene: *Reeet-Reeet-Reeet!* You. Are. An. Idiot! There is a reason this is a duvet and not a quilt. Do you not see all the gathers? How are you going to quilt it so the batting stays put and doesn’t bunch up? You know that batting has to be quilted closer together than those rows of ruching, right? What about binding it? Have you thought about how you are going to finish the edges once you have it all quilted? Well, have you? Stop swooning over the gathers. Stop it. Stop it now. It’s not worth the headache! *Reeet-Reeet-Reeet!*
Now, you may not know the difference between making a duvet and making a quilt. A duvet is like a giant pillow case for a comforter. It can be removed. A quilt has all the layers in sewn (quilted) together. When it comes to sewing, there’s a big difference.
I won’t go through the step by steps of making the Hades Quilt, as I like to call it. I linked the tutorial up above if you want the basic directions. Again. Make a Duvet! For the love of Pete, Do NOT Make a Quilt!
Here are some tips I have learned:
1. Use Poly Thread on Cotton Fabric for Maximum Gathers
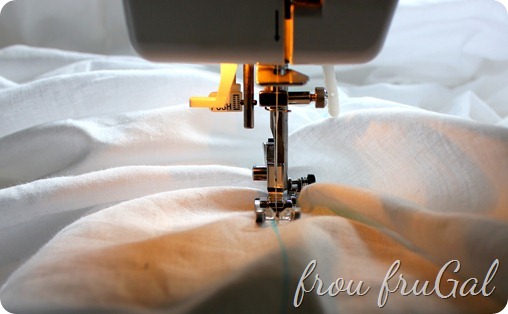
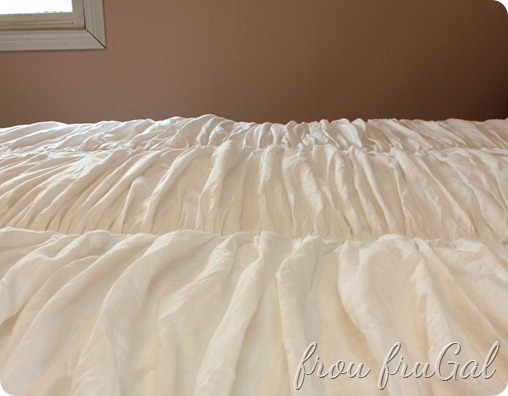
When you are trying to gather fabric, your machine can be set to do a lot of the work for you. Set both your tension and your stitch length to the highest numbers on your machine. It will gather the fabric as you sew….ONLY if you use poly thread. Poly thread has a little stretch to it. Poly thread slides through cotton fabric. Cotton thread through cotton fabric does not move. That’s why it’s good for quilting the layers together in a quilt so they don’t move. Trust me. For gathers, use poly thread. For quilting, use cotton thread.
2. More Fabric Equals More Gathers
It seems pretty obvious. Fussy Monkey used three sheets, two for the top and one for the bottom of the quilt. I measured my bed and used 2.5 times the amount for the top, as I wanted to make sure I had a lot of ruching. I purchased muslin from JoAnn’s when I had a 50% off muslin coupon. I bought the 108” wide muslin, which was wide enough for my bed.
3. Use Bonded Poly Fiberfill
If you are going to make a quilt, use poly fiberfill for the quilt. I used that but then decided that since I just happened to have some cotton batting that I’d purchased brand new from Goodwill for $5/roll, I might as well use it. This turned out to be a spectacularly bad idea.
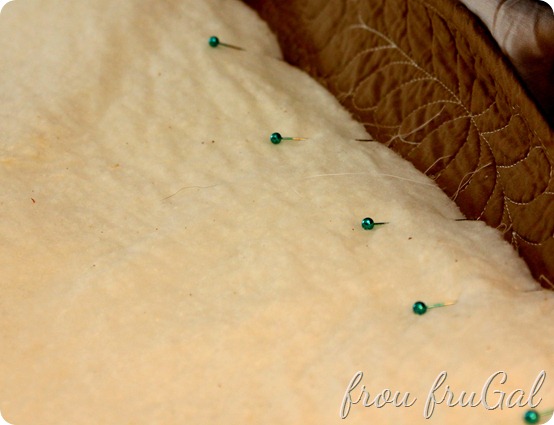
From bottom to top the layers are muslin, cotton batting, poly fiberfill, ruched muslin.
Why did I want that extra layer of cotton? Well, for one, I’m a natural-fiber girl and I thought it would add some warmth, without adding a lot of weight. It’s the same reason I wanted a quilt instead of a duvet. I didn’t want to feel smothered by so many layers that comes from a comforter and a duvet, but I also wanted my quilt to be warm enough for an Ohio winter. We like to keep the air cool in our room and have the warmth come from the blankets.
So why is cotton a bad idea? Well, let me share. Cotton needs to be quilted about every 5” so that when you wash it, the batting doesn’t bunch up on you. The space between my rows of ruching is 18 inches apart. Which means for my quilt that measures 90” x 106”, I need to hand tack the quilt in 378 places to hold in that cotton batting. *Head Slap*
Sadly, I didn’t realize this until after I washed it. The cotton batting is a little messed up in places, but I think I can save it. However, I won’t be washing the quilt again until all 378 tacking stitches are in place.
4. Baste First, Then Bind
Another lesson I learned the hard way. Basting holds all the layers together so you can quilt them. Binding is the outer edge that goes around the outside of the quilt. Binding should be put on last. I repeat: first baste the layers together, then bind the quilt.
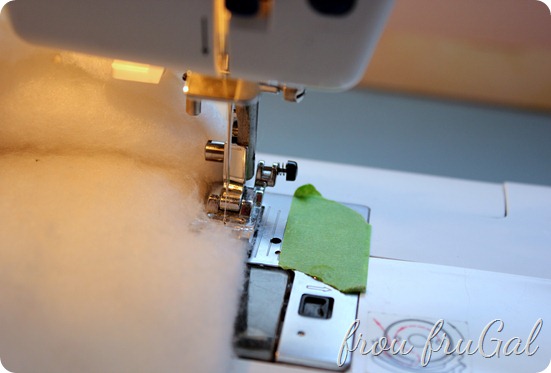
Here’s where I really shot myself in the foot. I got the idea to sew the edges of the batting to the inside seam of the quilt. My plan was then to turn it right side out, shoot some basting tacks into quilt along the ruching strips and then stitch-in-the-ditch to quilt it all together. Simple, right? Don’t laugh.
Nothing is ever that easy when it comes to sewing for me. I got the batting sewn to the seams but then made the fatal error of top-stitching around the edge of the quilt before I basted the quilt together. Once I basted the quilt, I discovered extra material on one gathered edge and one straight edge of the quilt.
See why I’m warning to baste first? If I had taken the time to properly lay out the pieces of the quilt and basted them together, I would have found the extra material before it was already sewn together.
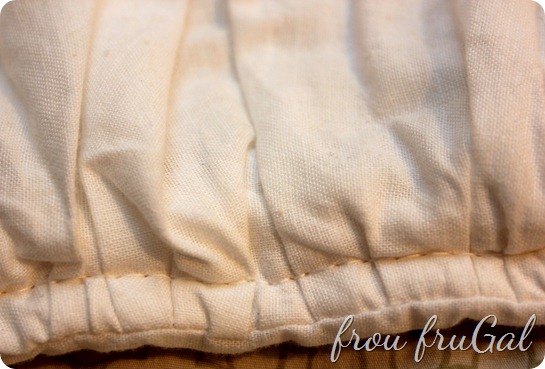
There may have been a whole lot of weeping and wailing and gnashing of the teeth at this point. That top stitching you see there? Yeah. I did that with 100% cotton thread, meaning it wasn’t pulling out easily, even if I were so inclined to pick out 200 INCHES of stitching.
I literally had to walk away from the project for awhile. I was too invested to pitch it, plus I was completely married to the idea of this quilt for my room. I knew to fix the problem I’d be hand sewing the edges, so picking it out and then hand-sewing wasn’t going to happen. Not on my watch.
This is what I had to do to fix the problem.
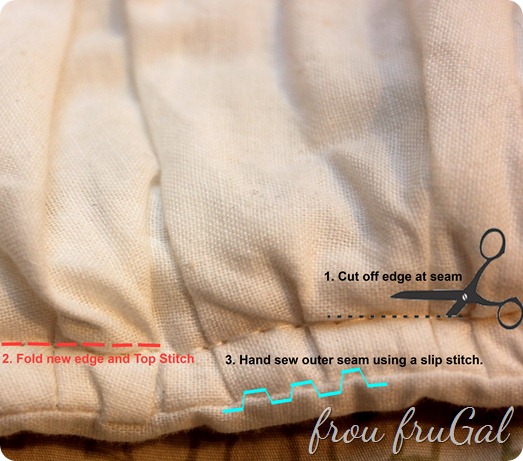
To hand sew all 200 inches of the quilt took me more than 6 hours to do. Probably more, but I’ve blocked it from my mind. Are you getting a feel for why I have thus named this quilt. Has it earned its name in your mind yet?
If you really want to try this as a quilt, I suggest making some binding strips for the edges. The sides of the quilt are gathered, so they really need to be machine sewn down. Research different ways to bind a quilt and use one of those methods.
5. Sew Slowly to Get Good Results
With the edges fixed, I was able to start quilting. I had a lady lined up to do the quilting for me using a long-arm machine. I was going to pay her to sew down each side of the ribbon (stitch-in-the-ditch). It wouldn’t have cost me that much, but I wanted to see if I could do it myself.
Take your time on a project like this. You want nice, even seams.
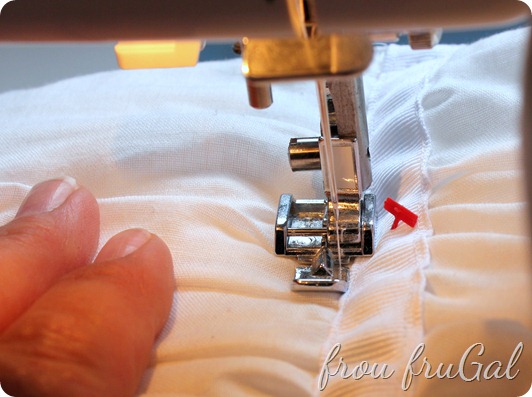
Even if you are only making the duvet, there is nothing gained by going quickly. Take your time to feed the material through the machine and still keep things straight. You’ll be happy you took your time.
If you are as insane as I am and decide you want a quilt, just know that you will have to go slow to feed all the layers through the machine. It’s slow-going, but manageable.
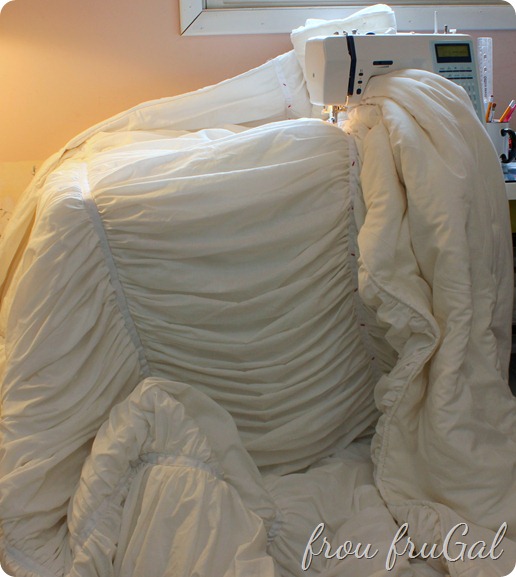
It’s also hot, so do yourself a favor and don’t do it on a day when it’s nearly 80 degrees out. Lesson learned.
In fact, we’d been having a warm spell in Ohio and the irony was not lost on me that about the time I finished this quilt it was too warm to use it! Don’t worry, though, because in Ohio if you don’t like the weather, just wait five minutes.
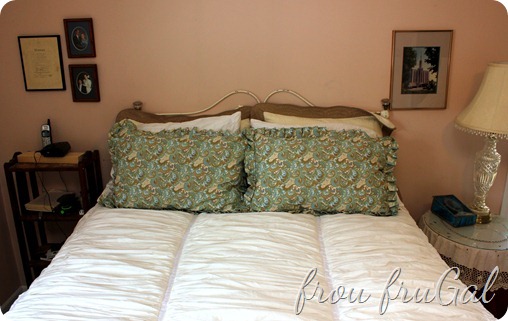
We’re back to normal temperatures and we’ve been enjoying the quilt, but in another few weeks I will take it off the bed and start sewing 378 tacking stitches into the quilt. Think of a tied quilt but with thread instead of yarn. I believe I will be able to hide the tacking in the gathers so it won’t show, but it may take me until next winter to get them all done.
Was all the blood (I scrapped up a finger with the seam ripper somewhere along the way), sweat and tears worth it? I’ll let you decide.
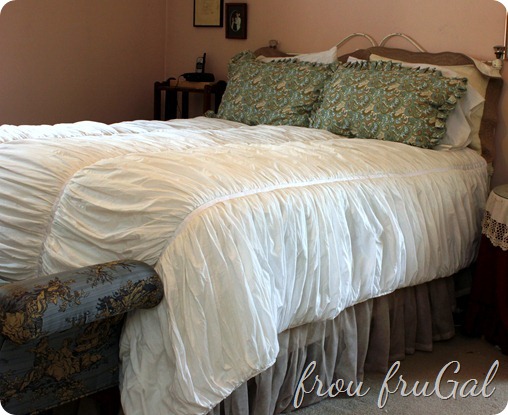
I absolutely love it, in spite of all my mistakes. I love looking at this quilt. I love how romantic it is. I love that it’s warm and even when my bed is messed up, it still looks great. Hubs is less excited about it, but he likes how warm it is. Plus, he says if it makes me happy, then he’s happy. Smart man.
I picked up some new sheets, too, on sale at Walmart for $13! They are some of the BHG sheets which normally run about $37 for the set.
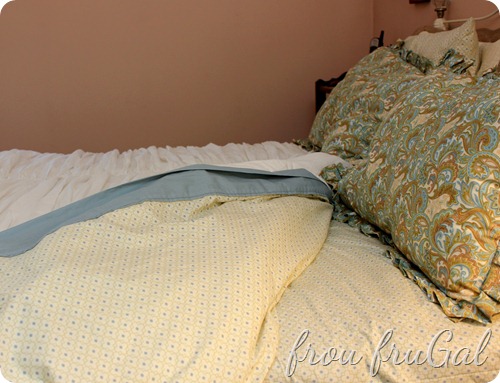
Yeah, they are only 250 thread count, but I love the pattern and they go well, so I’m a happy girl for now. Maybe down the road we can invest in more expensive/high thread count set of sheets.
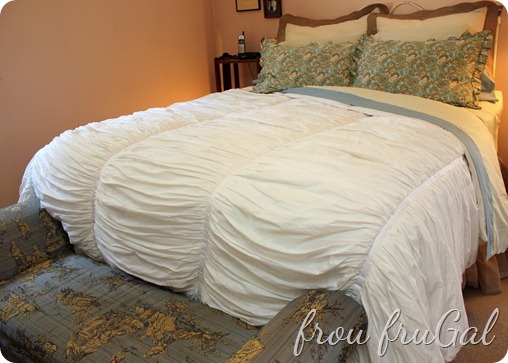
Cost Breakdown:
-
Muslin, 9 Yards – $35.45 (50% off coupon + $5 off coupon )
-
Poly Fiberfill Batting – $12.45 (50% off coupon)
-
Grosgrain ribbon, 5/8” 2 Rolls (18 feet) – $3.35 (40% off coupon)
-
Cotton Batting – $8.00
Total Quilt Cost – $59.25
Total Project Time – Don’t Ask
That concludes the bedding portion of this makeover. I previously posted that we spent about $75 for the first set of bedding. That was wrong. We really spent $136.94. Add in the new sheets at $19, the $6 it cost me to make the window scarf bed skirt and $13.43 for the Pleated Pillow Shams, along with the cost of the new quilt and it brings our total bedding costs to $228.62. That’s a savings of $129.38 if we’d only bought the Pottery Barn duvet and quilt.
Considering that we now have 2 quilts, 2 sets of sheets, 4 pillow shams and a bed skirt, I’d say we did pretty well.
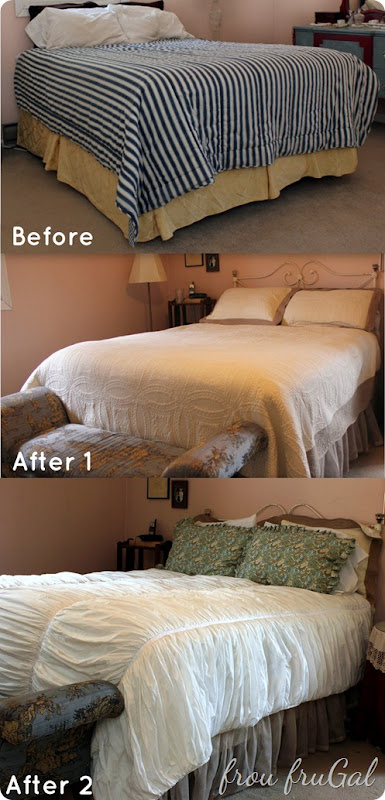
All that messing up has made me tired. Good thing I now have such a pretty bed to curl up in!
Suesan
I’m linking up this week to

