Kitchen Renovation – Part 2
When I last left you, a month ago, I was outlining my plan for my kitchen renovation. I have done some things in the kitchen during that time, but mostly life has been in the way of me and projects.
Let me start by showing you the layout of the kitchen.
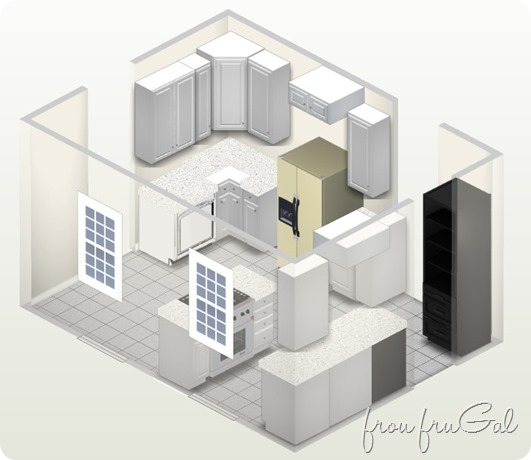
I used Homestyler.com to make a drawing of my kitchen. It is a decent program, but there are some glitches. Even though it wants to put my short cabinets on the ceiling and the closet thing to the size of my pantry was a black bookshelf, you get the idea of how my kitchen is laid out.
I already showed you my plans for the sink wall (far right) and stove area in my Kitchen Renovation – Part 1 post. Let me tell you what I have planned for the fridge wall.
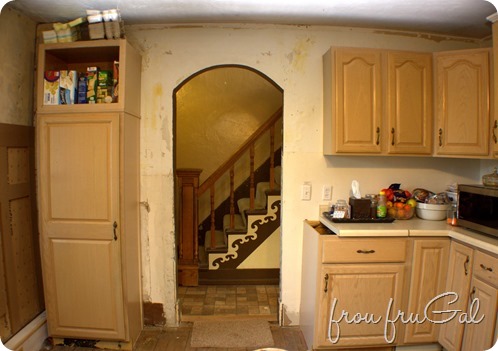
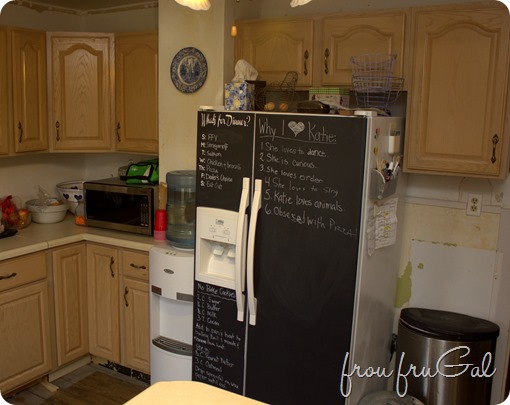
Look at the upper cabinets. See how the cabinet on the left butts up against the door? All the cupboards in this kitchen butt up to the door frames or crowd into the door casing.
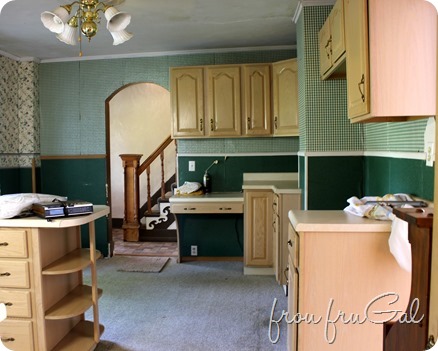
My plan to fix this is a little crazy. See that narrow cabinet that is the third door over from the left? And see the cabinet above the fridge area and the one next to it? Here is my plan. Stick with me because it’s a little crazy.
I plan to take out the narrow cabinet and move the big cabinet on the left next to the angled corner cupboard. That will buy me 12″ of space on that wall. I plan to build a surround for the fridge and pull that short cupboard out so it is directly above the fridge. That way I can reach it without using a step stool.
The cupboard on the far right, closest to us, will be moved out from the wall and the little 12″ cupboard that I took down will go behind it. Did I lose you with that explanation? Let me show you my drawing.
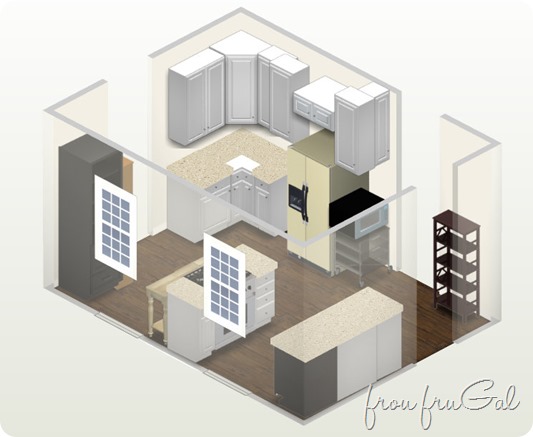
Again, ignore the fact that cabinets are hanging from the ceiling, but do you see what I mean now? My reason for doing this is because I wanted to move the microwave to the right side of the fridge, but the only way it will fit is to have it sideways. I didn’t want to get rid of the 12″ cupboard because I need all the cupboard space I can get.
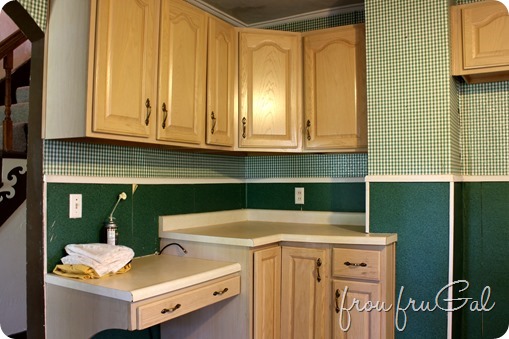
One of the challenges of this kitchen is the chimney going up through the wall. It’s that bump out you see between the upper cupboards. Once I build the surround, I plan to cannibalize the useless, but pretty, cupboard that used to be next to the stove and build a cupboard that will fit in that space.
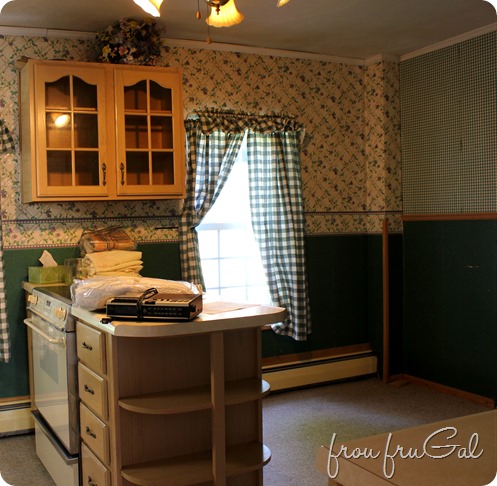
That empty corner above will be the new home for my pantry, that is getting moved from the sink wall.
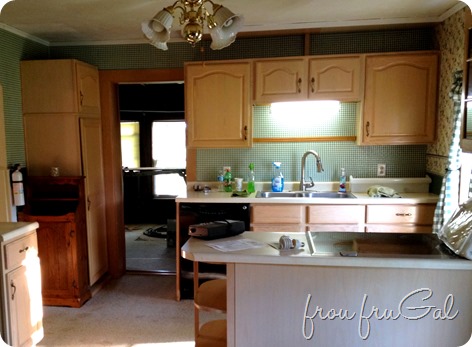
Can I just take a minute here and tell you that looking at these before pictures really drives home a point for me. I ripped out the majority of that wallpaper within the first month of being in the house. I have been living with a kitchen that looks torn apart. My walls are splotchy and have holes and divots and multiple colors of paint on the. BUT, and it’s a big but, I still prefer that over the wallpaper. I would rather live with this
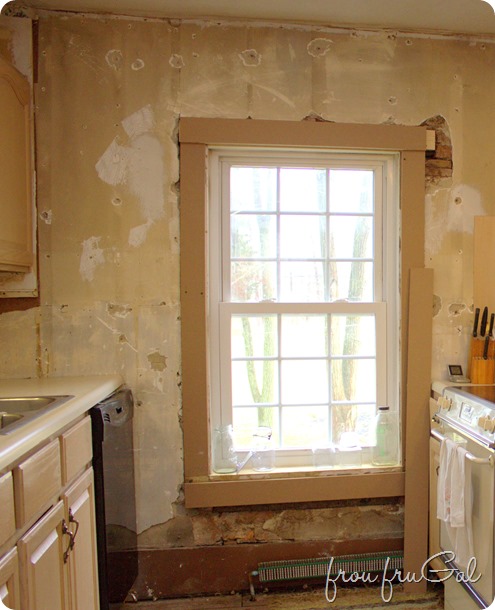
than live with this.
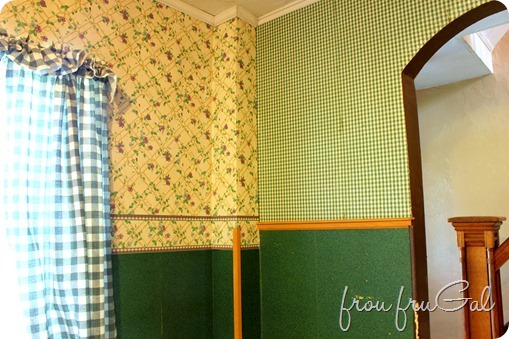
My plans for this corner is where I moved the pantry. I already showed you a bit of his in Part 1.
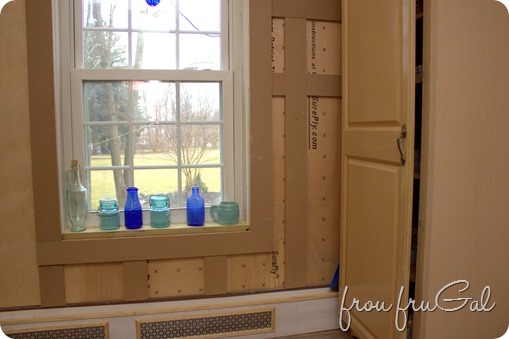
That area in the corner is a pipe chase for our radiators. A house built in 1850, didn’t include bathrooms and central heating. Those things came later and with them came weird bump outs in corners and an addition to the house. By moving the pantry over here, I can hide the pipe chase.
Here is a better view of how it stands now. Notice how all the egg cartons cleverly disguise the pipe chase? In case you don’t know. We have 7 chickens that are laying eggs for us every day and we have 10 chicks that will be laying eggs for us in 17 weeks or so, hence all the egg cartons.
Can I just take a minute, too, to tell you what it is like to live in a family of giants? My 5’5″ self rarely puts things on top of the fridge and never on top of cabinets. But my 6’1″ husband and my 6’2″ son and my 6’4″ son all look at those spaces as another countertop. When they don’t know where something should go, the top of the fridge always seems like a good place to put it.
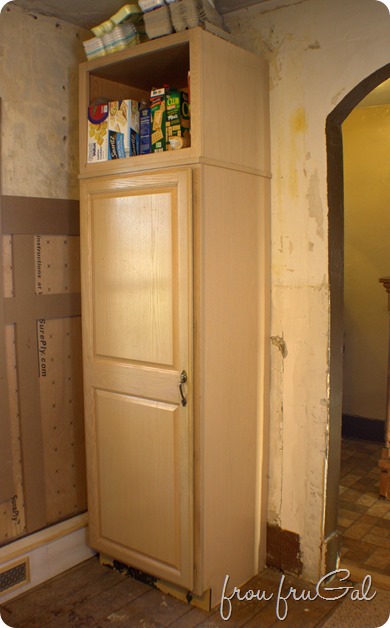
Anyhoo, what I plan to do is fill in the gap above the heater cover and between the pantry and the outer wall. Originally, I thought I would make a little broom closet there and scoot the pantry a little closer to the arched opening. Then I saw this bookshelf idea on Old Houses Online, the heavens parted and a heavenly chorus started singing.
Gorgeous, right? Since that’d be right next to the arched doorway and all my cupboard doors have that little arch thing up top, I think it is a perfect solution.
And, because I now have a bit of room on the other side of the archway, I’m thinking of building a similar shelf on the side of the upper cabinet to balance things out. The shelves will be shallow, only 6″ deep, but I’m building them more for decorations, rather than books. I only have about 3 cookbooks I actually use and with Pinterest these days, even those are nearly obsolete.
Speaking of shelves, I have one more area that will get shelves.
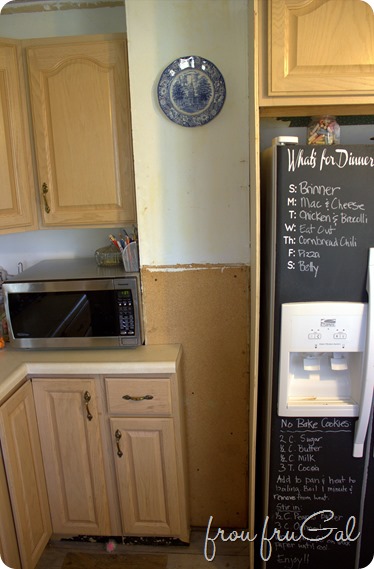
We used to have the water cooler in this space, but once we started building the surround for the fridge we realized we needed a new home for it. That kind of bummed me out because it really was a nice spot for it, as you can see in the picture below. Now I will build a few shelves between the base cabinet and the surround.
We will extend the new countertop all the way across the front of the chimney up to the fridge. I believe that new little space will be the perfect spot for my flour/sugar/medicinal chocolate canisters that have been taking up valuable countertop real estate over by my sink.
As I mentioned earlier, I want to move the microwave off that countertop to it’s new home to the right of the fridge. See what I mean about the top of the fridge? This is not a countertop, people!
At any rate, I want to build a cart for that space where the garbage can is to hold the microwave. I have something like this one from Pottery Barn in mind.
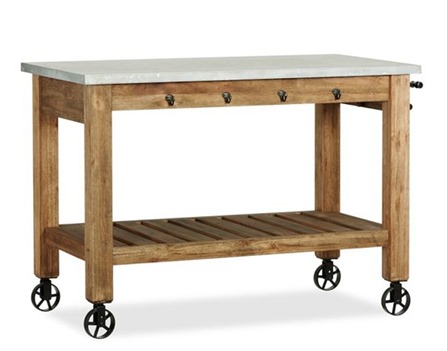
I think the bottom shelf will make a nice home for the dog’s food and water dish which have yet to find a permanent home in our kitchen.
What’s left? Oh yeah, floors and ceiling. I need to redo the lighting because the ceiling fan is in the wrong spot, too low for my tall people, and doesn’t produce enough light for the kitchen. I’m thinking of some recessed lights with a couple of pendant lights over the bar area (see Part 1). Whatever I do, the ceiling will be planked to cover the cracking plaster that lives there now.
Think this:
For our flooring, we are going with a floating vinyl wood plank floor. Figuring out the flooring for this kitchen has been difficult, but we think this will be a good option. I will go more into our challenges for this floor in another post. In the meantime, here is what the flooring looks like that we have picked out.
It is the TrafficMaster Allure vinyl plank in the Alpine Elm (light grey) finish from Home Depot.
Okay. I’m sure that is more than you ever wanted to know about my plans for my kitchen. I have an update to show you because despite my lack of posts, I have been working on projects. I have some progress on the fridge surround to show off, this weekend we are taking out the sink base cabinets and getting all the plaster off that wall so hopefully I can give you an update on that next week.
I have been taking my happy pills, the sun has been shining, even if it is still pretty cold out, and Katie is back in Utah for the next four months. All this means that I will be returning to posting more regularly. If not weekly, I at least plan to do better than a monthly post.
I’m off to build me a bookcase or two.

