Kitchen Update – Prep Work
You would think that not having posted in two weeks I’d have more progress to show you. When I last left you, I had patched some wonky areas in the plaster over top of my pretty paint.
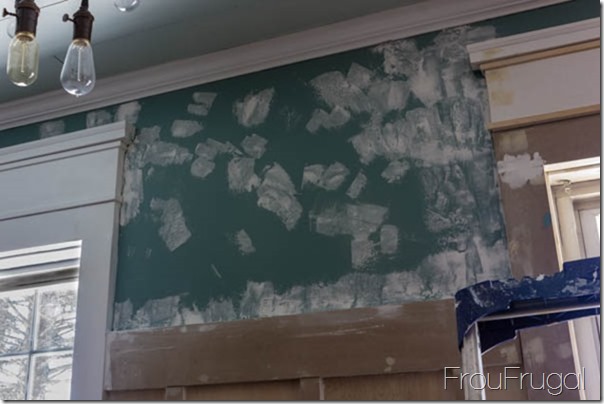
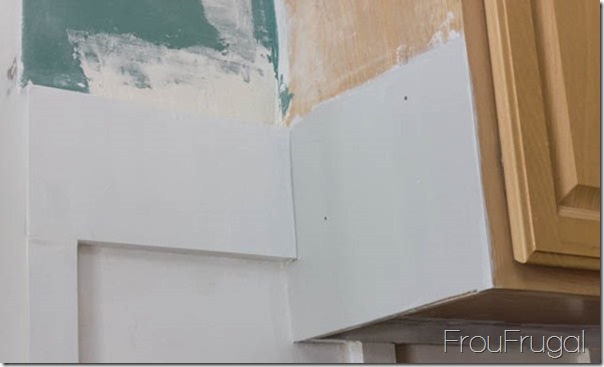
It still looks that way but with one change.
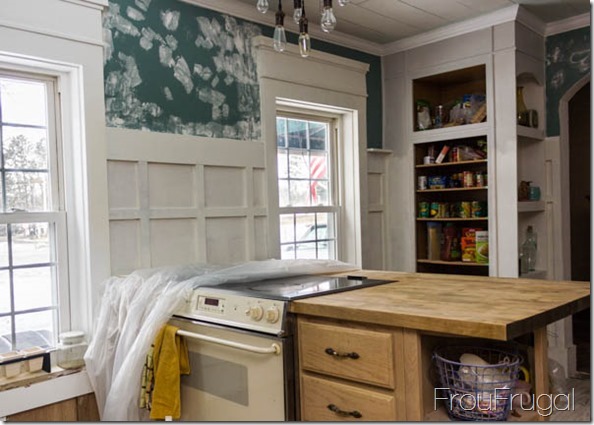
I spent last weekend sanding, priming and caulking. I went through two tubes of caulk and I still have at least one more to go. Caulking is the miracle step. It changes all the work I’ve done in here from looking like it was done by a drunk third-grader to looking like a professional did this. I’ve said it before and it bears repeating, caulking is the repentance of home remodeling.
My shoulder was very angry with me after I did all this work. In fact, for the last two days I haven’t been able to lift my arm more than a few inches before it starts screaming at me. Other than painting my sample paint on the upper part of the pantry in the corner in the above picture, I’ve tried to rest my shoulder. I woke up without it hurting this morning so I’m anxious to start painting the board and batten. My plan was to have that all painted before Hubs comes home. He’ll be here tomorrow night, so I don’t know that it will happen.
In other progress, I got the siding up on my garbage-dog food station-microwave stand area.
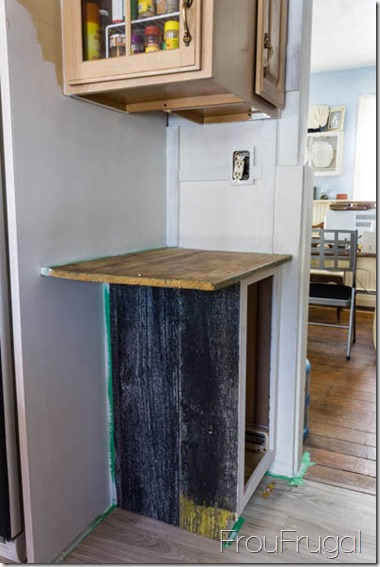
One annoying task I did get accomplished was to fix that outlet. When I built the board and batten area around it, I thought it would be a simple matter to extend the outlet.
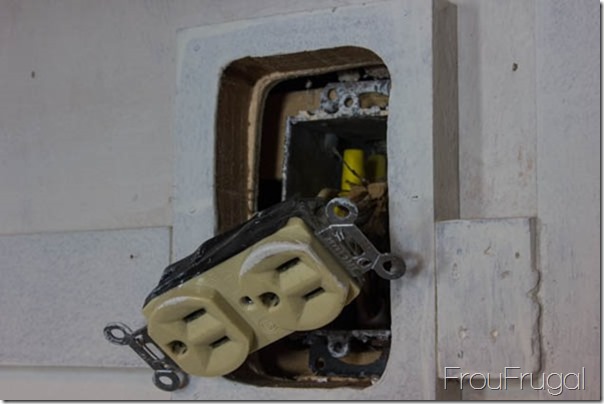
After all, they make outlet extensions that fit inside the electrical box to bring out the outlet. That outlet box is behind the board and batten, plaster and lathe. It’d be a nightmare to try and put in a newer box. That was NOT going to happen.
This is a 164-year-old house and nothing is ever that simple. The old outlet box is a completely different size than what they make today, so that solution wouldn’t work. I’d read about some outlet spacers, but wasn’t having any luck finding them at the big stores. Then yesterday, I was in a True Value Hardware store and found them.
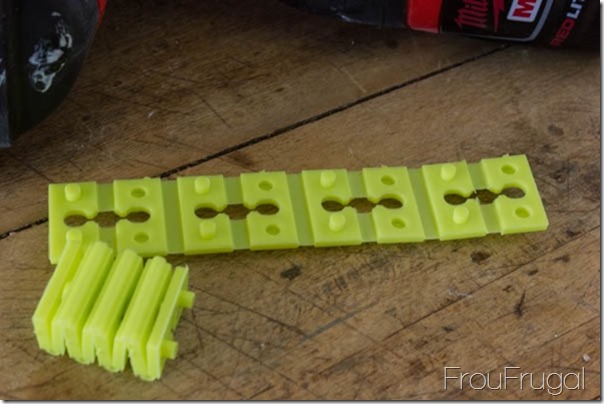
It was a $5 solution to a really annoying problem. You just use as many of the spacers as you need to get the depth needed to bring out your outlet. I used one full strip.That hole in the middle is where your screw goes. So easy and so genius and it makes me very happy to have this fixed.
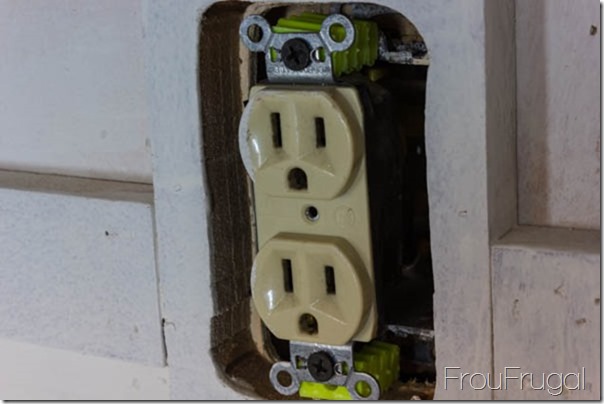
I grabbed an outlet cover to put on to make sure the opening would all be covered up and realized I’m going to have to switch this outlet to a white one. I’m sure I have one in my stash in the garage.
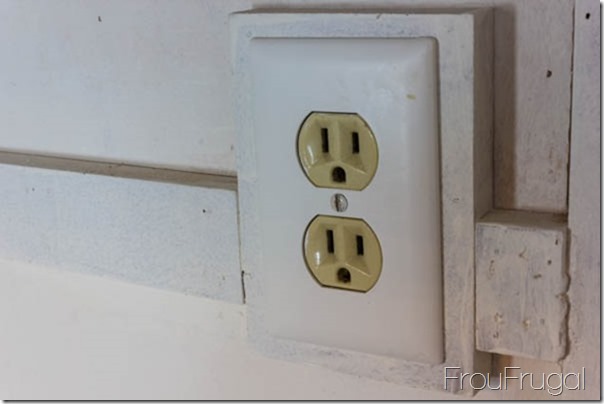
Obviously, I still need to repent caulk this area, and while it only just one coat of primer on here, it’s such a huge difference already that I’m really looking forward to painting. If you knew how much I loath painting, you’d know how excited I really am!
As for the rest of that space, I decided to build the garbage can area so it pulls out on rails, rather than tips outward, as was my original plan. Naturally, this will be harder than it sounds. The hardware they sell at the store to make this an easy fix is too deep for this little cabinet space. Which means I’m making my own.
This is actually going to be cheaper than if I’d bought the overpriced store solution. They charge about $49 for the garbage can system and another $17 to make it so the cabinet door attaches to it. I bought drawer rails for $15 and the $17 cabinet door hardware. I will have to build my own tray for the garbage can, but I have scrap wood that I can use for this.
I haven’t finished the dog food area because I realized that I needed to paint the fridge surround area before I do. In fact, this is the reason I started all the priming, and which lead me to the True Value store. If you follow me on Facebook, you may have seen me whining about it.
My paint issues stem from this area where the bulk of the cabinetry in our kitchen is.
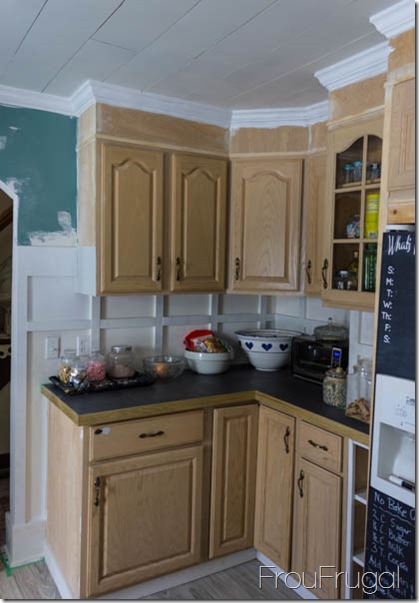
This area is directly across from the windows. In the daytime, there is a lot of light that hits this area. With all the board and batten and the crown molding being painted in a high gloss white, I’ve been very nervous about painting my cabinets in a high gloss finish.
The higher the gloss, the stronger the finish and for cabinets that take a lot of abuse, that can make a difference. In this kitchen, though, all that high gloss white paint would be blinding. Which is one of the main reasons I wanted to paint the cabinets in a color other than white.
After no fewer than 8 trips to Lowes/Home Depot/Sherwin Williams to try and come up with a game plan, I finally decided what I wanted to do, which also happens to be what I decided to do months ago.
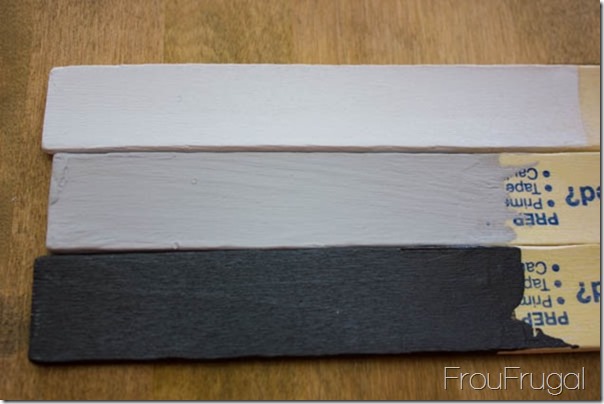
The white is my crown/board & batten color. The grey is called Passive and the dark grey is Iron Ore. Both Passive and Iron Ore are from Sherwin Williams. I am using Advance paint from Benjamin Moore, which has great reviews. Advance paint has the properties of an oil paint with the convenience of a latex.
I had to drive up to the True Value store in the next town over to buy it. They guy mixed it up and it came out more green than the original. However, the original skews a bit on the red side. Since I have all green tones in my other colors I think this will be fine.
I painted a couple of areas and got Hubs’ approval before I pulled the trigger on the color.
The light from the windows really washes it out, but I still love it. The color is light enough to keep the area bright but dark enough to read different from the white. It’s a great compliment to the other colors in the kitchen and it’s a nice neutral so the next owner could easily change the wall and ceiling colors in the kitchen without feeling like the cabinets had to be changed too.
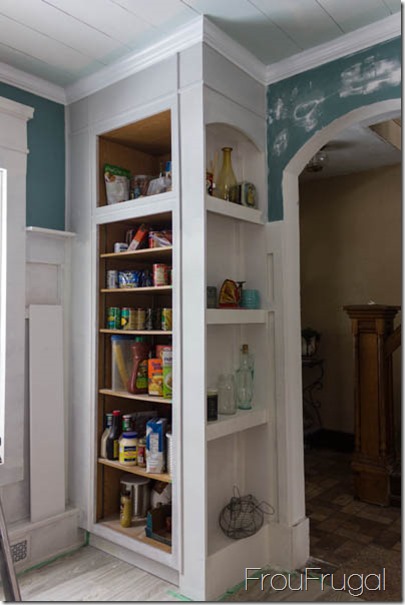
I am so happy that my color choices were good ones. It’s something that I always question myself on. Choosing colors is a painful process for me, but I’m falling more in love with these choices the closer I get to finishing.
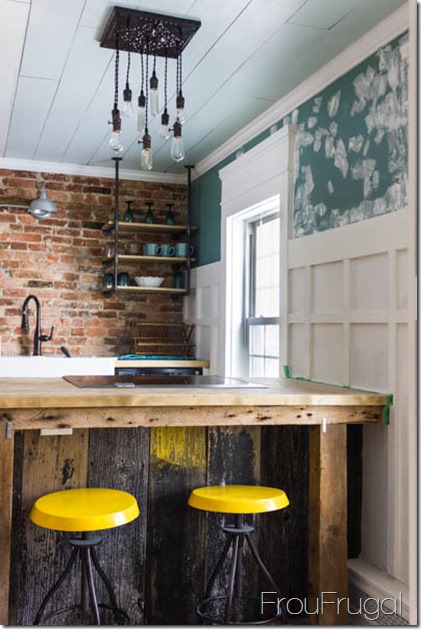
I may not have much to post about next week. Hubs will be home until Tuesday. We may be gutting the bathroom (I know!) but since we are still deep in the throes of the Worst. Winter. Ever! its anyone’s guess if that will actually happen or not. I will try to get something done to show you.
If you are interested in following along with the other Dueling DIYers, be sure to check out the links on The Ugly Duckling House. Sarah was working on her backsplash this week. Sweet!
