Settee – The Big Finish
Are you ready for it? If you’ve followed me on my journey to refinish & reupholster my $20 garage sale settee, you know this project has taken me some time to complete.
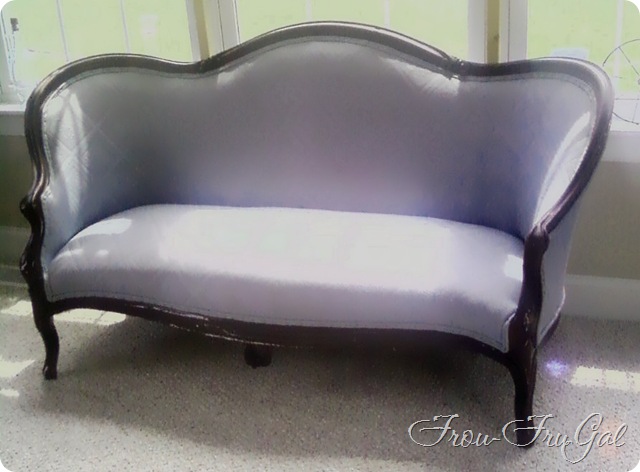
To remind you, here’s the before:
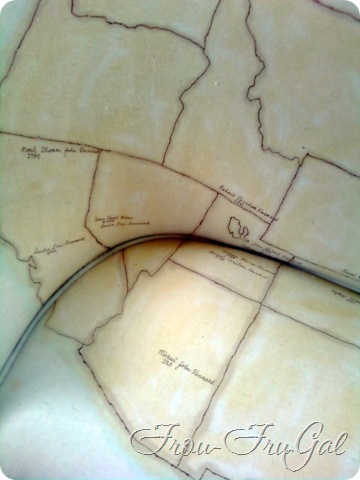
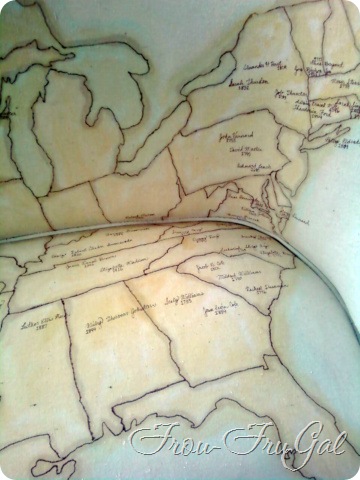
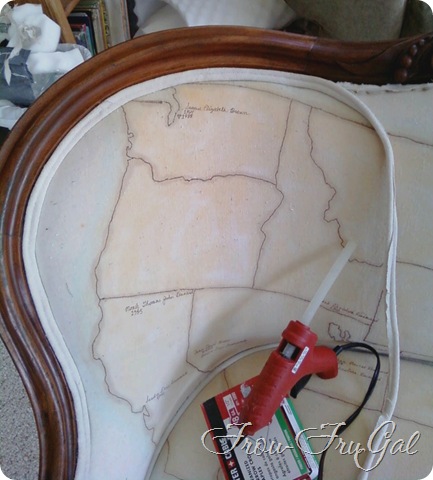
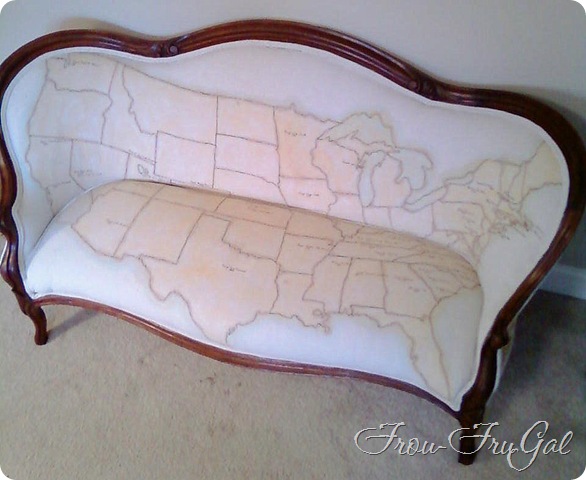
If you saw my last installment, you know that I used a drop cloth for the upholstery, but I took things a step further and drew/painted a map onto the fabric. I made the map an ancestral map of our family by writing in our ancestors names in the location where they were born, along with the year of their birth.
Without further ado, here’s the final settee.
I won’t attempt to show you the entire reupholstering project. If you want to tackle a project like this, I suggest looking to your local library for some upholstery books with good pictures to guide you.
Here are some steps I did.
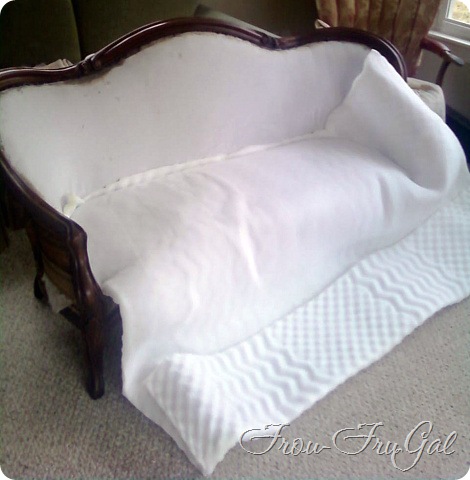
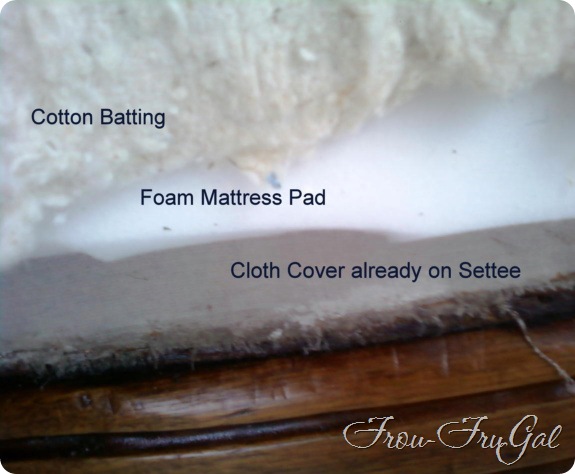
I added some padding to the settee. It wasn’t very cushy so I bought a foam mattress pad at the dollar store and cut it to fit.
It was not long enough for the top section so I pieced it together.
For the seat back, I used a thin layer of bonded cotton I had on hand to cover the foam.
On the bottom, I reused the cotton batting that was originally on the settee. I put the batting over the foam.
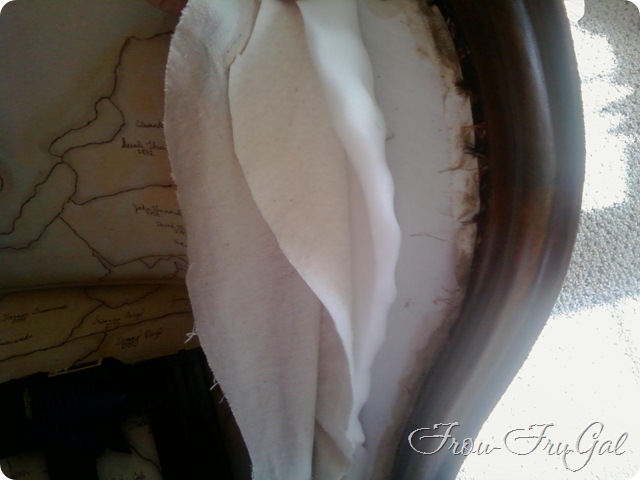
I also sewed a row of piping at the bottom edge of the seat back piece. This was done on the original upholstery and I was tempted to skip this step. I’m glad I didn’t. The pink ruffle piece tucks between the seat and back and gets stapled from behind. The pleats in it help ease it around the curves.
The row of piping finishes the piece off nicely and helped ease the fabric around the corners. If you want to learn how to make piping, Miss Mustard Seed has a great tutorial. I watched her video before making mine and it helped a lot.
My apologies to California. You lost a bit of land in this process. When I originally pinned the fabric together before drawing the map, I knew that the potential was very high for things not lining up when I put it all together. I’m happy I was able to match up the states as well as I did.
I had a few panic moments. The pressure on the staple gun was set too high and the first few staples tore through the fabric. I think my heart stopped beating for several seconds. I made the necessary adjustments, pulled the fabric tighter and restapled. Save!
Because of where the staples had to go and where the edge of the wood was, the gimp that I bought to cover the staples was too narrow. Another moment of panic set in. I realized I was going to need to make some double-welt cord to finish it off.
I found a great tutorial at Centsational Girl that saved the day. Three packages of cord later and a Friday night spent sewing had me in business.
I believe that double-welt cord is the repentance of upholstering. We all have made mistakes. We have areas and blemishes in our lives.
Then we repent and our lives are beautiful once more. Double-welt cording covers ALL our upholstering sins. It’s a beautiful, beautiful thing. As is true repentance.
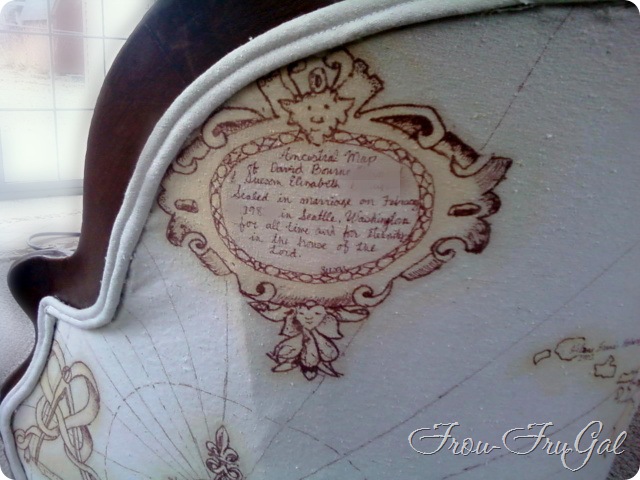
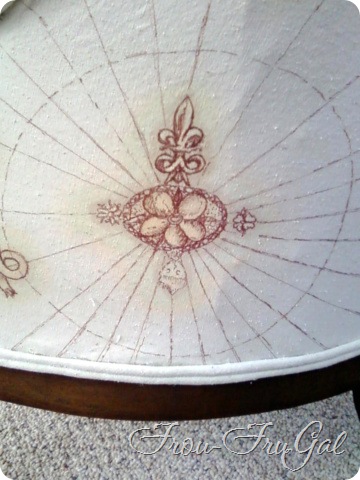
Overall, I’m very happy with how the settee turned out. I do wish I had put my map symbols closer to the maps. I ended up having to cover a part of them with welting, and it bugs me a little bit because I love these emblems.
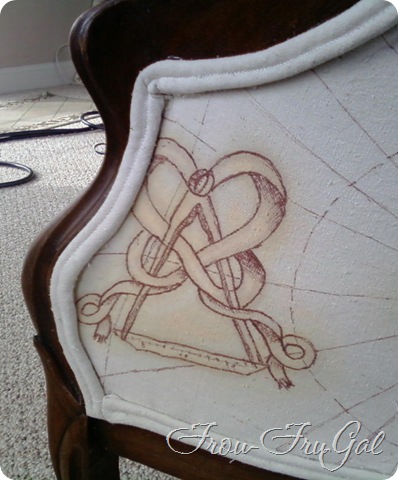
I also ended up have to put a pleat above each leg in the back. If I had pulled the fabric tighter and eliminated the tuck, I would have lost even more of the emblems.
Can you spot the napping doggy?
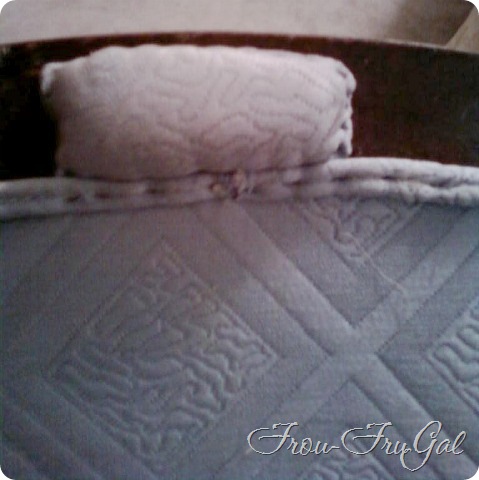
I also made a new bumper for the back.
Here’s what the old bumper looked like:
It was an epic battle to remove that stupid little piece. I eventually conquered it, but I almost chucked the whole piece of furniture in the trash because this piece would. NOT. come. off!
Oh hey, look. You can see my great-great-great-great-grandfather’s name. He was a Chippewa Indian. Kah Ge Gay Oh De Mo Quay. His daughter, Mary O-taun-tug (O-Don-Duck) married Daniel Rohrer, a white clerk at a nearby Army outpost. They had great-great-grandmother, Clara Rohrer or Mo-ko-maun-e-quay which means Little Knife. Clara later migrated to Hawaii and now I am a part of the Mossman Ohana (Ohana means family) from Hawaii.
I couldn’t be more pleased with the settee. Did I say that already? I’m going to say it again. I love this settee!
It’s unique to our family and I’m happy with the look. It wasn’t easy. It wasn’t fast. It was a labor of love, but I’m okay with doing projects like that from time to time. I think those pieces have value, too.
One final note. A friend asked me how I was protecting the piece. In truth, I hadn’t even thought about that. I will need to go back and add some Scotch Guard to the seat and back of the couch. If you’re going to attempt a similar project, I recommend Scotch Guarding the fabric prior to upholstering.
Cost Breakdown:
-
Garage Sale Settee – $20.00
-
De-Upholstering and Reinforcing – $49.33
-
Stripping & Refinishing – $15.39
-
Painted Fabric – $23.98
-
Foam Mattress Pad – $12.00
-
3 Packages Cotton Cord – $6.77 (I had two 40% off coupons and one 50% off coupon!)
-
Bonded Cotton/Sheet – Stash on Hand
Total Project Cost – $127.47
Suesan
If you missed the other posts in the series, here they are:
-
Settee – The Big Finish
I’m linking up:

