Faux Mercury Glass Pumpkins
I love pumpkins. I think they are about the cutest thing ever and if I could get away with it, I’d have pumpkins all over my house. All year round. Sadly, I can’t get away with it. My people wouldn’t let me. I look forward to Fall with great enthusiasm and every year I look for new ways to decorate pumpkins.
With CSI’s Pottery Barn Challenge, I decided to try my hand at their Mercury Glass Pumpkins.
Here’s my inspiration.

I started with this little cutie, purchased from The Flower Factory for $2.10.

I’m not sure what it’s made out of, but it’s light and it’s fake, which will save me from remaking these next year.
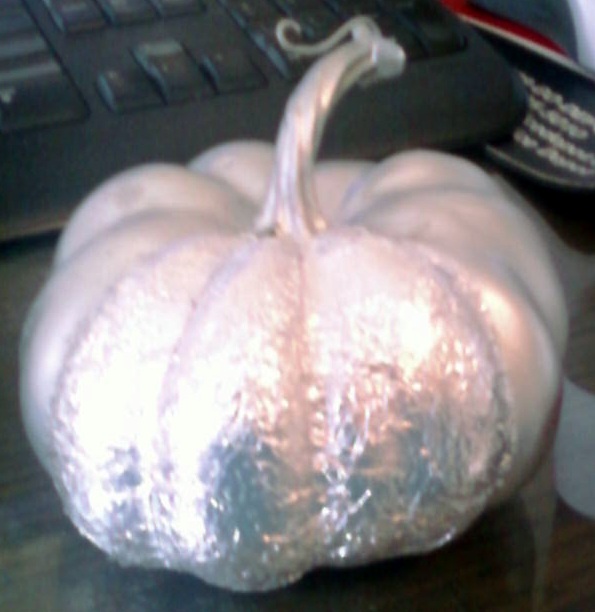
I sprayed them silver with Krylon’s Bright Silver. I have not really found a silver spray paint that I truly love. Most of them just turn out gray. This one had some shimmer to it, but it turned a funky color in spots.
Look:

The glare makes it seem like the paint is shinier than it is. It makes me wonder, if they can turn the spray paint can lid that bright shiny silver, why can’t they make a spray that does that? Anyhoo…I’ll climb down off my soapbox.
Since I wasn’t jazzed about just the paint, I decided to Modge Podge some foil onto the pumpkin and see how that looked. Take a gander:
See how much shinier the foil is than the paint? I took the foil, scrunched it up and then smoothed it back out. Then I formed it along one of the pumpkin sections, cut it out and the Modge Podged it in place.
Easy Peasy.
Here it is with all but one section done.
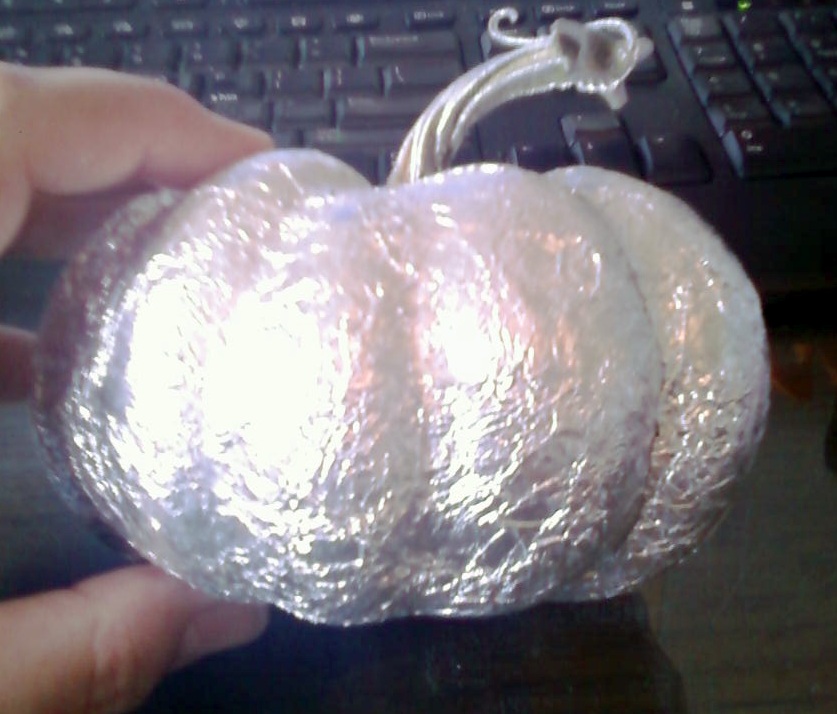
I love the texture on it, but now it looks like a tin-foil pumpkin. Back to the spray-paint. I just wanted to put some flecks of my hammered metal bronze on the pumpkin, but getting the right amount out of the can resulted in a major pumpkin fail. I grabbed the silver and between the two, I came up with this.
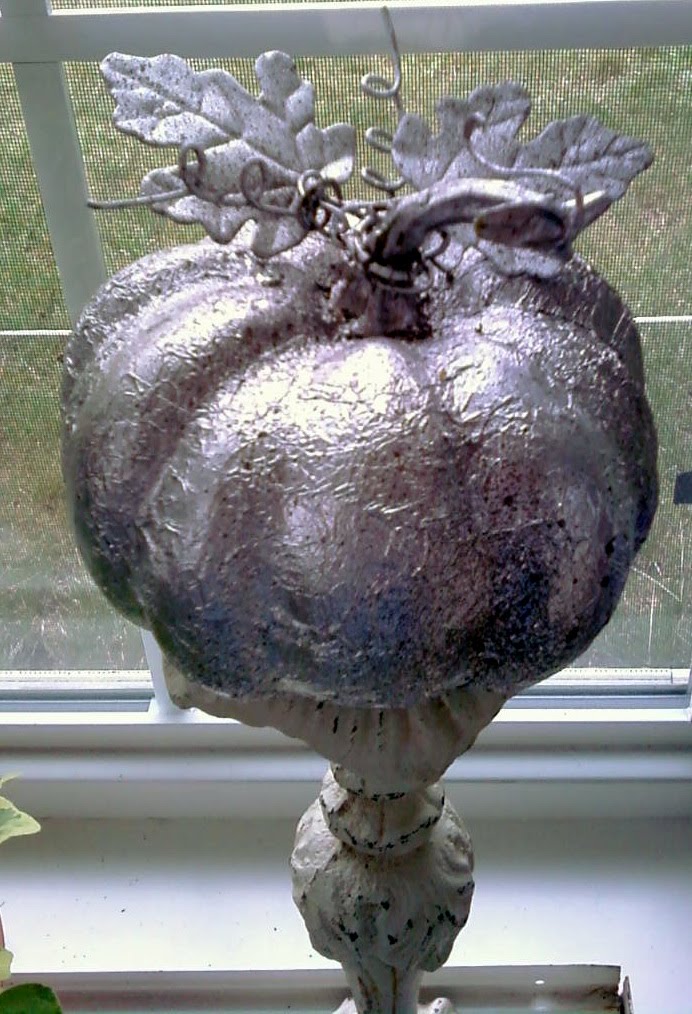
I bought the leaves from The Dollar Store many years ago and how hoarderish fortuitous for me that they were in my stash just waiting for the right project to come along. I imagine you could just Modge Podge some crumpled tissue paper to the pumpkin and then paint it, but I like how this turned out.
Here’s a close-up of the paint (well, as close as my cell phone camera gets).

One last time:
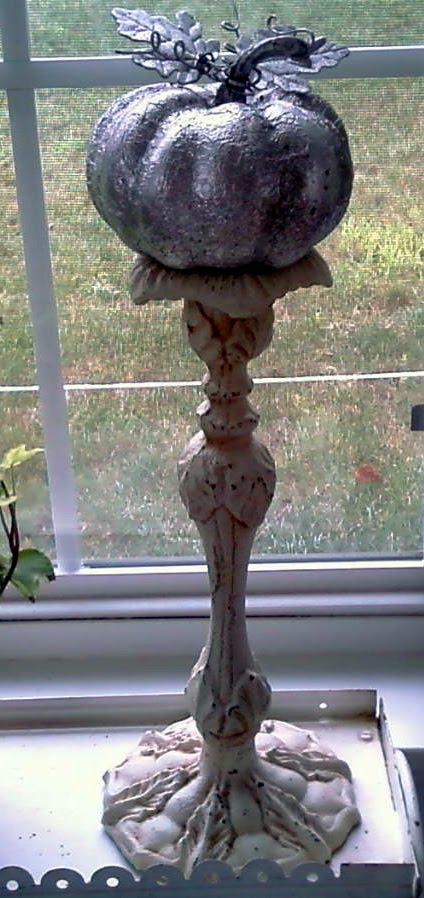
Here’s a funny story about this Candlestick holder. Hubs and Kiddo and I were shopping at Gabe’s last night when I found this cast-iron candlestick for $5.99. Kiddo took it from me and said, “This is really heavy. You could kill someone with this. Maybe this is what Colonel Mustard used in the parlor.”
A few minutes later, Hubs walks up and see the candlestick. He picks it up and says, “This reminds me of what Colonel Mustard used in the parlor.” They are soooooo related!
Cost Breakdown:
Mini Pumpkins – $4.20
Silver Spray Paint – $2.97
Foil, Modge Podge, Leaves and Hammered Metal Spray Paint – Free
Total Project Cost – $7.17
Total Project Time – About 1.5 hours (mostly drying time)

I’m joining the parties on my Links Page, plus:
This project inspired by the wonderful gals at:
![]()