Kitchen Renovation – Window Wall Progress
When I started my kitchen renovation project and thought about posting about it, I thought I was going to be all Young House Love with it and do a project, show you the completed project, do another project, show you the finished project and so on and so forth until my kitchen was done.
Yeah. That’s not going to happen. Why? Well, mostly because my projects don’t work that way. Case in point, the board and batten.

I started in the right corner of the wall as you face the windows. But I got the board up this far and ran into a problem. When we removed all the old paneling off the window wall, we found a problem under the left window.
See what I mean?

At some point over the past 163 years, water from that window had leaked in and eroded the plaster under the window, leaving brick, mortar and what not exposed. I’m sure it was why they put the paneling up in the first place.
I had thought about replacing the plaster for about 3 seconds, but it’s more than an inch thick. I just didn’t want to deal with it. Covering it up with board and batten was a better choice.
In order to do a true board and batten treatment, we needed to attach some furring strips to this section to hold the board. I honestly could have done at any point. But our weather took a turn toward the cold and rainy and finding a day when it was nice outside and I had the time to cut the plywood just didn’t happen. So, it sat unfinished.
We couldn’t finish the rest of the project until we pulled the sink and base cabinets. See that white board on the wall to the right of the cabinet? That was about 3/4″ thick. We needed to remove it because our plan is for open shelves in this area. I couldn’t install the section of board on that part of the wall until I pulled down the cabinets.

I suppose I could have pulled down the upper cabinets at any point, but they hold all my dishes and I wasn’t willing to live with our dishes in another room until we were ready for the demo stage of the sink wall (which is done now and I can’t wait to show you!).
The board and batten got put on hold and all we had to show for our efforts on that project for about 3 months has been this section.
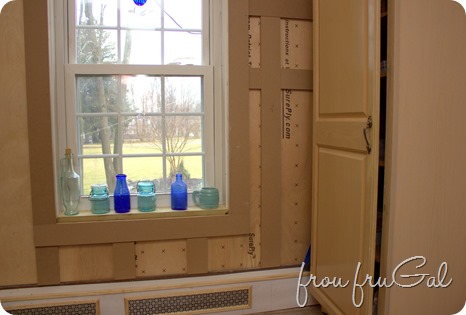
However, we finally found time to pull the plaster off the brick on the sink wall. We had to pull all the cabinets down and once that was down, putting up the board was easy. We installed the furring strips needed to hold the board on and cut out the rest of the board.
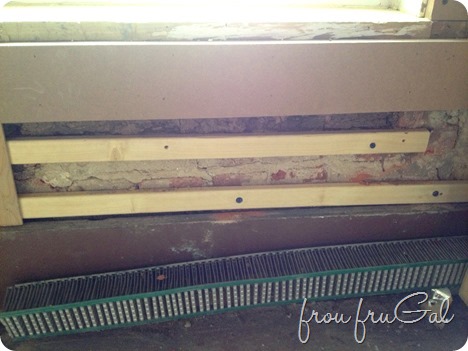
If you are curious about how we attached the furring strips, we bought some Tapcon Concrete Screws. We like the 3/16″ size with the hex head that you can ratchet in. You can buy a masonry drill bit in the right size at Lowes right next to the screws.
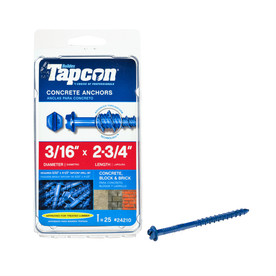
Tip: Go slowly when drilling into brick or concrete. A fast drill speed is a good way to destroy a drill bit. Also, buy a drill bit for wood in the same size as your screw and go through the wood with that bit and not the concrete drill bit. You will thank me later.
Oh, another fun thing that I discovered are these magical drill bits.
I call them the Quick Draw McGraw drill bits, but “technically” they are hex shanked drill bits that can go in your magnetized “drive guide,” or “Screw holder thingy” as it is more commonly referred to by Yours Truly. You can pop in Quick Draw McGraw, drill your hole, pop it out, pop in the Phillips head bit, screw in the screw and you are done. So. Much. Easier. Hubs always teases me for being too easily swayed by gadgety things but even he was thrilled with these new bits. Pure Genius, Mr. DeWalt. Pure Genius!
Anyhoo, I cut the plywood section to the right of the window by myself. It’s a backwards L-shaped piece and it was not easy, but I’m super proud of myself for managing to do it as well as I did. The first couple of sheets of plywood we put up had some construction adhesive followed by 18-gauge 1 1/4″ brads.
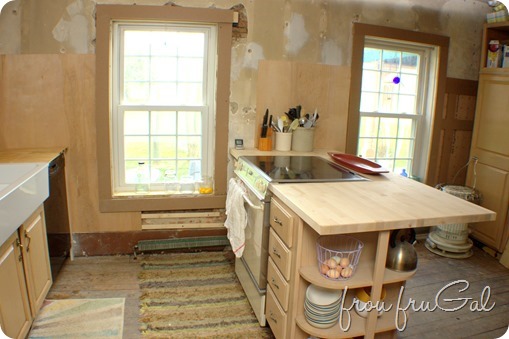
When Hubs put up the piece of plywood, he didn’t know I was doing the adhesive and just shot the brads into the plywood. It holds it just fine so that’s how I did the last section as well.
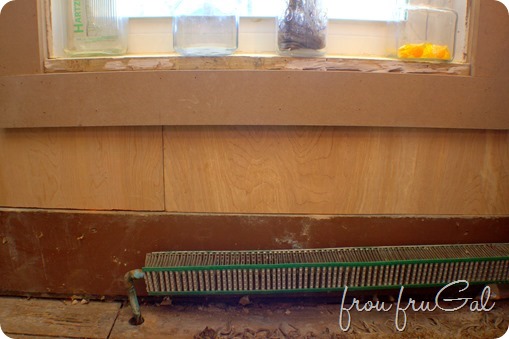
Once I get all my counters finished I can finish up the B&B and then start the caulking and painting process.
Another problem we ran into on this wall was with some damage to the window lintel consisting of dry rot and termite damage. This house has had a couple rounds with termites, but it was treated before we moved in and this is old damage.
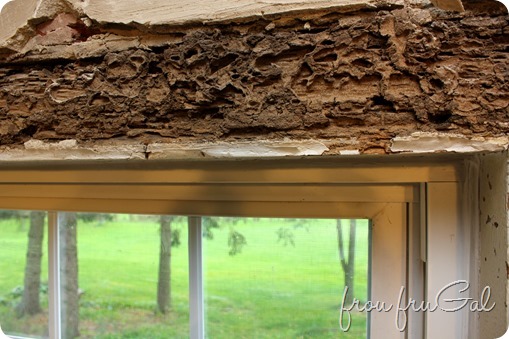
We chipped out the damaged wood and Hubs cut a new lintel for the window. I was out running errands while he was working on this project and he did not shoot any pictures for me. I managed to snap a couple after it was done. You can see how he filled in the area. He basically screwed two 2x4s together, but one of the 2x4s was ripped to get the right depth to the lintel.
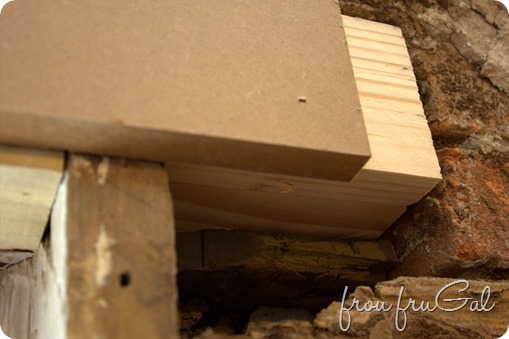
As you can see in the picture above, we also had to remove some of the window casing on the right. It was also damaged on the top third section of the casing. We used MDF as the casing.
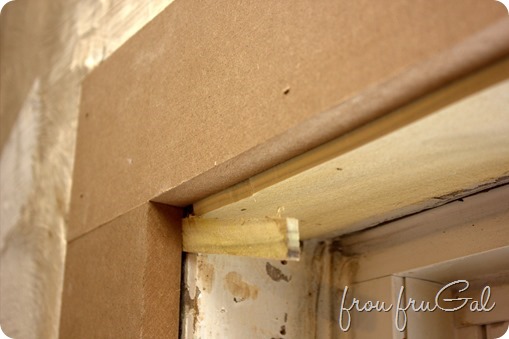
We had to shim some of the casing to get things even. Also, because of the thickness of the board and batten treatment, and because of how shallow the original casings are, I decided to add a second depth of casing to the windows.
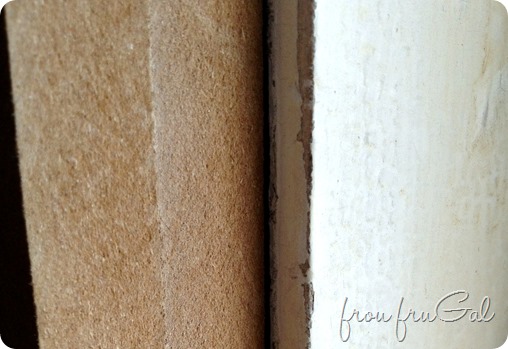
.This second depth allows for the depth of the board and batten and just makes the two look like they go together and not an after thought. As you can see, the window casing is just marginally thicker than the board and batten.
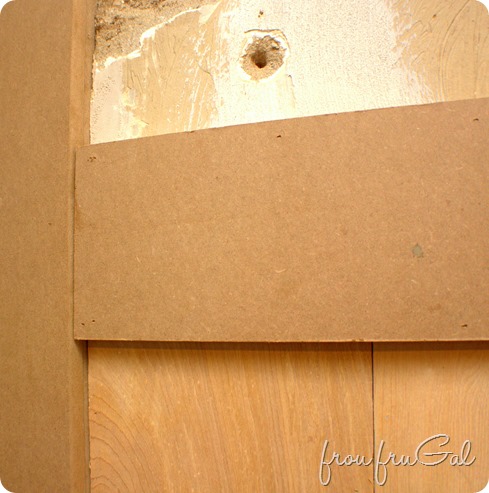
I still need to beef up the upper part of the window trim. As a reminder, I’m planning to rip off this idea from Thistlewood Farms:

One final improvement I’ve made to this wall is with that funky texture that is on the walls.
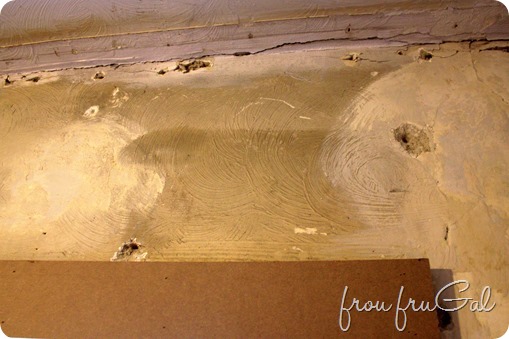
I wanted to start on the window trim, but I didn’t want this texture underneath it. The best I can determine, at one point someone tried to texture the wall, but they must have changed their minds because it was never painted, except in those whitish splotched areas you can see. When I pulled the old paneling off, I discovered mold in the texture area and when I tried to wash it off, the texture just crumbled off.
It was a yucky, nasty job but I didn’t want moldy molding, so I bit the bullet yesterday and started washing it off. I’m fairly certain this was incredibly unhealthy to have on the wall for so long. It gave me the heebs to clean it all off, but I’m so glad it’s gone.
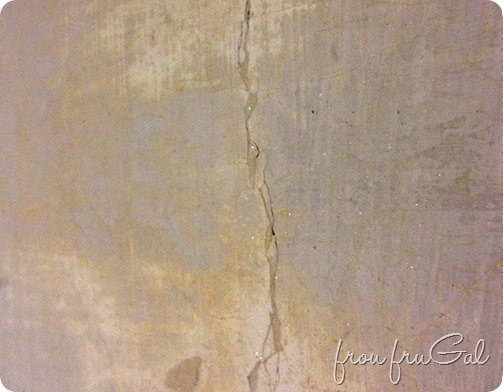
I’m still left with cracks and holes in the plaster, but no more moldy texture and I can live with that for now. I’m researching the best way to repair the plaster so if anyone has experience with that, give me a shout. I had heard from someone that Plaster of Paris might be a good option. I’ll have to look more into it.
Okay, that’s all for now. There is more progress to show, but this has gone on long enough.You will get a better sense of how this wall is shaping up when I do an update on the butcher block countertop/bar area. I have that progress and the exposed brick wall to show you and the fridge surround is all done. Well, by “done” I mean “built but still needs to be caulked and painted.”
I’ve been working like mad to knock this renovation out. Life continues to get in my way and I usually only have a day or two each week to work on it. I’m still not as quick at updating you, but I have been posting some progress photos on Facebook. If you’re really curious, you could jump over there and see what I’ve done lately.
