Kitchen Renovation – Fridge Wall Progress
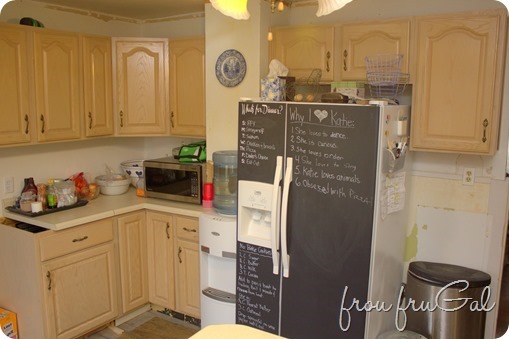
In my last progress update, I showed you the window wall progress. Turning around and facing the opposite wall, let’s take a look at the fridge wall. Here was our starting point. That is a chimney stack that is between the upper cabinets. The fridge sits to the right of it.
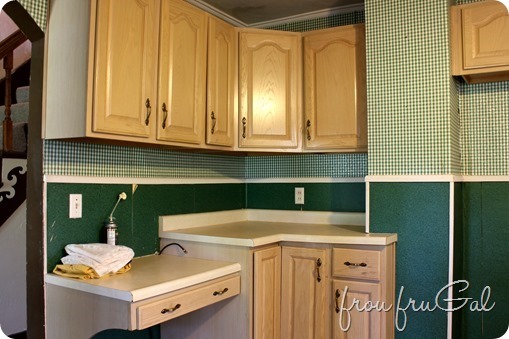
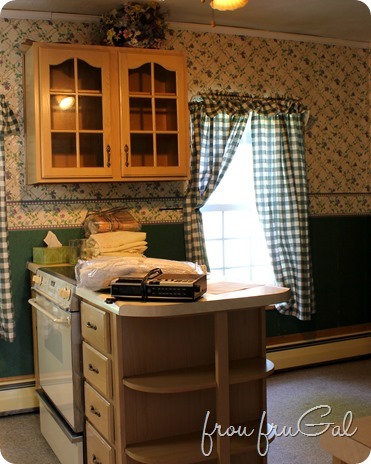
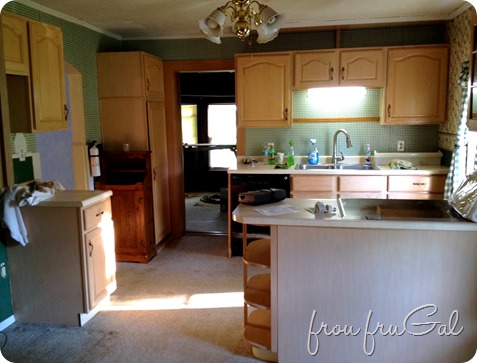
Here is a view from the sink wall.
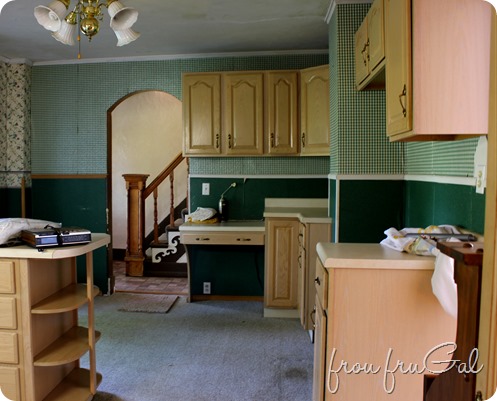
When we pulled out the kitchen carpet, we had to remove the countertops and the base cabinets because the carpet was installed before the cabinets were put in. Once all the cabinets were removed, I decided to rearrange them a bit. I didn’t like how all the end cabinets overlapped the arched doorway in front of the stairs, or the casing on the door leading into the family room on the sink wall.
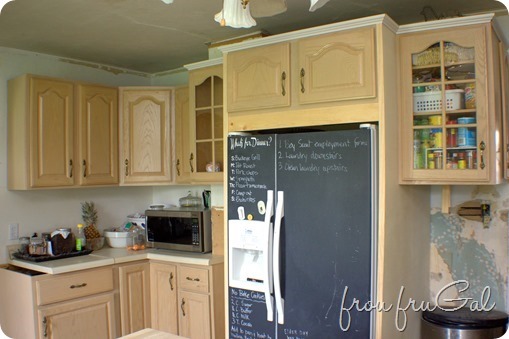
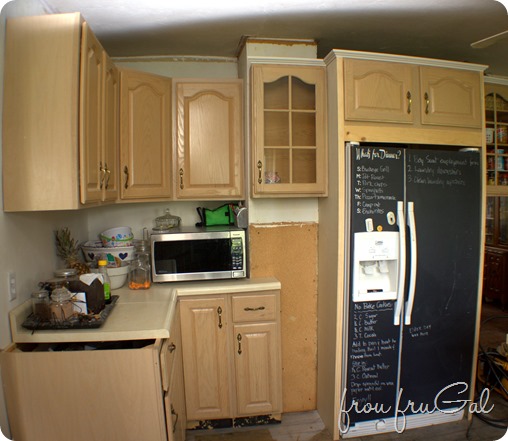
After we removed all the wallpaper, rearranged some of the base cabinets and I turned my fridge into a chalkboard, we got to this point.
Since I am only 5’5″ tall, there was no way I could reach that cupboard above the fridge. With a limited number of cabinets in this kitchen, it was annoying to have one just for looks. I told my plan to Hubs and he was having a hard time seeing my vision. I kept saying, “Just trust me.” I’m glad he did.
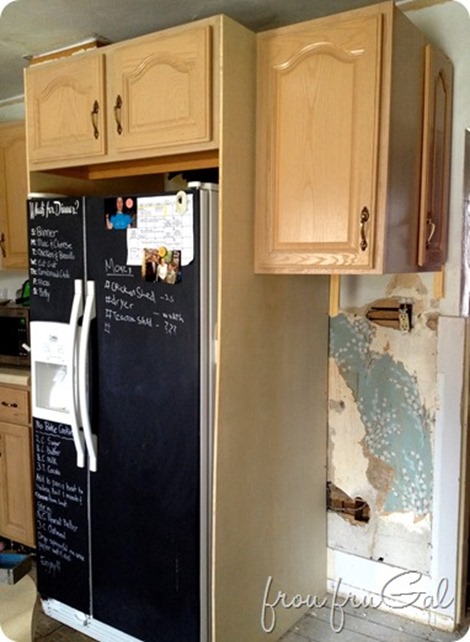
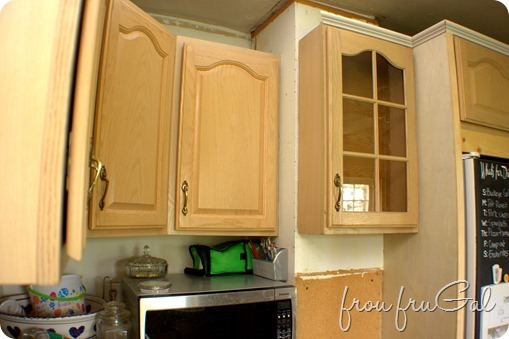
We built a surround for the fridge and pulled that little cabinet above it forward so I can reach it. We also moved that little cabinet on the left (third cupboard door on the left) behind the cupboard on the far right. Confusing? Take a look.
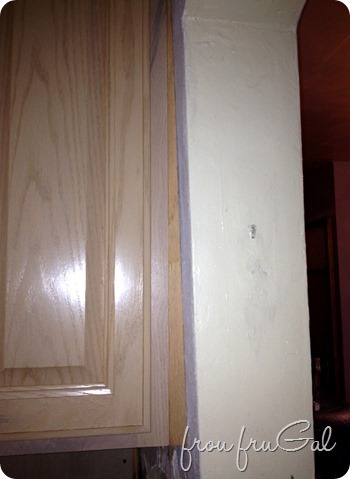
I will put my microwave on a table under this section of cupboards. Here is something we have had to deal with in this house. The walls are not level. So much so that when we attached the upper cupboards to the wall, I ended up having to cut a filler piece to close the gap.
Once I put up a piece of quarter round and fill and sand and paint, it won’t be so obvious.
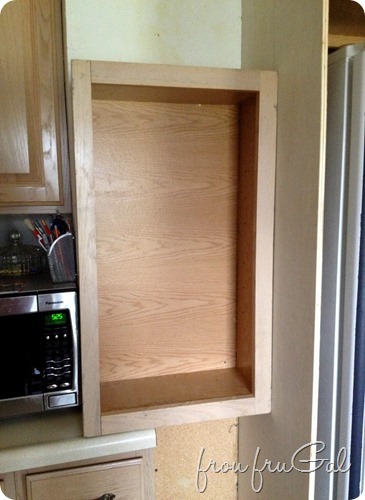
To the left of the fridge, I built a little cupboard to fit in front of the chimney stack. It is set back the same depth as this cupboard to the right of the fridge is in the above picture. Basically, the fridge is 8″ further out than the cupboards on either side of it.
This cabinet is shallower than a standard cabinet because of the chimney run behind it, but once we put a piece of plywood on the left side that will cover the side of the cabinet and the chimney stack behind it, the cupboard will look like it is normal size. Once we have all the crown molding up and everything painted, it will look like it was meant to be that way all along.
I cannibalized the old cupboard above the stove to make the new one.
I even used the glass doors. We also started putting on the crown molding. Here’s where we are today.
Naturally, I will need to make the inside of those glass cupboards a little prettier, but for now I just love how it is coming together.
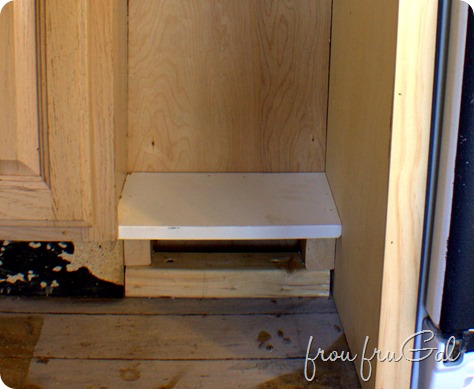
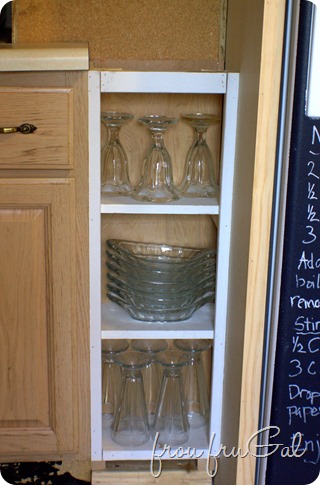
Another project I knocked out this last week was to build a little shelf on that bottom space to the left of the fridge.
Once we built the fridge surround the water cooler no longer fit in this space, so I decided to make a little shelf. I’m not going to lie. This shelf is pretty craptastic. It is not my finest work. I’m fairly dependent on my pneumatic tools and this space was almost too narrow to use them. It was too narrow for me to get my drill in there.
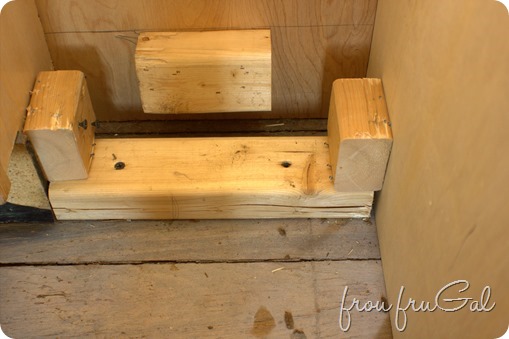
This is how I discovered the limitations of my tools. Hubs reassures me that I am not Amish and therefore do not need to be held to their standards. I needed these pieces in place to have something to nail the baseboard that will go along the bottom of the cabinets. I also needed a brace for the shelf that will go on top. Therefore, I’m not too terribly worried about how unprofessional this part is. It’s solid and that’s good enough for me.
I did cut a piece of plywood for the back of the shelf. The surround on the chimney is particle board and I wanted to cover that up. Next I cut a shelf out of some MDF board.
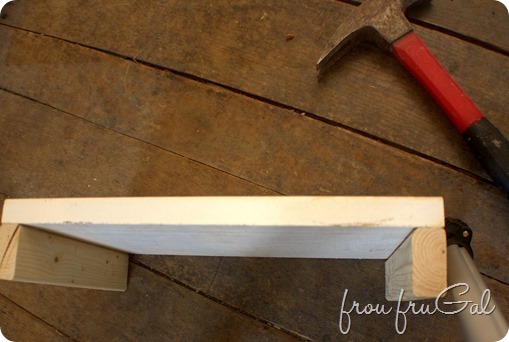
For the next two shelves, I attached the 1×2 to the bottom of the shelf with some brads.
Then I cut a piece of wood as a spacer to give me an even distance between the shelves.
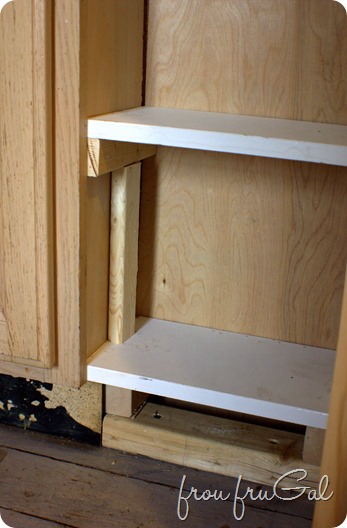
With the shelves in place, I ripped a piece of MDF to frame out the shelf.
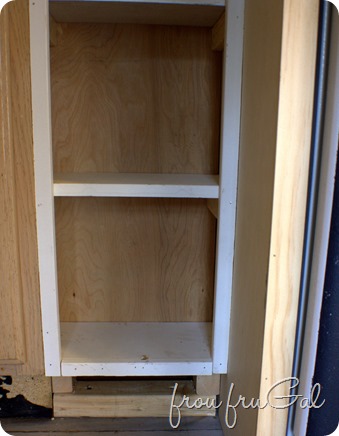
Once I fill the nail holes and everything is painted, and the new counter is in place it will look like it was meant to be there all along. It’s the perfect size for my ice cream dishes, which are now conveniently located right next to the freezer.
I plan to skim coat over the particle board and I think I will continue the board and batten around the room, so there may be a batten section above this cupboard. I want to put one on the corner so it will hide the seam there, but I will have to see how they space out along this wall.
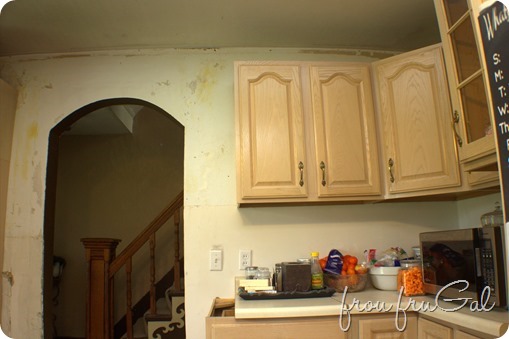
You can see how much it opened up the archway by taking out that one cupboard. I am thinking of building a little shelf on the end of the upper cabinets to match the shelf I will build on the end of the pantry (you can see the sliver of it to the left of the archway). I don’t really mind the upper cupboards not extending as far as the base one, but I would like the storage/decorative space a shelf would give me and I think it will balance things out a bit.
I’m thinking of something along these lines.
However, my shelves won’t be deep enough for recipe books. I only have about a dozen recipe books any ways and I think I’m going to toss most of them as I can’t remember the last time I used one of them.
That’s where I am on this wall.
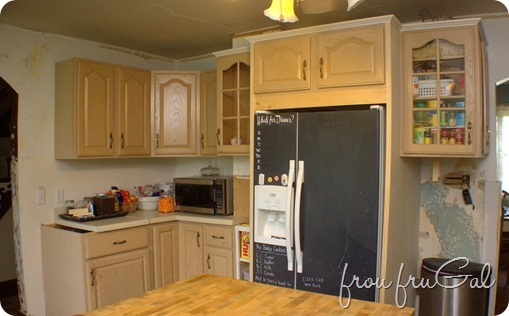
I still need to make a cart for the microwave for the right side of the fridge. I need to finish the crown molding and skim coat the chimney area. Then I need to redo the counter top and paint the cupboards and walls, trim out the base cabinets and move the outlet for the microwave. Nothing major. Ha!
The weather is supposed to clear up tomorrow and I’m hoping I can break out my saw and get back to work. I will show you the sink wall next. It’s the biggest change so far!

