Brick Wall Repair
She’s a brick house wall
The lady’s stacked and that’s a fact,
ain’t holding nothing back.
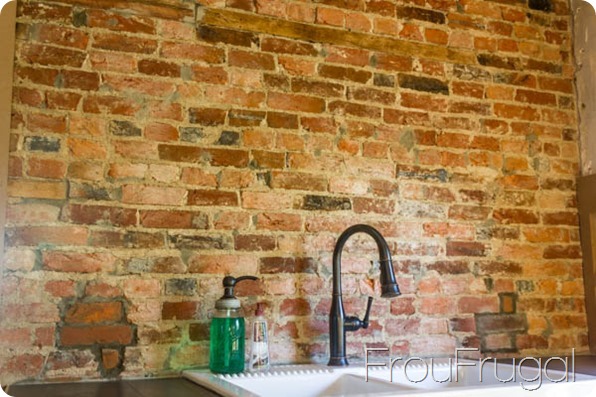
The Commodores sure had it right. My brick wall is finally stacked and she ain’t holding nothing back.
Now, obviously there are some things that still need to happen, like the mortar needs to fully dry. Also, the “new” bricks don’t match the wall, and by “new” I mean used bricks that were laying in a pile by the side porch for who knows how long. So despite being old new bricks, they are still kind of bright and noticeable in this recently-freed-from-its-plaster-bondage brick wall. I have a plan to fix that, though. For the cost of a bag of mortar mix ($5.76), this project was both cheap and easy. Just how I like ’em.
Let’s rewind a bit. In my last post, I shared with you how I engaged in some brick bashing as a form of stress relief.
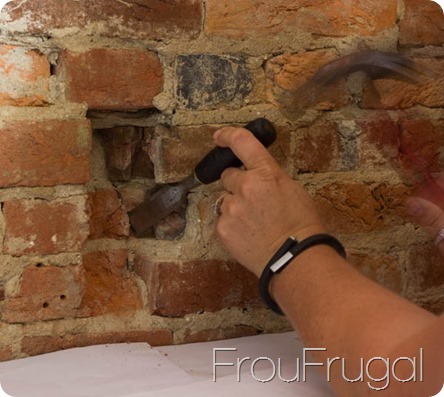
With two empty areas ready to be filled, I got started on the project by cutting some bricks to fit the holes. This is the area on the right side of the sink.
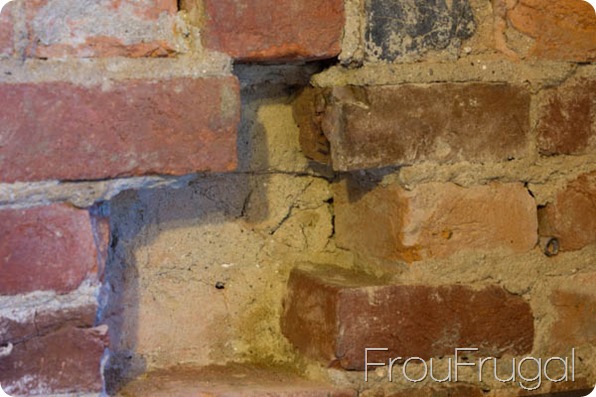
I filled in with what “new” old bricks I had that fit the space.
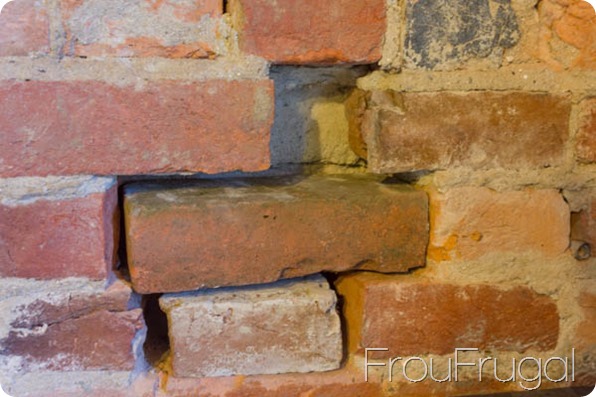
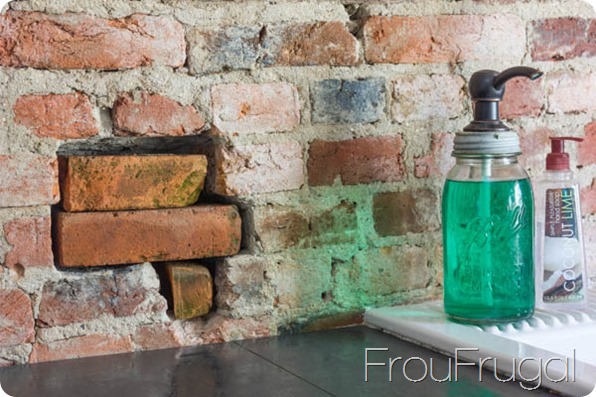
I only had one brick that fit on the left side of the sink.
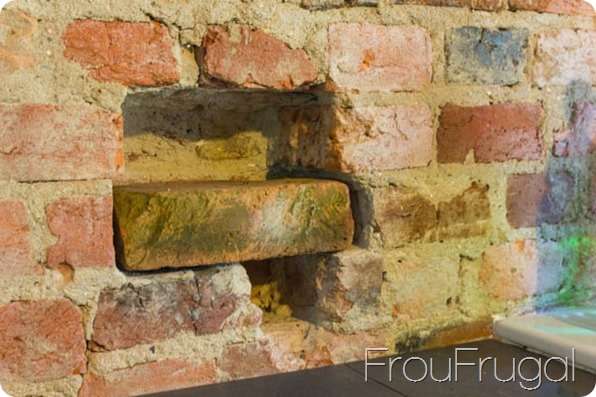
I followed this YouTube tutorial to learn how to cut bricks. It was really very easy to do and the tutorial really was helpful. I did purchase the brick set chisel he showed in the video a few months ago, bringing the total cost of this project to a grand total of $16.74.
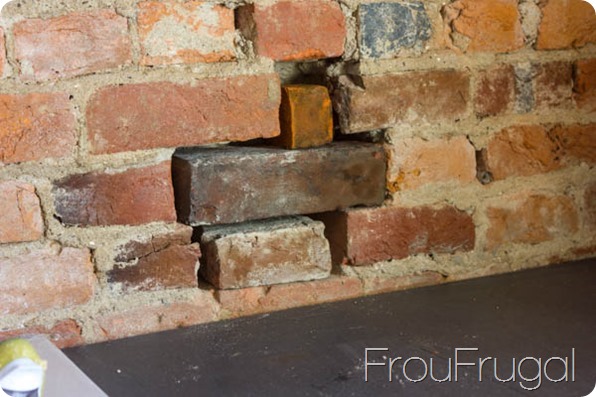
With the bricks the size I needed, I was ready to get messy.
I found a good tutorial on WikiHow for How To Lay Brick. Although I’m not doing a whole wall, I wanted to understand the whole process. I started by mixing up the mortar.
I used Sakrete Mortar Mix which is designed for repointing bricks. Repointing is where you fill in missing mortar. I mixed the mortar and I honestly didn’t measure anything. I just scooped some of the mortar mix into my bucket and added some water.
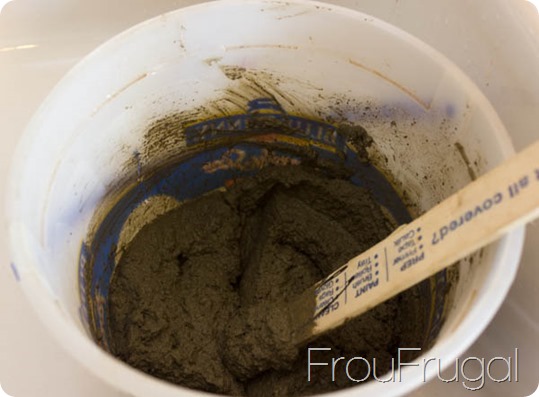
I’ve mixed enough thinset and grout in my day to have a feel for this. For the mortar you want a consistency somewhere between “meatballs and soup” as one mason called it. I would say between cookie dough and cake batter, but that’s just me. You need to let the mortar slake (rest) for several minutes before using it. Follow the instructions on your mortar mix.
I’m not a mason, so my work is not as pretty as any of the videos I watched on repointing. Those guys make it look so effortless. Also, I didn’t have their tools and once I started going, my hands were a mess and I couldn’t take pictures of the process.
My steps were as follows:
1. Start with the bottom most brick and work your way up.
2. Put mortar on the bottom of the hole to be filled. Try to put an amount even to the depth of the mortar under the row of bricks you are filling in the space. You want to keep things consistent. Too much and your bricks above won’t fit. Too little and your above bricks won’t line up in their rows.
3. Butter the sides and back of the brick. That’s just what it sounds like. You cover the sides and back of the brick with mortar like you were buttering bread.
4. Set brick in place. I used a hammer to tap it into place. Light taps were all that was needed to get it even.
5. Adjust the depth of the brick. You want it even as possible with the surrounding bricks.
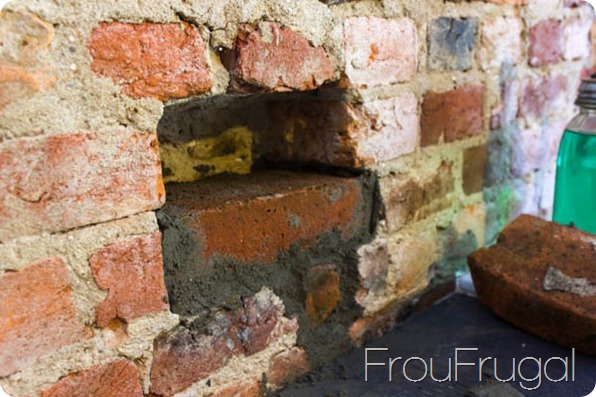
6. Fill in mortar between sides and back of brick. Chances are, the amount you buttered on the sides and back may not be enough mortar to fill the gaps. Do your best to fill in the spaces with mortar.
7. Repeat steps 2-6 for each brick.
8. On the top brick, the only different step you need is to butter the top of the brick before setting it into place. Don’t put too much mortar on or it may be hard to get into place. Use light taps with a hammer if needed to get brick into place.
I was kind of messy. I basically used the paint stir stick I used to mix the mortar and a putty knife. It would have been nice to use a pointed trowel but I wasn’t going to invest more into this project than I had to.
I cleaned up the mortar after I let it set a bit. You want to wait to touch the mortar until it is thumbnail hard. That means that if you push on it with your nail, it won’t leave an impression. I requires smoothing out the mortar with a tool to clean up the excess and a stiff brush to tap the mortar and to brush off any mortar crumbs.
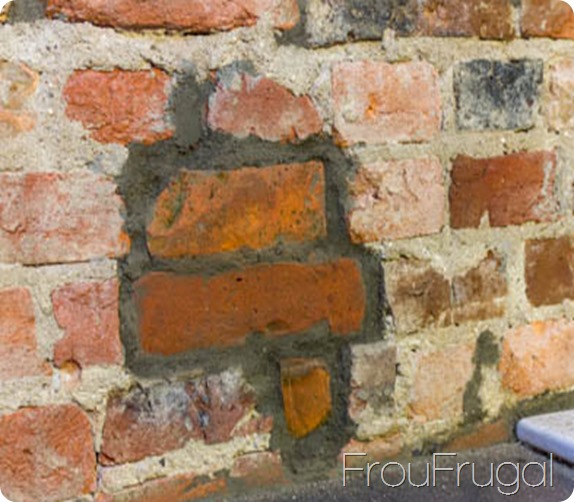
The mortar does dry a lighter color. This looks rough now because it still needs to dry. It also looks like I have way too much mortar in places, but if you look at the mortar between the other bricks you will see that there are a lot of places with big spots of mortar.
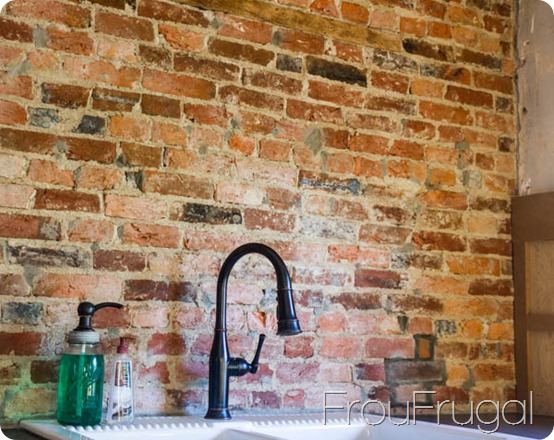
While I had the mortar out, there were several places on the wall with missing mortar from when we removed the plaster. I went ahead and filled those areas. Several of those places were nearly dry by the time I took this picture this morning. About 4 rows up from the top of the faucet are several darker gray spots.
As the day has worn on, they have gotten harder to notice but the new bricks still need some aging to them to make them blend better. I will wait until the mortar fully dries before I try to blend the bricks and the new mortar in with the rest of the wall.
If you look behind my Mason soap jar, you can see a line of darker gray mortar between the sink and the wall. There was a good sized gap here, owing to the unevenness of a 164-year-old house. I had tried caulking the area but the caulk I used must have been old because it just broke apart once it dried. I filled in the area with the mortar and I love how it blends in with the wall, even without being fully dry yet. Now I don’t have to worry about water getting behind the cabinets. I will water seal the mortar after it completely dries just to make sure its protected.
One final project I did while I was working with the mortar involved the stairs. When I removed the thick and uneven grout off the stair skirt board, a lot of plaster broke off the wall. It’s obvious that the plaster has been patched at some point in the past and you can actually feel that its not secure against the wall. If you push on it, the whole section moves in and out.
If we were staying in the house longer, I would expose the brick here and be done with it. Since we are moving, though, I need to patch this section and be done with it. I was worried that plaster would not be a strong enough fix. The plaster was really mushy. The plaster is exposed to the basement which is often very damp. I think that’s why it moves when pushed. I thought if I put mortar in this area, I could add a strong barrier to the moisture and maybe keep the plaster from being so mushy.
Excuse the following cell phone shots. I will take pretty pictures of this area on another day.
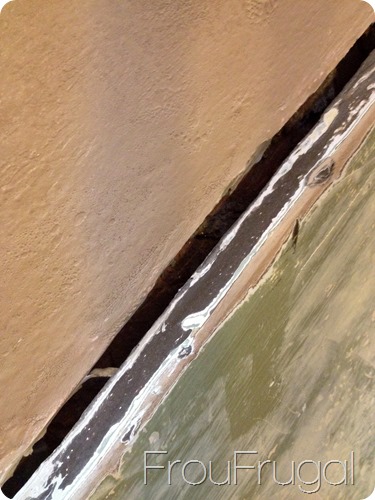
I tried filling it but the mortar was just falling through the gap to the basement stairs below. I took some cardstock paper, rolled it up and stuffed it into the gap.
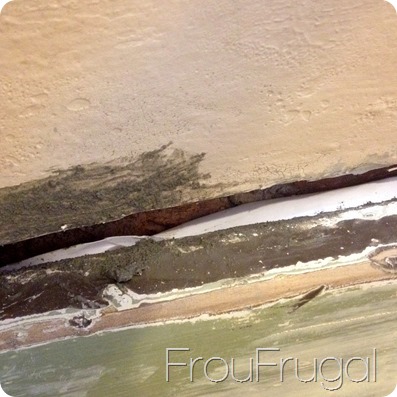
Then I filled the area with the mortar.
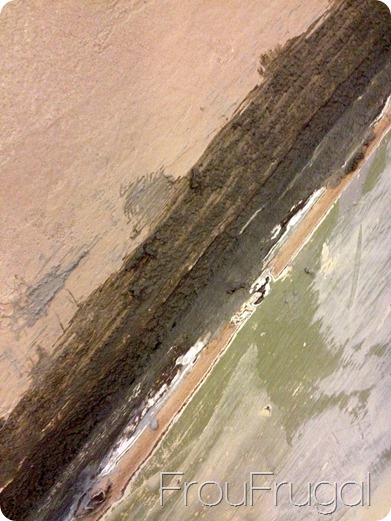
After it had dried for a couple of hours, I came back and wiped up the excess.
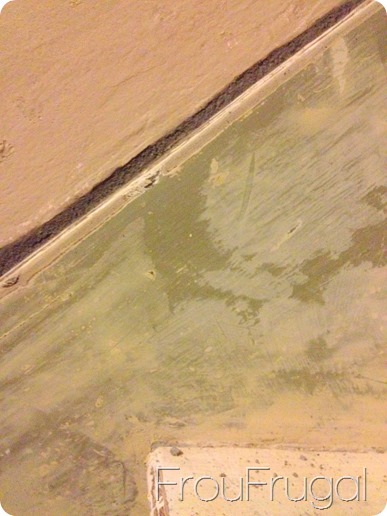
I’m going to let this dry for a few days before I go over the area with plaster to smooth things out. Once I finish painting the stairs, I will caulk this area. I plan to paint this wall before we move, but probably not until the spring.
Finally, that brings me to my list. I can now cross a few items off the list.
-
Finish epoxy sealing the counters
-
Water seal the brick wall
-
Replace missing bricks in kitchen wall
-
Grout behind sink
-
Fill 10 bajillionty holes with wood putty in board and batten in kitchen.
-
Caulk my life away in the kitchen
-
Patch walls in kitchen
-
Cut plywood for kitchen ceiling planks
-
Remove ceiling fan in kitchen and replace light
-
Hang light above kitchen sink
-
Remove cupboard door hardware and fill holes
-
Fill holes and prep cupboards for paint
-
Find paint color for lower cupboards
-
Prime board and batten
-
Fill crack along stair runner
-
Caulk stairs
-
Prime stairs
-
Paint stairs
-
Install pad for stairs
-
Install stair runner
Since I’m on a run with patching things, I will move on to patching the plaster walls tomorrow. I’m ready to cover those holes that have been there for a year now. Ack! I should probably be more ashamed of that fact than I am. I’ll work on it.
I have a fun project I want try and do in the next few days. Something higher up the home pyramid than patching holes and replacing bricks. I will keep you posted. I love having this list and being accountable to do them. I obviously did not meet the goal of posting every day this month, but I will just keep chipping away at this list as best as I can and keep you up to speed as I do it.
