master bedroom makeover–pallet board shelf
I know I should be packing boxes, but where’s the fun in that? Nowhere. Twenty moves in the last twenty-five years has burned that truth into my soul.
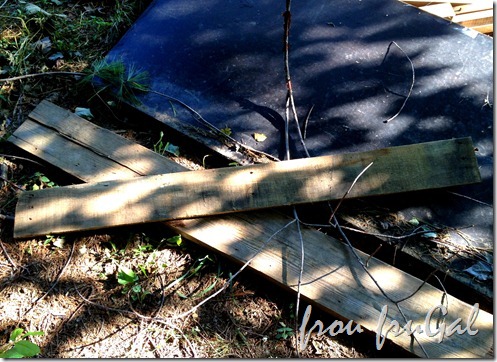
I thought I’d show you the pallet board shelf I whipped up a couple of weeks ago. I started with a pallet board I had on my wood pile.
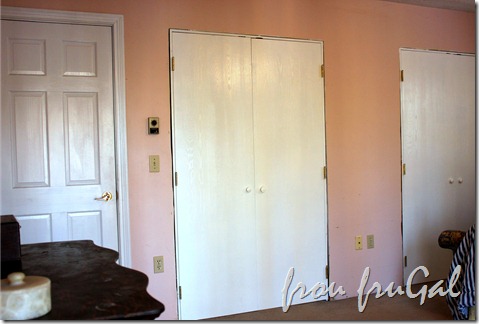
I wanted the shelf to fit in a narrow wall space I have between the two closet doors. I figured an 18” shelf would be a good fit. Ugh. Just looking at the Skin Suit Pink walls in this picture give me the heeby-jeeby shudders.
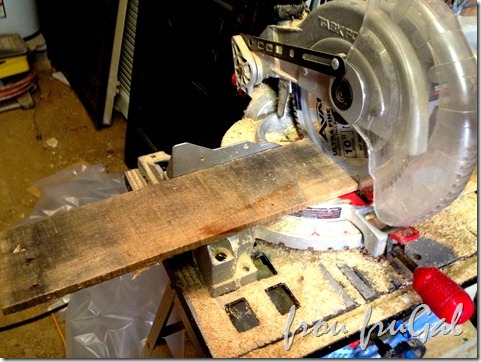
I measured the length and cut it with my chop saw. This saw is pretty much my go-to tool when I am cutting boards. I love it’s versatility. The piece below will be the back of the shelf where my hooks will go.
I knew I didn’t want the top of the shelf to be as deep as the pallet board, so I needed to rip the board. I used my table saw to cut down the pallet board to 2.75” wide. There was no particular reason I chose this depth, I just liked it when I held the two boards together. The pallet board is 5” wide.
One I had the two pieces, I put the back board in my vice grip and placed the shelf top on top of it. I wanted to drill some pilot holes for the screws. Pilot holes are a hole that is slightly smaller than the screw you plan to use. Pilot holes help prevent the wood from splitting when you screw into it.
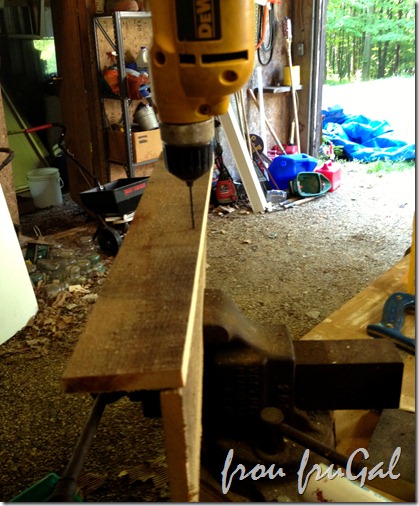
Once I drilled the pilot holes, I could screw the two boards together.
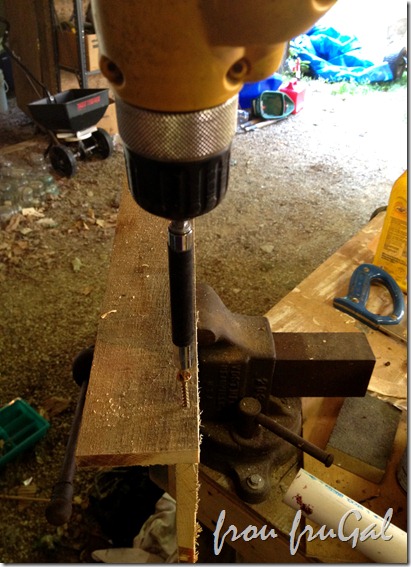
See that black sleeve on the drill? That’s another favorite tool of mine. It’s screw guide (Oh Geez, my Google searches are going to be interesting now) and it is magnetized to hold your screws onto the drill. Best gadget ever.
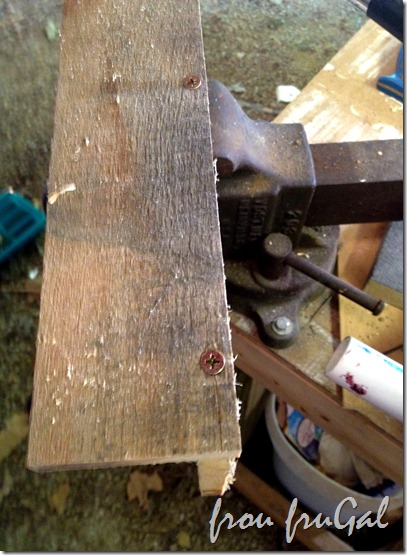
Make sure when you are using a drill as a screwdriver, that you are not using full speed. You want to try and go as slowly as you can. I slipped and put just a little too much pressure on the drill trigger at the end of screwing in this first screw and it drove the screw too deeply into the board and caused that split you see. It was fine once I unscrewed it a bit, but be careful because pallet boards can split pretty easily.
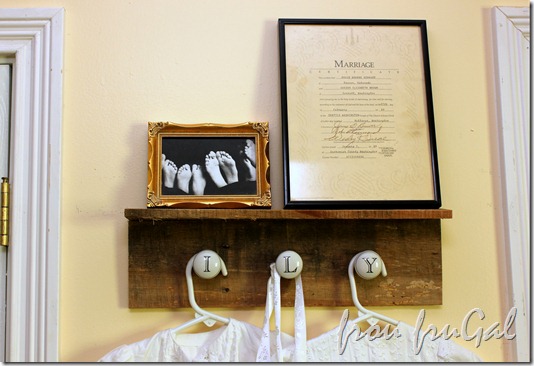
Next, I marked where I wanted my “hooks” to be placed. My hooks are really some knobs I picked up at the Mother Ship (read: Hobby Lobby) for $1.16/each on clearance. I couldn’t find the letters I wanted, so I eventually settled on the I-L-Y knobs. Why I-L-Y? I’m hoping it’s only my menfolk who need this explained, but in case not, it stands for I Love You. I didn’t know what I wanted to use them for when I bought them, but I knew I’d eventually figure something out.
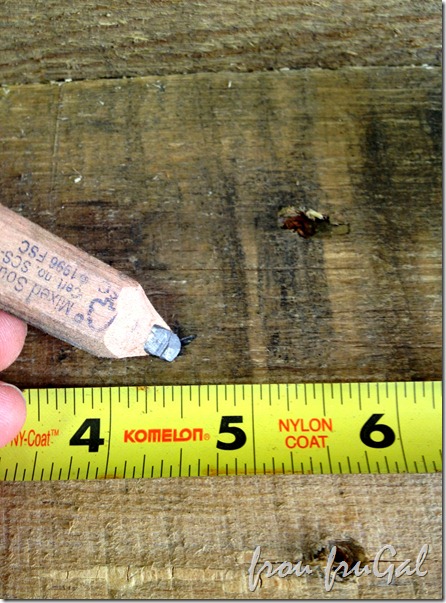
Since my board is 18 inches wide, I marked a spot at 4.5”, 9” and 13.5”. I centered the marks on the board at 2.5” down from the top of the board.
With my holes marked, I drilled more pilot holes and then screwed the knob onto the board.
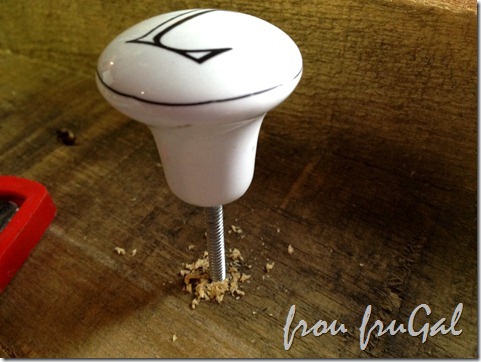
In order to get the letters straight, you can’t tighten them as tight as you can a regular knob. For this reason, I decided to use the nut that came with the knobs to make sure the knobs were tight and not going anywhere.
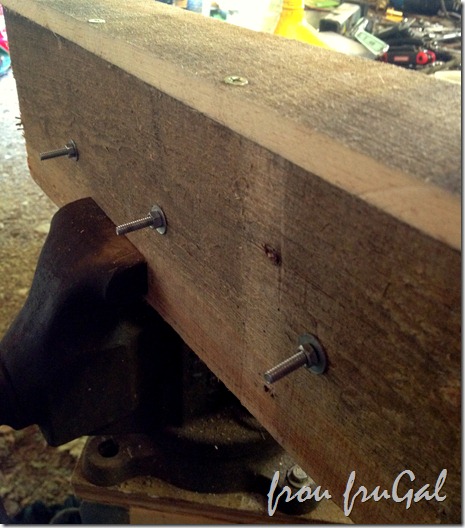
Obviously, it’d be near impossible to hang this shelf with the screw backs sticking out like that. I used a hack saw to cut them off.
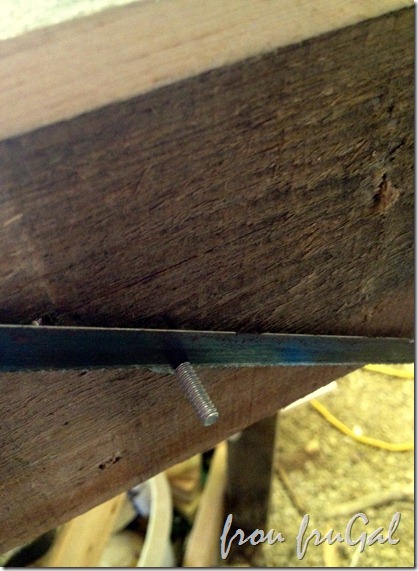
That’s better.
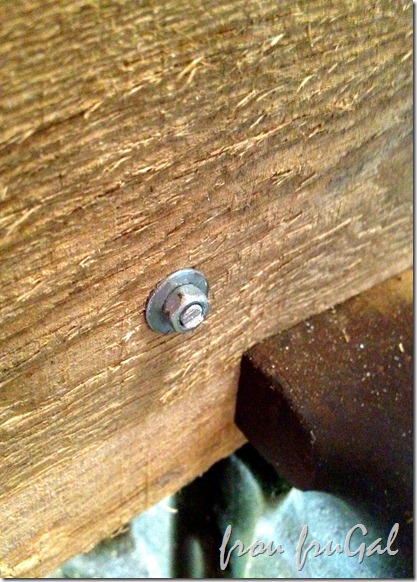
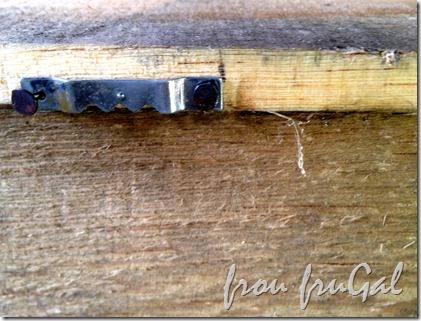
The final step was to put a couple of self-leveling picture hangers. I had a couple in a package, but for some reason, the little tiny nails were missing. I used some tiny upholstery tacks that I had on hand and actually liked them better than the nails. Those suckers are hard to nail in.
That’s it. A super cute, easy project for $3.48. It took me about 30 minutes to make. Woot!
Also, check out the pretty yellow walls and the door trim. So pretty. I’ll come back in a day or two to show off the blessing gown and coat I have hanging from the shelf.
Cost Breakdown:
-
Pallet – Free
-
Knobs – $3.84 ($1.16/each on clearance)
-
Picture Hangars – Free
Total Project Cost: $3.84
Total Project Time: 30 minutes
Have you made any pallet board projects lately? What about a shelf? Have you ever made one? I loved that I could make it the size I wanted.
Suesan
