master bedroom makeover – drop cloth subway art
As part of my bedroom makeover, I wanted to create some personalized art. I fell in love with the Subway Sign Art 95th from Restoration Hardware. I was not, however, $850 worth of in-love with it
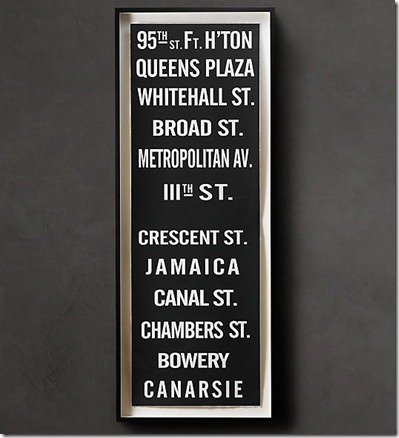
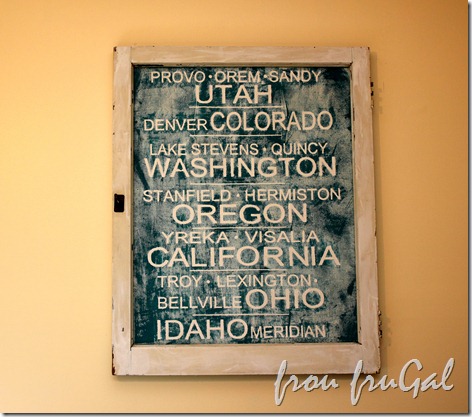
I set out to create my own version and one that was more meaningful to us. I created a version that has all the places that Hubs and I have lived in over the past 24 years. Here’s what I came up with.
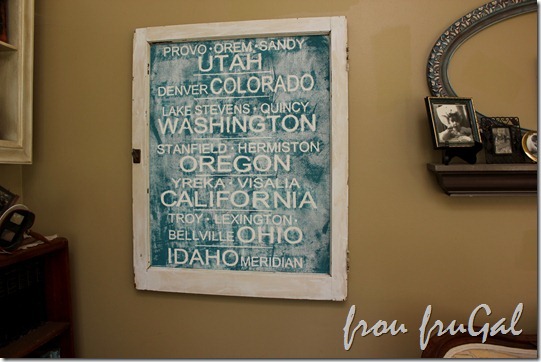
This wall is actually in my living room. I’ve made some changes to the master bedroom that I’m not ready to reveal, so you’ll have to wait to see it in it’s final spot. Let’s talk about the window frame.
Way back when I started my blog, I mentioned that I’d been given over 60 window frames from a guy on craigslist. I only wanted a few, but I had to take them all or no deal. I gave a lot of them away. I kept this one for myself and moved it from 3 different houses since that time. The wavy, bubbled glass that was in the window did not survive our move to Ohio from Utah.
Fast forward two years and I still have a couple of the remaining windows packed up in my garage waiting for me to put them on my to do list. Imagine my surprise to find the pieces of this window sticking out of a garbage can in the garage. Hubs decided that since I hadn’t done anything with this window and since the glass was broken, it must therefore have no value or purpose, ie, junk. Pffffft.
I fished the pieces out of the trash and put them back together. It was a matter of putting the joints back together and then securing the joins.
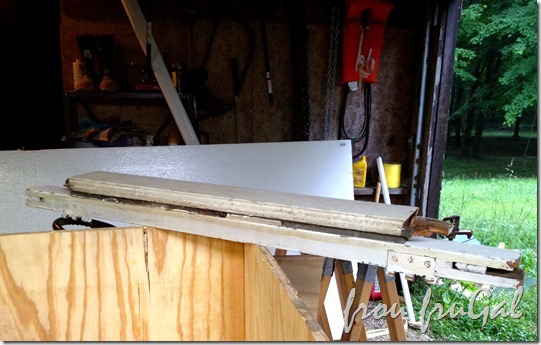
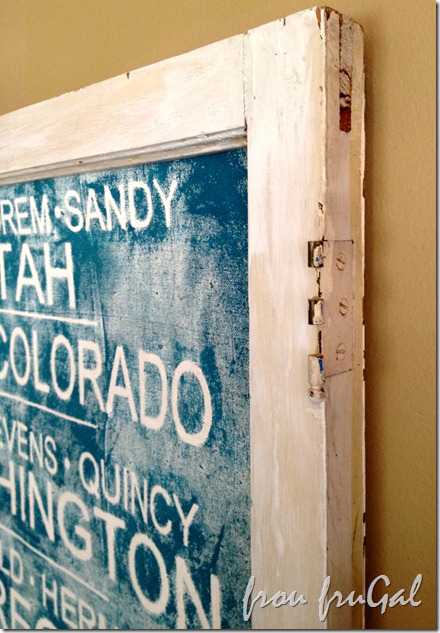
I had some hardware in my supplies that I could use. I think I had to pick up two more of them, though.
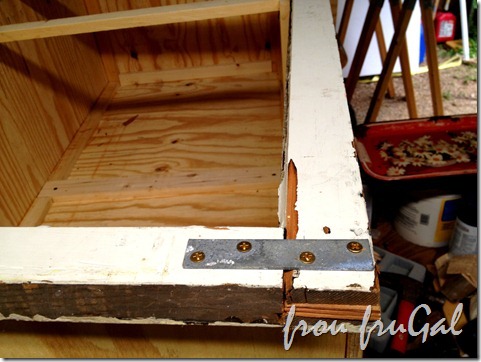
I used a square to make sure I got it put back correctly. I didn’t want a lopsided frame.
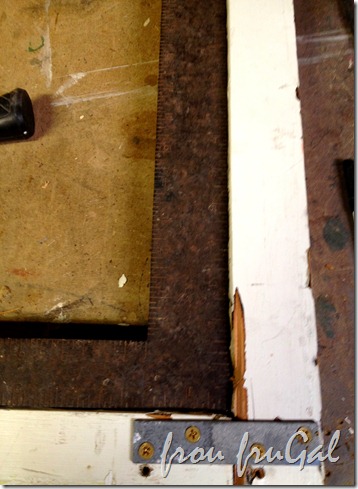
I had to remove some of the old glazing to get the broken edges of glass out of the frame. The old glazing is a putty-type material that holds the glass in place. It’s that white area you see on top of that broken glass.
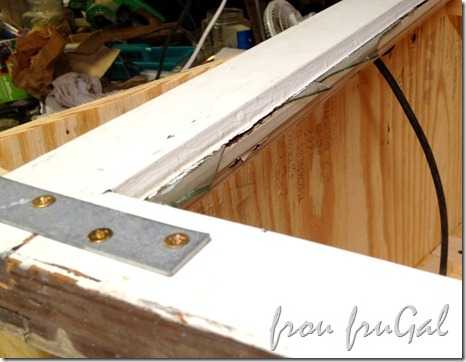
The glazing was pretty hard. Years in the sun will do that. I used a hammer and chisel to get it out, but don’t tell Hubs. He gets annoyed every time I use a chisel because I don’t always use the tool for its intended purpose. Whatever. It’s a great tool and I’ve managed to make many projects work because of my trusty chisel.
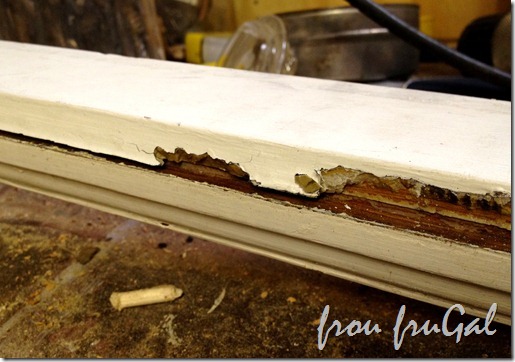
With the glazing gone, I now had an edge on the window frame to put my new artwork.
I’ve already put a lot of money into this room, so one of the challenges I gave myself with the artwork was to do it using materials I had on hand. With that goal in mind, I recycled a piece of foam core board that served as a background for Buddy’s school project on How to Fold a Ninja Star (A+).
I took some leftover drop cloth fabric and duct taped the fabric onto the board using tape I had left over from my cast decorations last year.
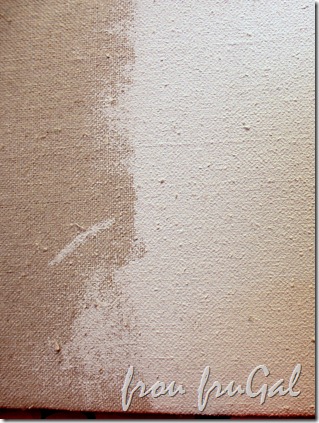
I didn’t like the beige color of the fabric, so I busted out my jar of Behr’s White Fur paint (my favorite white color) and painted the canvas. Even in this dark cell phone picture, you can see the difference between the painted and non-painted canvas.
Once it was painted, I figured I could cut out the words with my Silhouette machine and all would be well. Um…yeah. You know those are famous last words, right? First of all, this sign measures 24” wide by 29” tall. If you are creating custom vinyl that is that big, it’s important not to mix up those two measurements. Lesson learned, but not until after I’d cut, weeded and prepared the entire sign. *head slap*
After fixing my error, I re-cut the vinyl. I used some contact paper I had on hand. Because I was going to paint over the letters, there was no reason to use good vinyl. Or so I thought. Imagine my surprise when I had my sign all correctly cut out and ready to go, only to discover the contact paper wouldn’t adhere to the painted drop cloth service. *double head smack.* Lesson for future projects: test out sample before cutting entire project.
In retrospect, I probably could have made this work. After two failed attempts, though, I just wanted it done already. It was time to start looking for a new solution. I contacted a friend from Idaho who had cut some vinyl for my windows back when I first got them. I showed her my artwork and asked her what she charged. When she replied a few days later that it would cost me $19 including shipping, I was more than happy to pay the amount.
Had I known that the vinyl would stick only marginally better than the contact paper, I may have skipped the expense, except for the fact that Jen’s cutter did all the aligning for me and that right there really was worth the money. My Silhouette could only do small sections at a time, so I would have had to align each section between the lines. Meh.
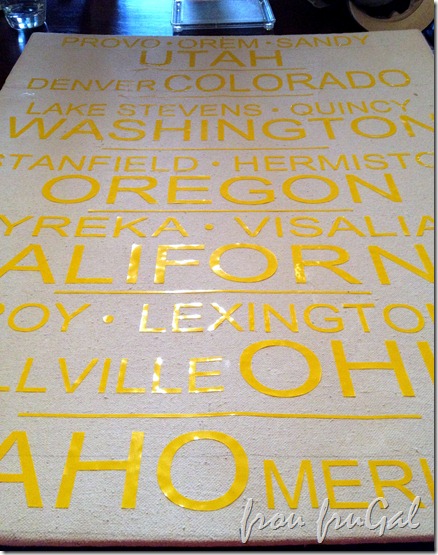
You can see by the shadows under the letters that they just weren’t sticking. I don’t know if it was the type of paint, the paint over fabric or what the particular reason was. I painted over the vinyl with another coat of White Fur, to try to seal the edges of the paint.
I didn’t take a picture of this step. I did this project by the glow and heat of a lantern while our power was out, so getting decent pictures was very hard to do. After the paint dried, I went over the sign with a deep teal color I had mixed at Walmart a year or so ago when I made my chalkboard globe.
I had planned to paint the background of the sign a solid color, but when I started painting, I saw this happen and I was instantly in love.
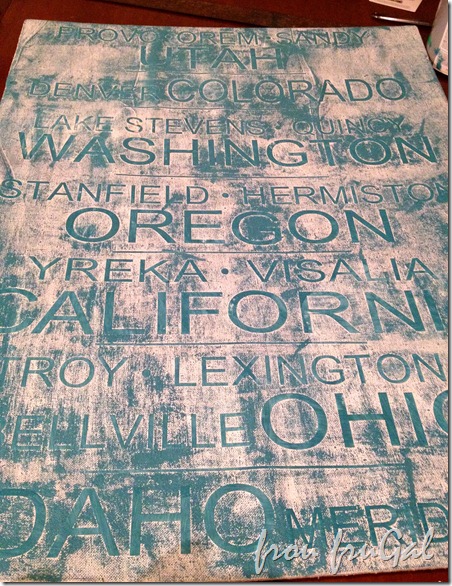
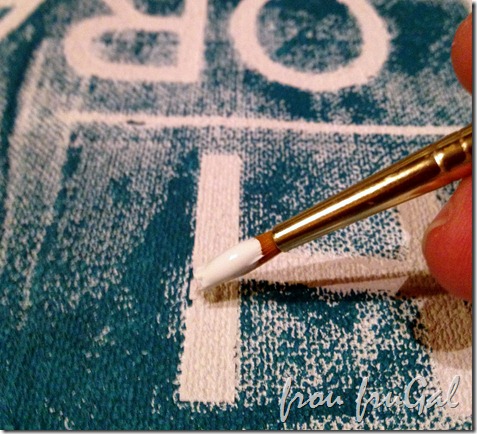
As you can imagine, I had some bleeds, but it was easy enough to clean them up.
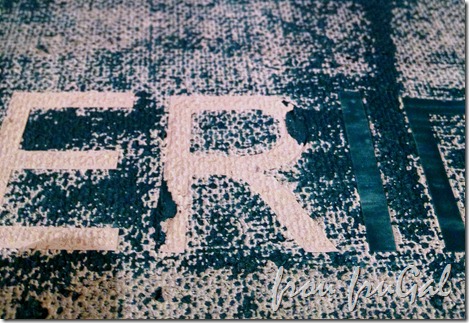
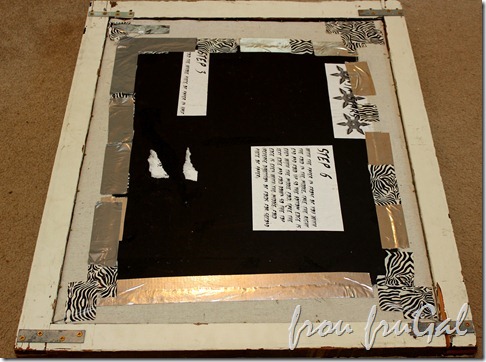
I shot some staples around the edges to hold the board in place. You can see how ghetto the back of this is, but on the plus side, if we ever forget Step 3 or 6 in how to build a Ninja Star, we’ll have a handy reference.
I did not attach any hardware for hanging the window frame. There is a nice ledge and a couple of well-placed screws in the wall have us in business. I love the texture in the canvas and I didn’t want to lose that by putting glass into the frame.
I love the this all put together. The dark teal is a nice pop of color in my room and looks very nice against my new wall color. The aged appearance of the canvas with the old window frame compliment each other very well.
Most importantly, I love the reminder of the journey that Hubs and I have been on since we got married. I grouped our places by state, but if you want to know the chronological order it would go: Provo, Denver, Lake Stevens, Quincy, Stanfield, Hermiston, Yreka, Visalia, Orem, Troy, Meridian, Sandy, Lexington, Bellville. That’s 14 villages/towns/cities, 7 states and 20 homes in 24 years of marriage. Sheesh. It makes me tired just typing it out!
Still, it’s been a great adventure and I’m glad I’ve had such a wonderful man by my side through it all.
Cost Breakdown:
-
Frame – Free
-
Posterboard & drop cloth – Free
-
Vinyl – $19
-
Brackets for back – $4
-
Paint, White Fur (Behr) Sample – $3
-
Paint, Teal – Free
-
Duct Tape – Free
Total Project Cost: $26
Total Project Time: About 5 hours, but mostly from all the messed up vinyl cutting.
Have you created any meaningful artwork for your home or bedroom? I’m making a big push to finish up the room and get to a reveal for the project. If you want to see the other projects I’ve done on this room, go to the FruGal Projects tab at the top of the page and scroll down to the Master Bedroom section.
Suesan

