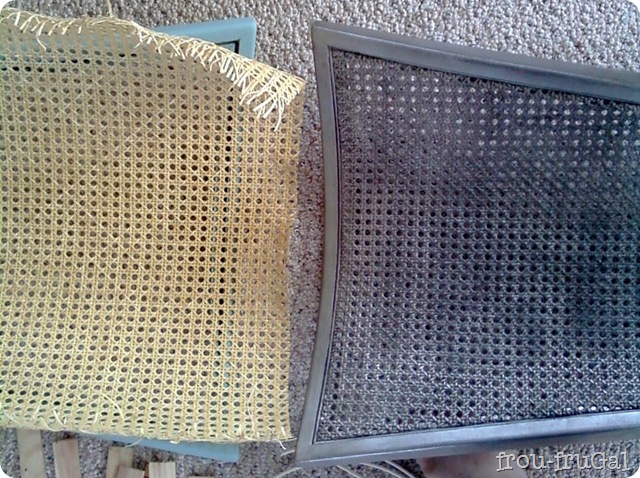
Edited: Last April I did a tutorial for
Miss Mustard Seed to show how to replace caning. At the time I wrote the post, I was a little unfamiliar with Blogger and I scheduled the post to run on my blog a year later and then immediately forgot that fact. I’m not quite sure why I did that.
Anyhoo, imagine my surprise today when a friend commented on this post on Facebook. It was one of the few days I was away from my computer and couldn’t fix it. What follows is the post as it appeared on Miss Mustard’s Seed’s site on April 14, 2011. I made a few edits to fix the links and some of the wording, but I think it’s still a good tutorial. If you have the opportunity to replace caning, I hope this can be of some help to you.
Enjoy!
______________________________________________________
I’m so happy to be here on Miss Mustard Seed to show you how to replace Cane Webbing. While many people think this is a daunting task, it’s actually a pretty easy process. I think you’ll be thrilled with the results.
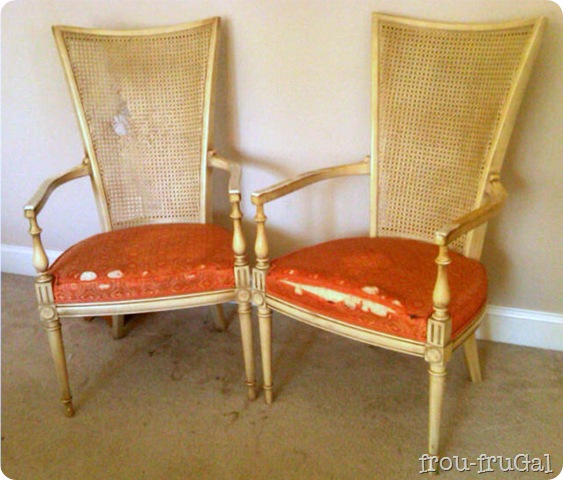
A few months ago I snagged these chairs off of Craigslist for $20!
The owner accidentally put a hole in the cane webbing while moving them, which made for the great deal.
Replacing sheet cane webbing, also called caning, is not hard, but there’s a lot of information to share with you to help you in this process.
In this post, I will show you how to remove the cane webbing and install new webbing.
I wrote a separate post about how to
Get Started which will help you determine what type of webbing you have, and how to purchase the cane webbing material and supplies. If you plan to give this a try, be sure to bookmark both tutorials.
Removing the Webbing
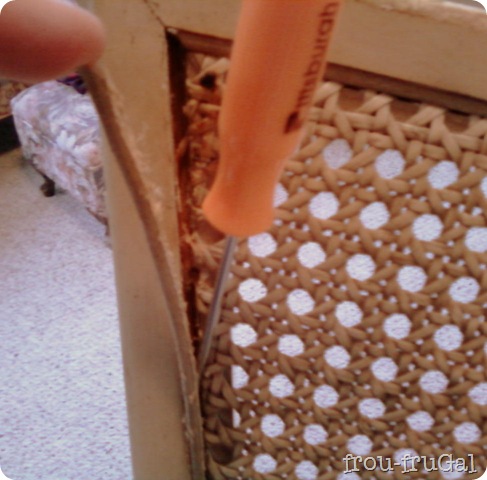
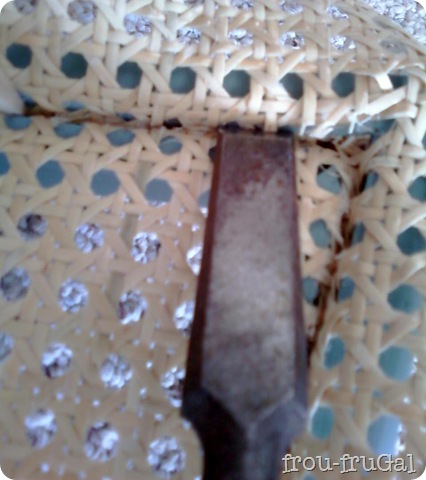
The first step is to remove the old webbing. Start by removing the spline. Carefully, insert the tip of a utility knife between the spline and the frame. The spline is glued in, so you’re trying to cut through the glue join and loosen up the spline.
If you want, you can spray a mixture of vinegar and water onto the spline to help loosen the glue. For my chair, I sprayed some on, but felt like I didn’t really need it. Once I got the knife into the space as shown above, I was able to pry up the end of the spline.
After you have a hold of the end of the spline, just keep prying and lifting to pull it out.
The tool I’m using above is an awl. It has a sharp point on the end and I was able to slide it down the groove behind the spline, while pulling the spline out with the other hand. It came out pretty easily. I used this particular tool based solely on the fact that it fit in the groove.
Not all chairs will come apart as easily. A hair dryer can help loosen the glue, too, but it will also burn the cane a bit. You might need to use the utility knife to cut out the spline. Be careful to keep the frame intact. Try to not chip off any wood in the groove.
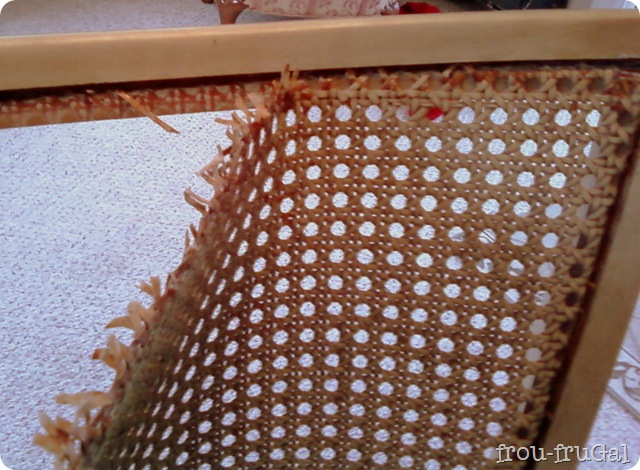
Once the spline is removed all the way around, pull out the webbing.
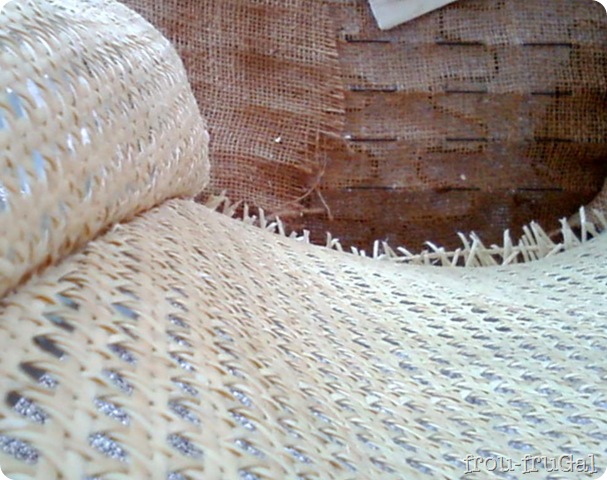
The webbing is glued in, but you should be able to pull it right out. Try to keep the old webbing in one piece as much as possible to help measure the new webbing, especially if your opening is an awkward shape.
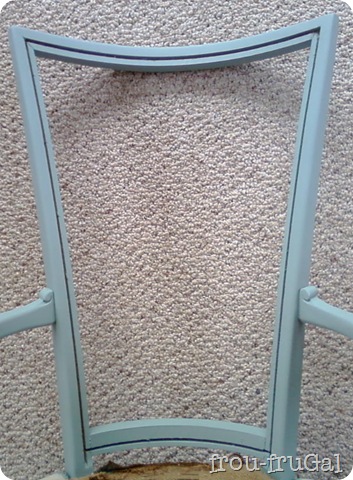
Once you have all the webbing removed, clean any remaining bits and pieces of cane out of the groove.
If you plan to stain or leave the cane natural, now is the time to paint or refinish the chair frame.
Purchase New Cane Webbing
You will need to measure the area to be filled or measure the old webbing to determine the size of the new cane webbing. You will also need to measure the width of the groove to determine the size of the spline you’ll need.
Installing the Cane Webbing
Once you have your cane supplies, be sure to measure it against the opening to make sure you have the right size. It never hurts to double-check. Don’t ask me how I know this. I don’t want to talk about it.
Once you’re ready, fill up your bathtub with enough warm water to cover your webbing. Let it soak for about an hour to help the cane become pliable. Do not become alarmed if some of the cane turns a greenish color. This is normal and it will go back to a natural color once it dries again.
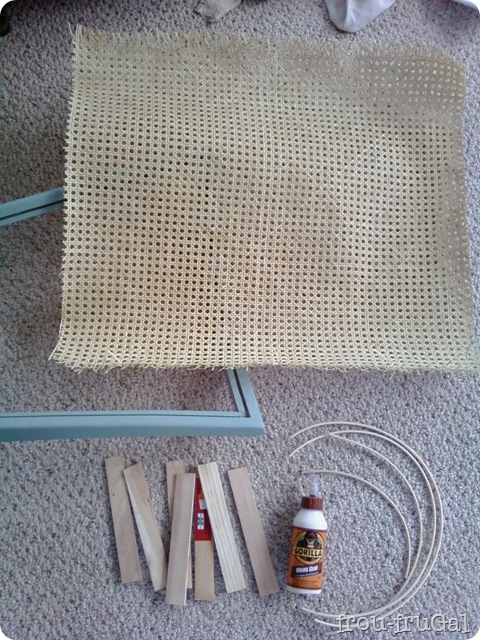
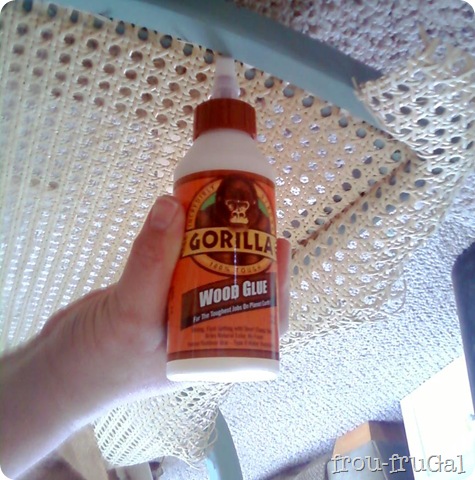
While the webbing is soaking, you can gather your additional supplies. You will need some wedges, or shims cut to fit into the groove. You’ll also need some wood glue, the reed spline, a utility knife with a sharp blade and a chisel.
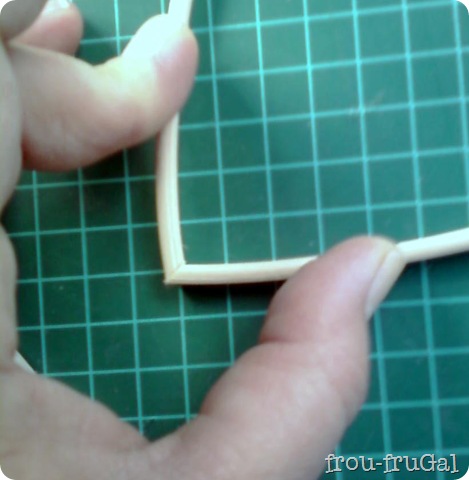
If your piece of furniture has corners like mine does, you’ll want to make a mitered cut for the corner pieces to fit together. Cut your reed spline to fit the groove.
If your caned area is circular, you want to cut enough reed for the entire circumference, plus a little extra for the overlap. I’ll explain how to do the overlap in a minute.
A utility knife with a new blade will cut the reed with some firm, downward pressure. You do not need to saw it back and forth. Just press down on the knife to make the cut.
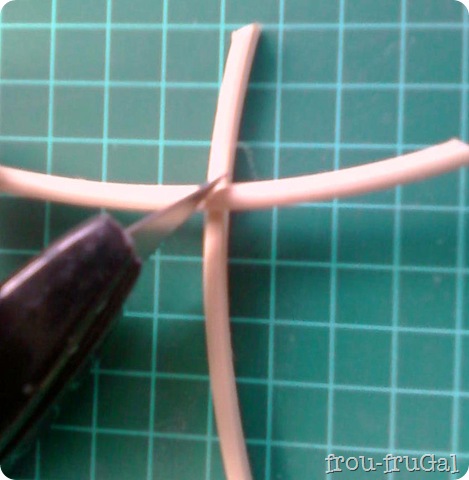
I overlapped the reeds, trying to cross the reed at a 90-degree angle as much as I could. Then I lined up the knife blade on the diagonal and cut through the reeds. This gave me a nice, mitered corner.
Once your webbing has soaked for a while, you need to remove the excess water. Let it drip for a few minutes, or, if you have a tub like mine that apparently doesn’t hold water for very long, when you come back an hour later all the water will be gone and your webbing will be ready to use.
I love how my bathtub anticipated my needs!
I put the chair on it’s back to make it easier to work with.
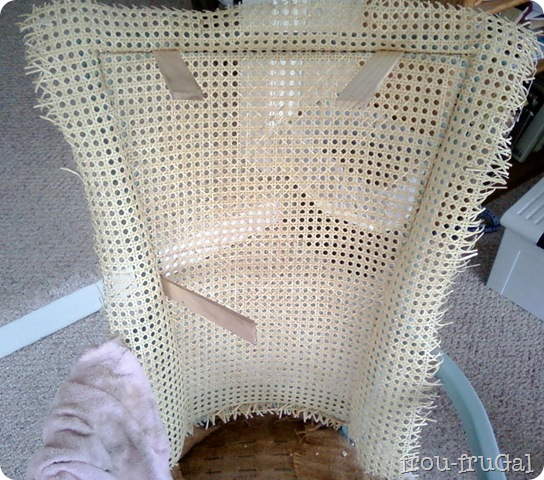
Line up the webbing over the opening.
DO NOT cut out the webbing before fitting it in.
It’s better to work with plenty of extra webbing because you may need to adjust the webbing as you go along.
I used the completed chair as a guide to see how the lines of the webbing matched up against the frame of the chair.
The shape of this chair made lining up the material a little difficult. There were no right angles on the frame to use as a guide for the webbing.
If you’re working with a circular area, you’ll need to eyeball how the webbing lines up with the back and front of the chair.
Find a straight line on the frame of the chair to use as a guide.
Once the webbing is in position, using one of the wedges or shims, push the webbing into the groove.
Be gentle at first. You don’t want to break the fibers of the cane.
You don’t need to shove it all the way to the bottom of the groove at first. Just try to work it into the groove and then come back around to get a tighter fit.
When you upholster, you attach one side and then do the opposite sides to get a tight fit. In webbing, I find it easier to start at one point and work in a clockwise fashion around the area.
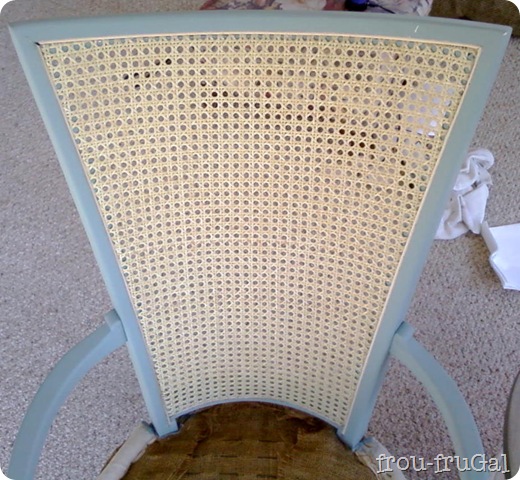
You want the webbing to be flush against the frame. See how it lays flat against the frame in the picture above?
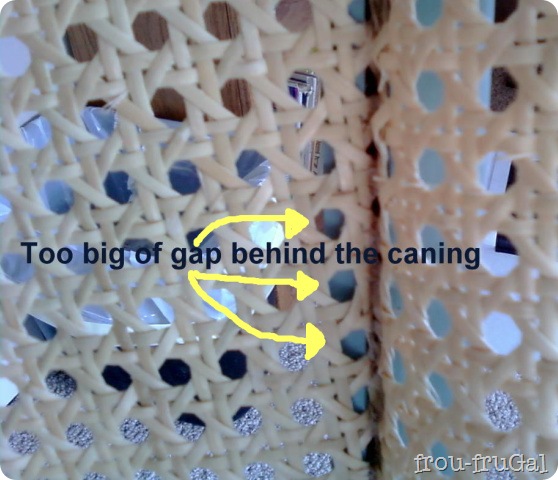
I had to pull this section out, below, to get it tighter.
Because of the curve of the back of the chair, it was important to get the webbing tight against the frame. If the webbing is tight against the frame, it will form the correct shape along the back. I really had to use the finished chair as a gauge.
As you get the webbing in tighter, you can leave some of the wedges in place to help hold it. You may not get it in as tight as you’d like the first time around.
The webbing does tighten as it dries, but it should be snug
against the wood frame all the way around, before it dries.
Once the webbing is in tightly, cut off the excess.
DO NOT use the utility knife to cut the webbing. It will be too easy to pull it back out.
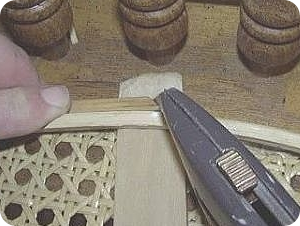
Using a chisel, gently tap against the webbing to cut it. You want to cut the webbing below where the spline will go. If you don’t, you’ll have little ends of webbing sticking out above the spline.
My webbing was getting pretty dry by this point because I had to keep taking work breaks (I work from home).
I could cut the webbing by wiggling the chisel from side to side and putting some pressure on it, but it was easier to give the chisel a few taps from the hammer.
After you’ve cut off the excess webbing, squeeze a bead of wood glue into the groove and insert the spline.
Firmly push the spline in with your fingers, then come back with the back of the chisel to push the spline down further into the groove.
If you are working with a circular area, you want to begin and end the spline toward the back where the join won’t be as noticeable.
When inserting the spline on a circular area, leave the beginning and end of the spline out of the groove for a couple of inches.
Once the spline is in all the way around, overlap the two ends of the spline, put a shim underneath the spline and cut the two pieces at the same time. This will give you a tight join on the spline.
Push the spline into the groove after the cut. If you didn’t get your spline joins as close as you’d like, you can fill the gaps with a little wood putty.
Wipe off the excess glue and allow the chair to dry for 24 hours before painting, staining or sealing.
That’s it! I really believe that replacing the cane webbing is an easy process. It took me about 30 minutes
to remove the back, and maybe another 2 hours to install the new webbing, and that includes the hour of prep time while the cane webbing was soaking.
Thank you, Miss Mustard Seed for hosting this tutorial.
_______________________________________________
The final reveal of these chairs appeared on my blog on June 22, 2011. I showcased my
Aged Silver Finish technique in that post. Click on over if you missed it and want to see the final results.
I bought these chairs thinking I would sell them, yet I still have them in my home, even though they don’t really fit in our new home. I’m thinking of selling them but I’m having trouble parting with them. Maybe once I turn my attention to our front room I’ll be ready to make a decision about them.
I hope you find this tutorial useful. Feel free to send me an email or leave me a comment if you have questions.
Suesan
Thank you for reading Frou-FruGal. For more projects, please click to my site, http://froufrugal.blogspot.com
