Hobnail Milk Glass Lamps, Part 1
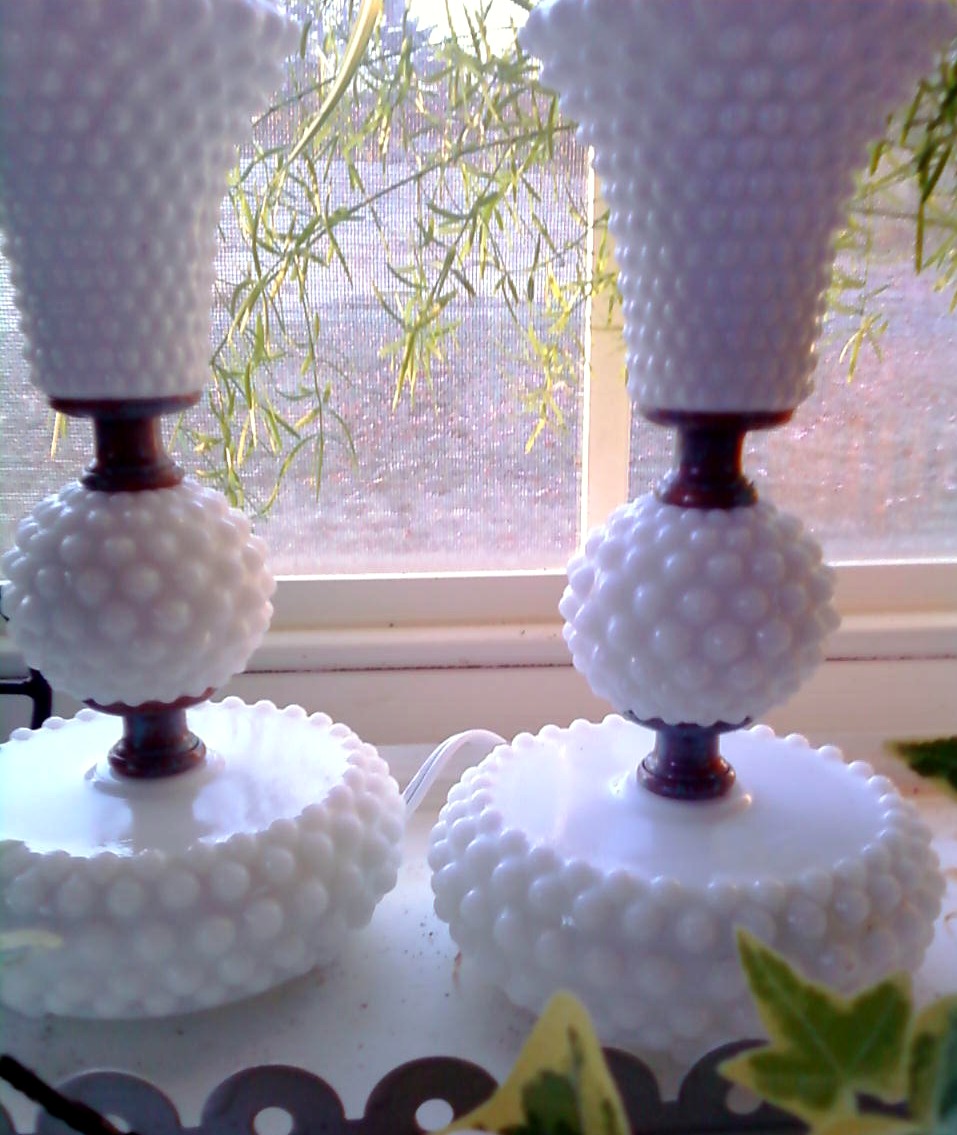
I love going to thrift stores and seeing what treasures I can find. However, I have to be in the right frame of mind to go into one. Some thrift stores can be down right scary – and not in a fun way. That said, one of the most beautiful things I ever found was in a Salvation Army that was in one of the most hole-in-the-wall, this-building-should-be-condemned, I-need-a-shower-after-I’ve-been-there-to-wash-the-cooties-off-of-me buildings I’ve ever entered. I posted the dress here.

The cord was so old, it was brittle and breaking when bent. The metal was rusty in some parts and shiny in others. While I really liked the juxtaposition of the rust with the milk glass, it wasn’t uniformly rusty and that was irksome.
If you’ve been following me, you know I’ve been in a copper mood for awhile now. I knew that I wanted all the metal to be a copper finish. It would be a close look to the rust, and would also incorporate the colors in my home.
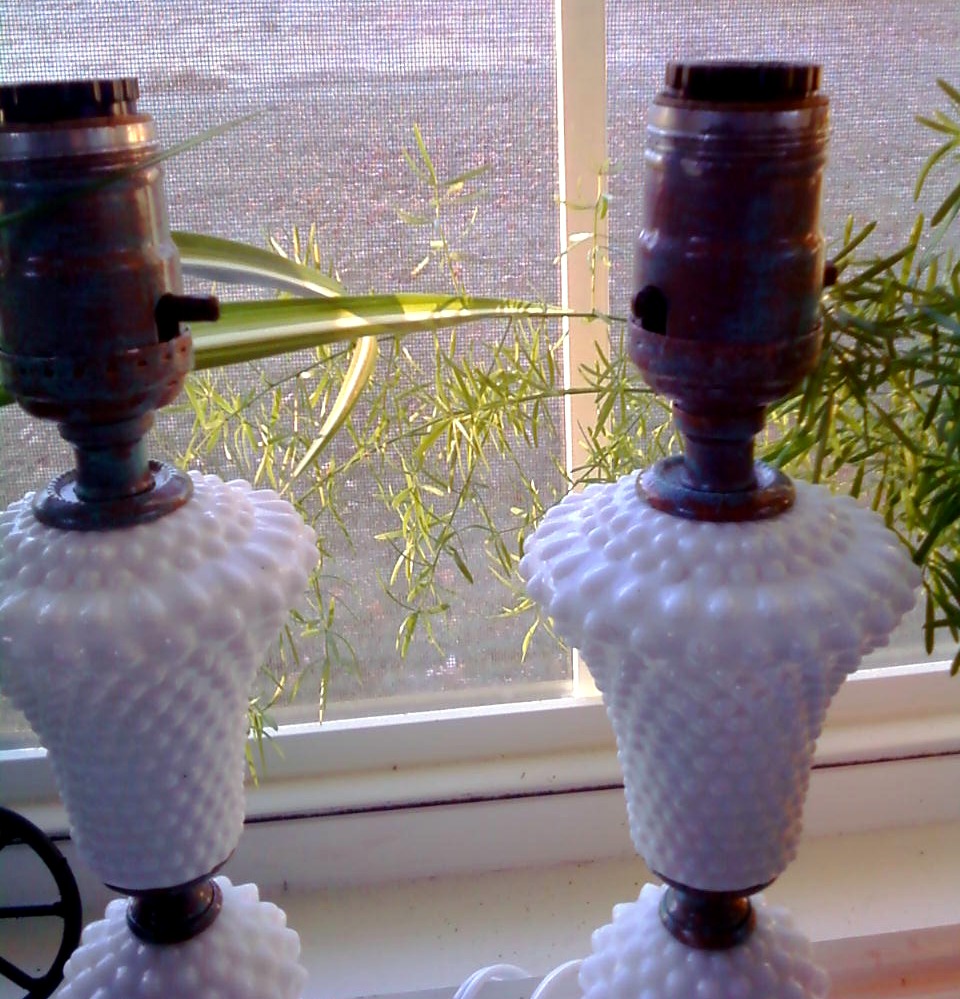
I started by taking the lamp apart. Just unscrew the nut at the bottom of the lamp and all the pieces will slide off the hollow metal rod that runs through the lamp.
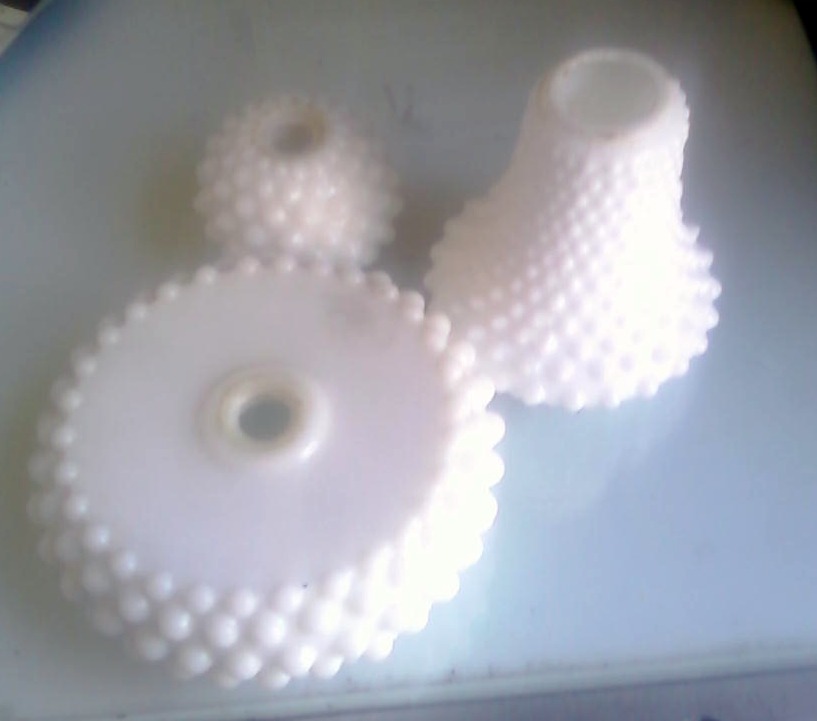
Next, I cleaned up the milk glass.
There was rust and some stains on the glass, and a good scrubbing got them all purty again.
Next, I busted out my well-used can of Krylon’s Fusion for Plastic spray paint in the Hammered Copper finish. I had just enough in my can for this small amount of metal. I threw away my can before taking a picture, but here’s what my can looked like:
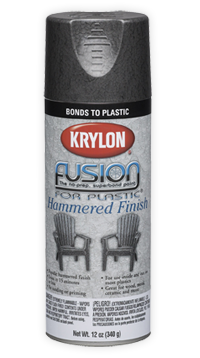
Imagine a copper colored lid, and you know what I used!
Before you get all confused, you can use the paint made for plastic on other materials, too. Krylon says so. I originally bought the paint for some plastic planters, and it’s what I had on hand.
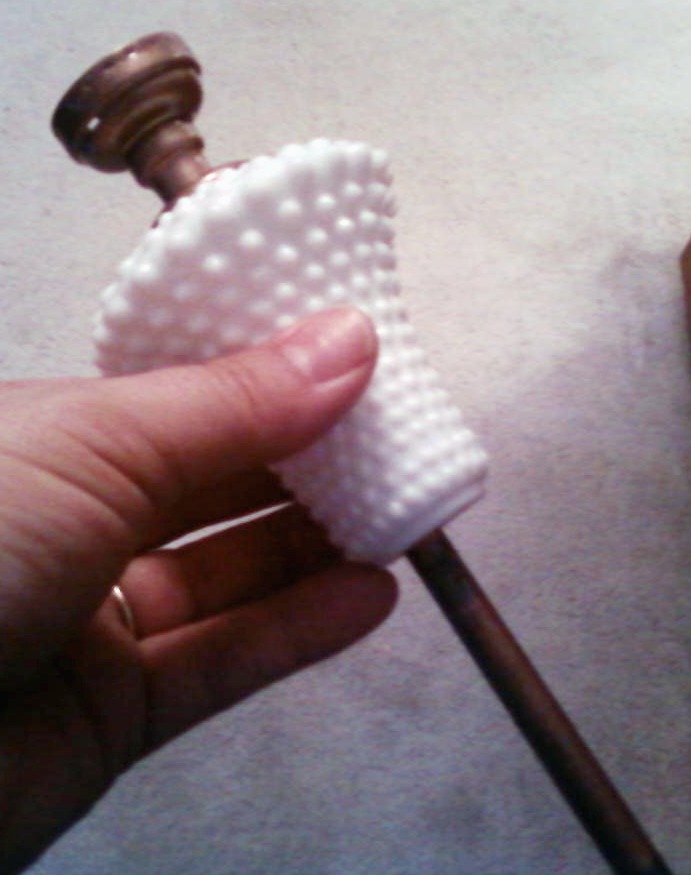
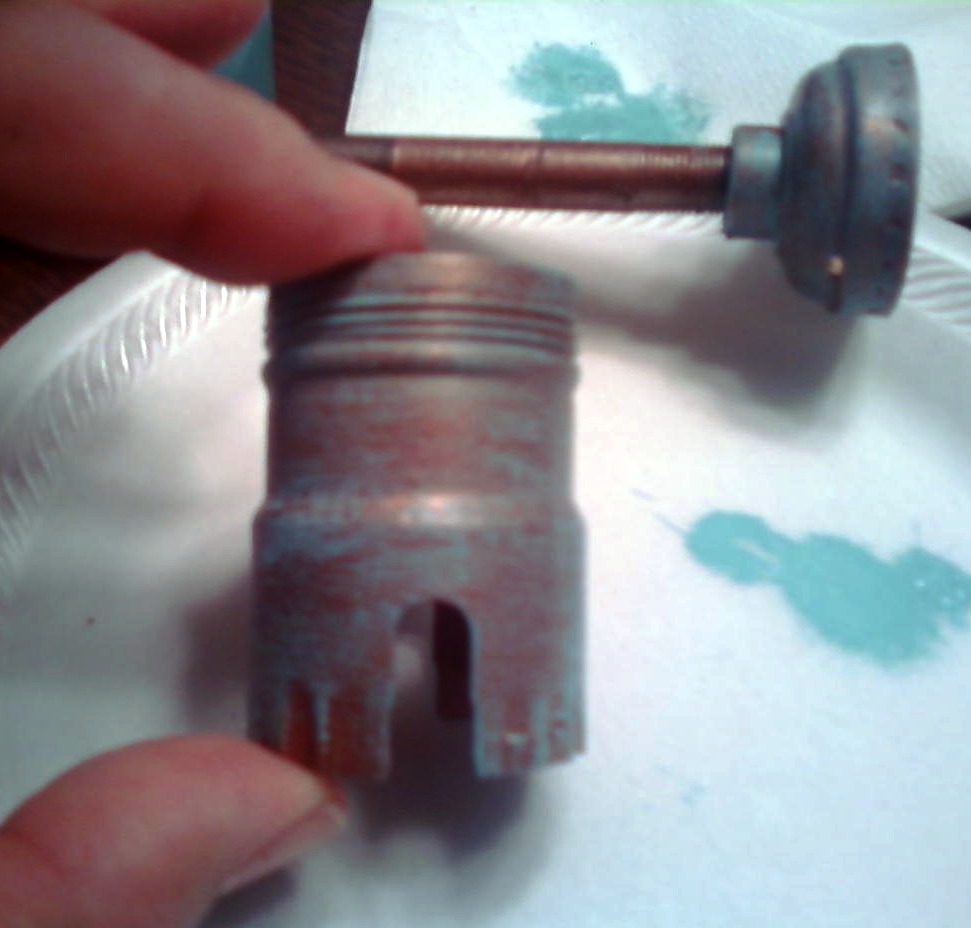
Here are the pieces that needed painting:

(Insert BPA–Bad Picture Apology–here)
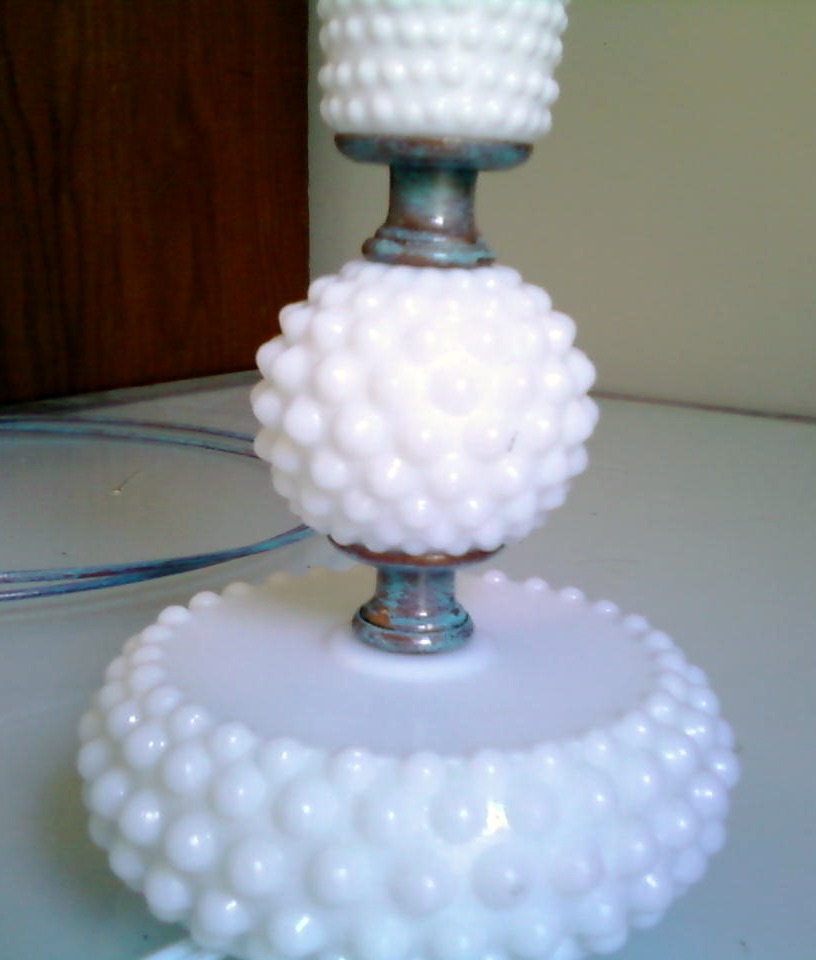
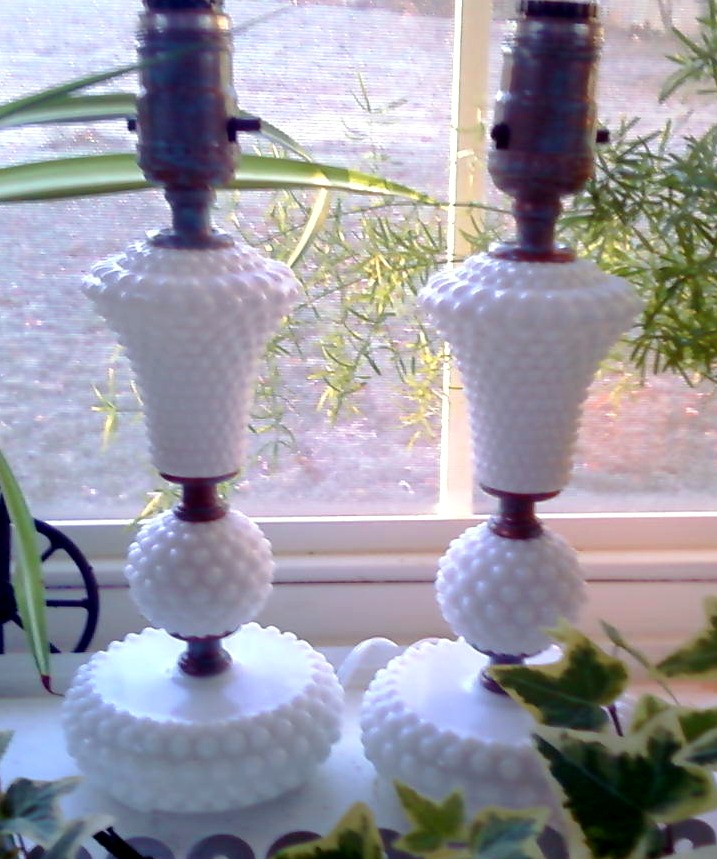
I then threaded the lamp back together to see how I liked it. I tried several variations of the layers, but liked the original composition the best.
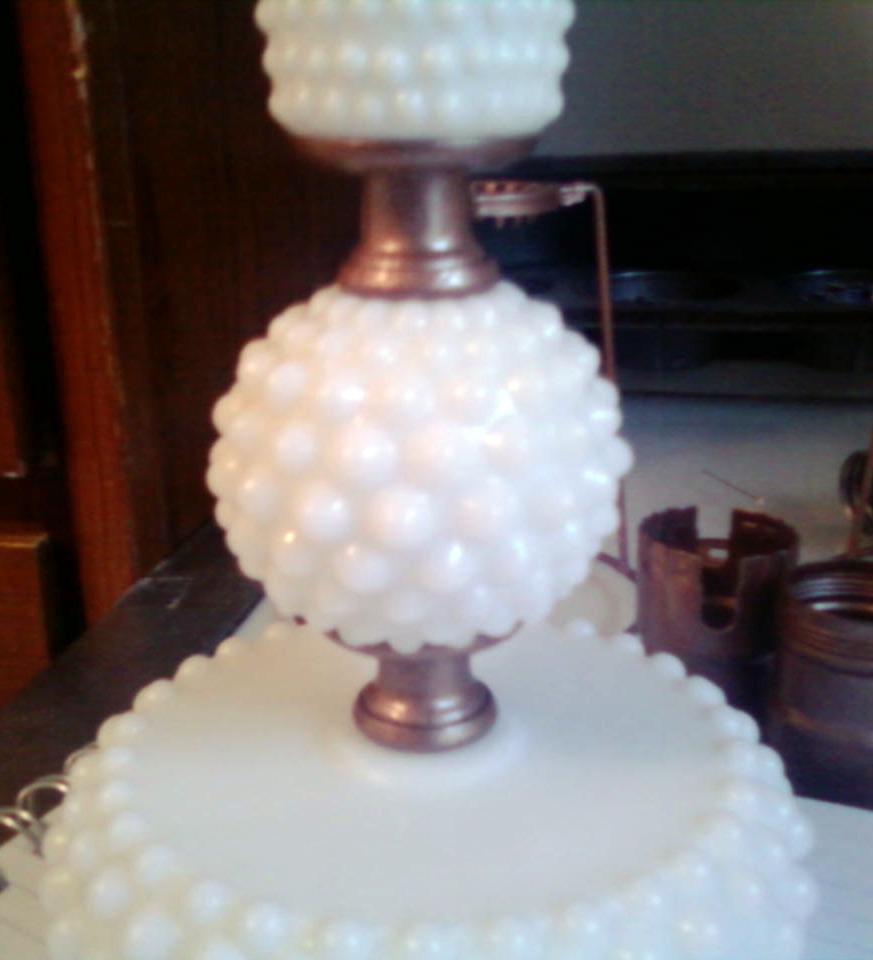
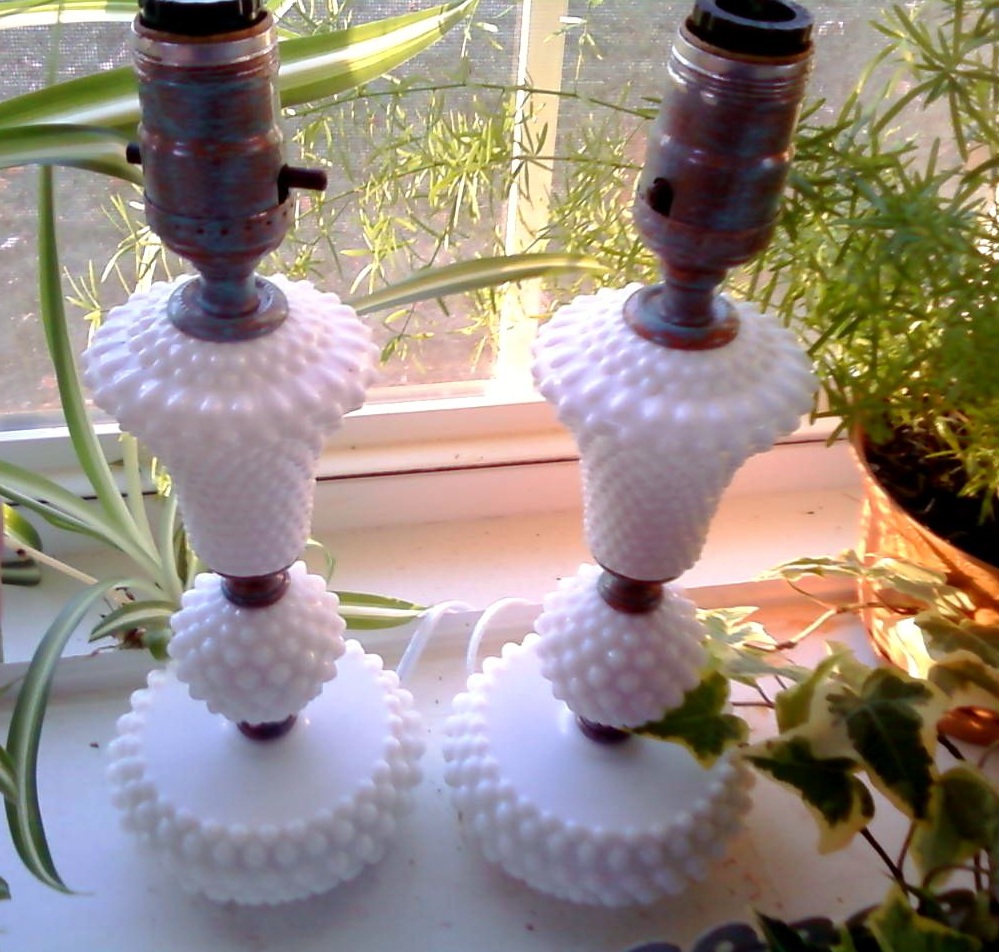
While I like the copper on it’s own, I also love the patina of the verdigris look. I dry-brushed on my True Value, Color Made Simple in Fairytale paint (note to True Value: Consider renaming this color Verdigris, Oxidation or Tarnish. It’ll be a big hit!). I sealed the metal pieces with some clear acrylic sealer to give them some shine.
I put the lamp back together again. Ahhhhh……Much better!
Rewire Your Lamp
FruGal Tip: If you have a Menards, they have a wonderful selection of electrical parts for lamps and they’re prices are much lower than the “other” box stores.
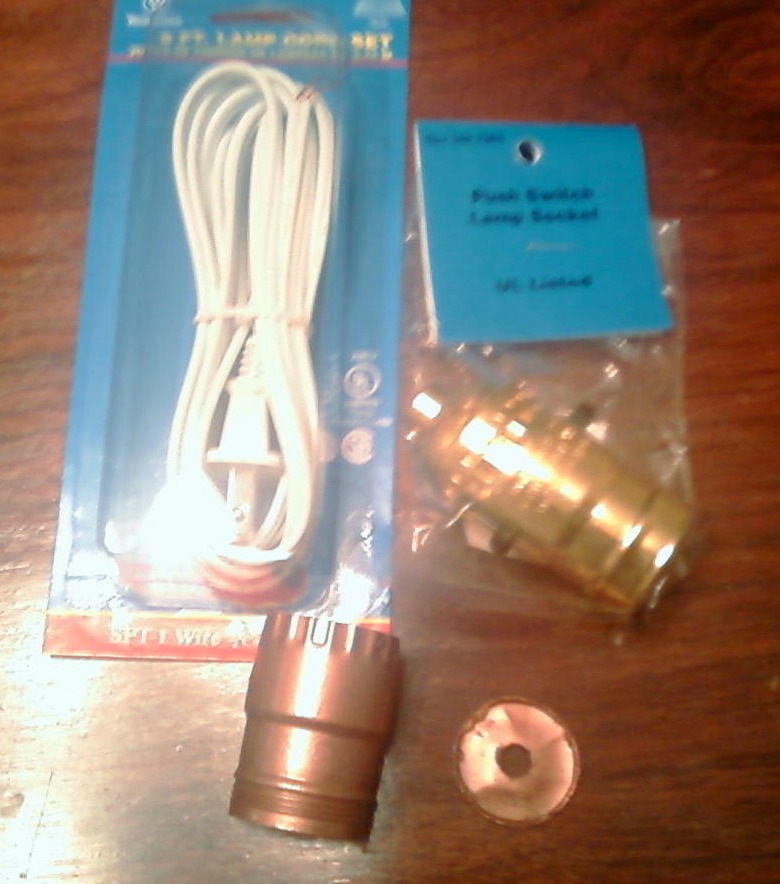
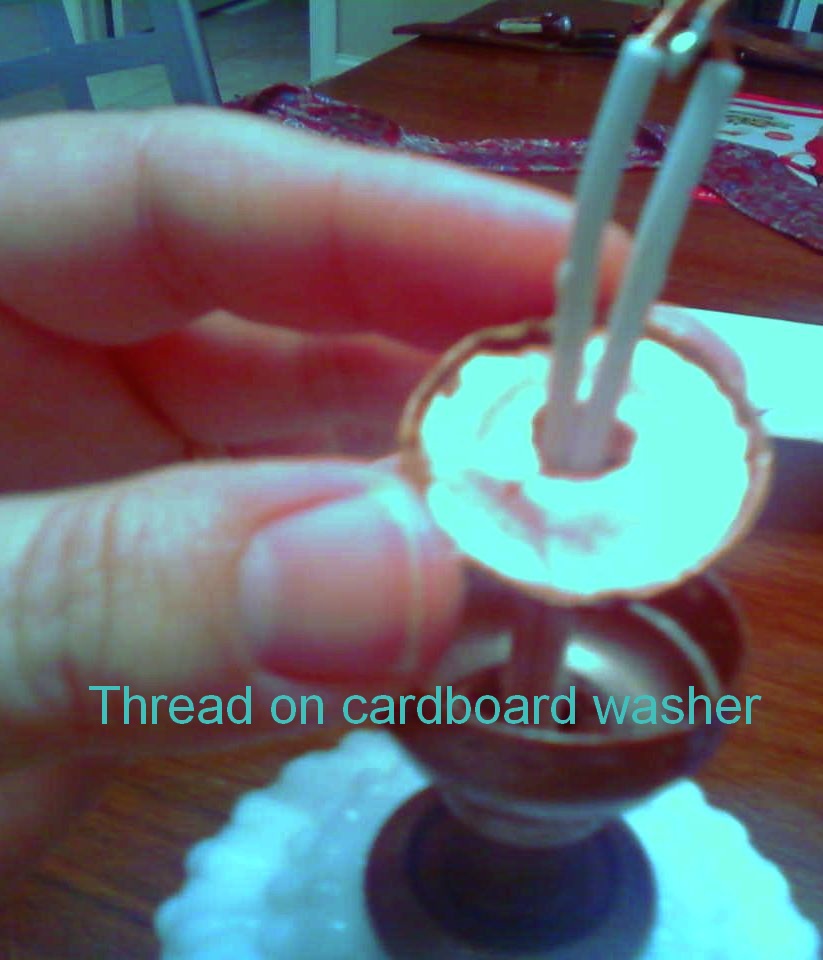
Thread the Cord Through the Lamp
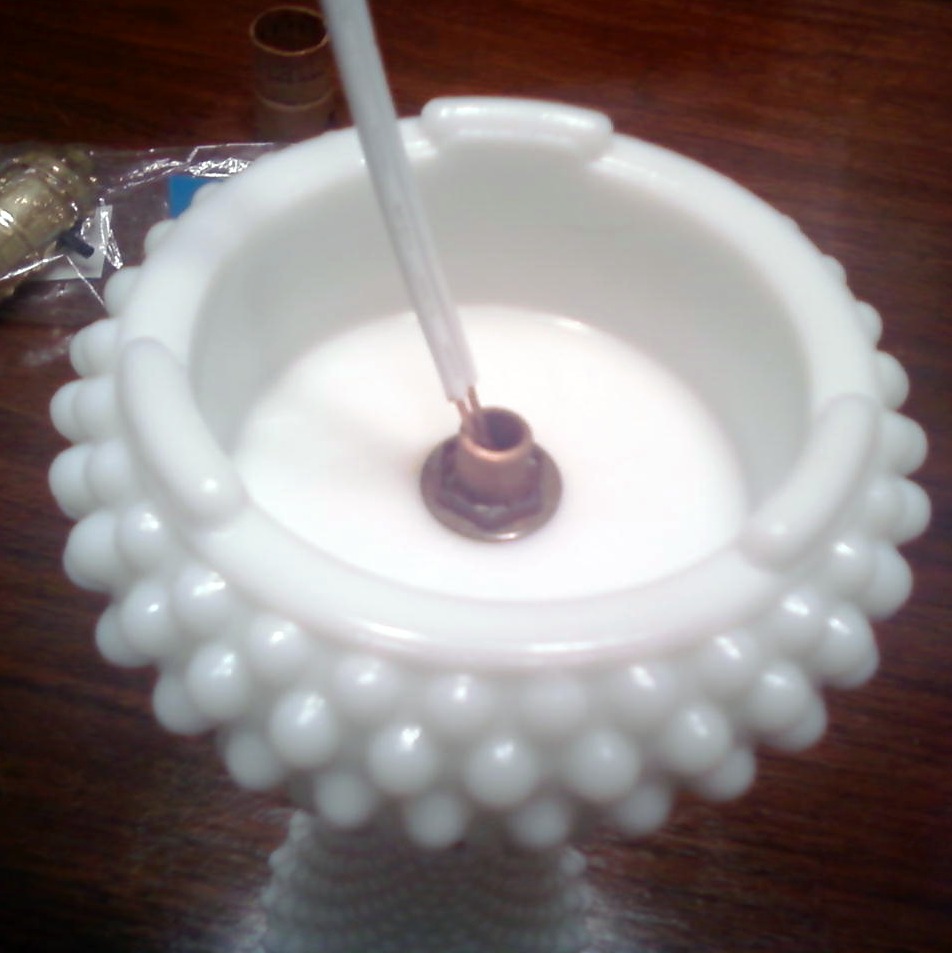
The cord should go right through the bottom of the lamp and out the top. Easy, right?
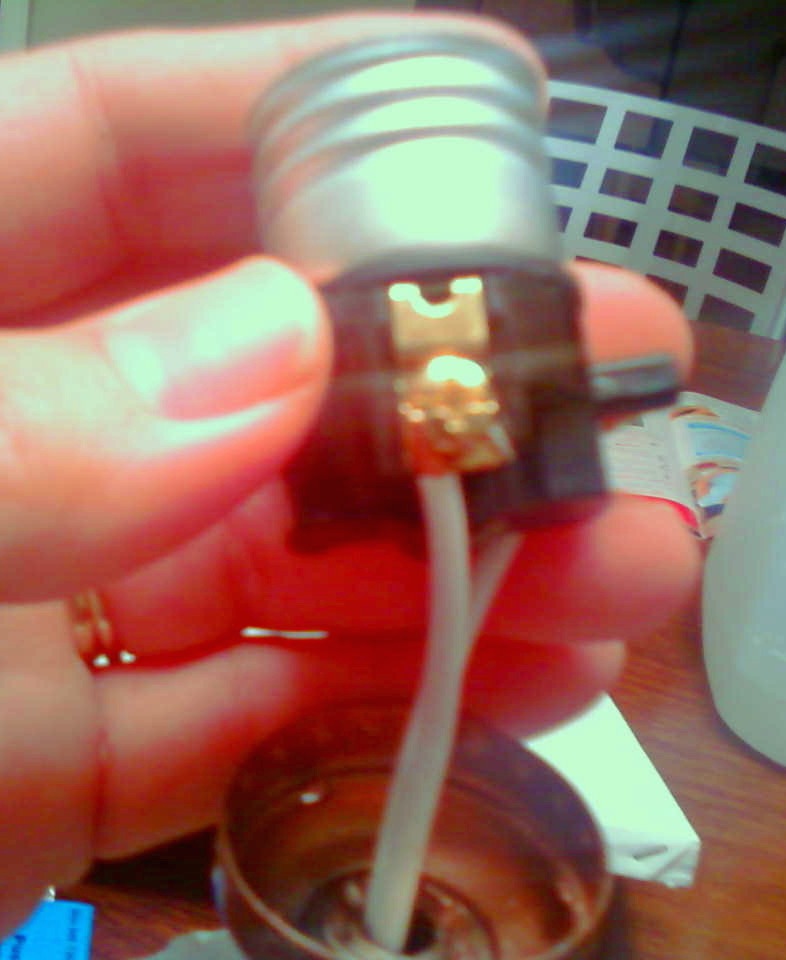
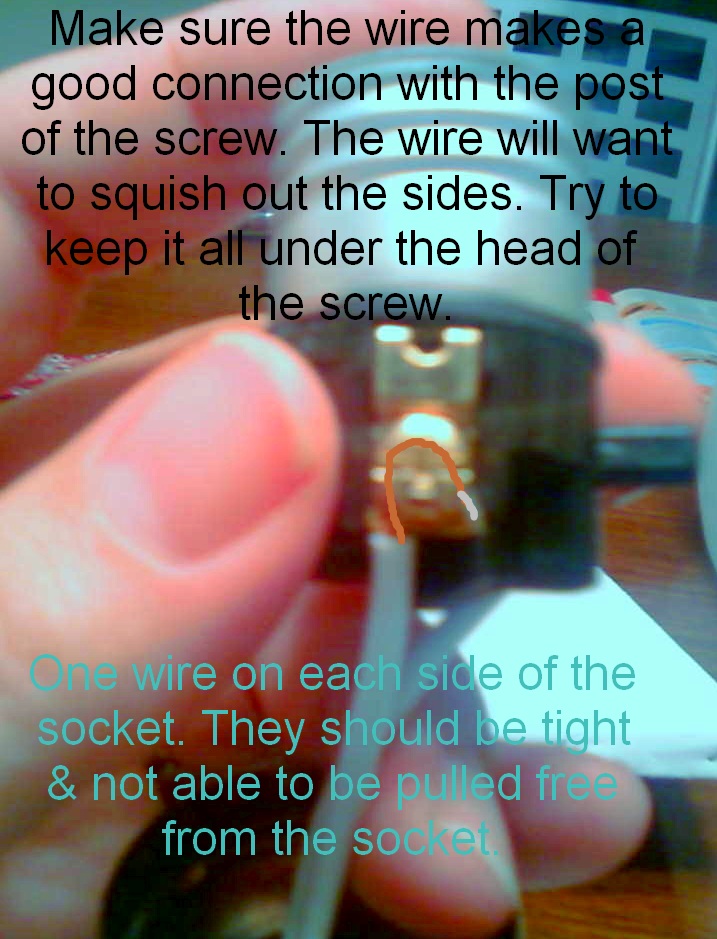
BPA – I’m seriously sorry for the bad pictures. It’s the best my cell phone camera can do.
I decided I wanted candle lightbulbs in this lamp, so I bought a little socket converter do-dad. It looks like this:
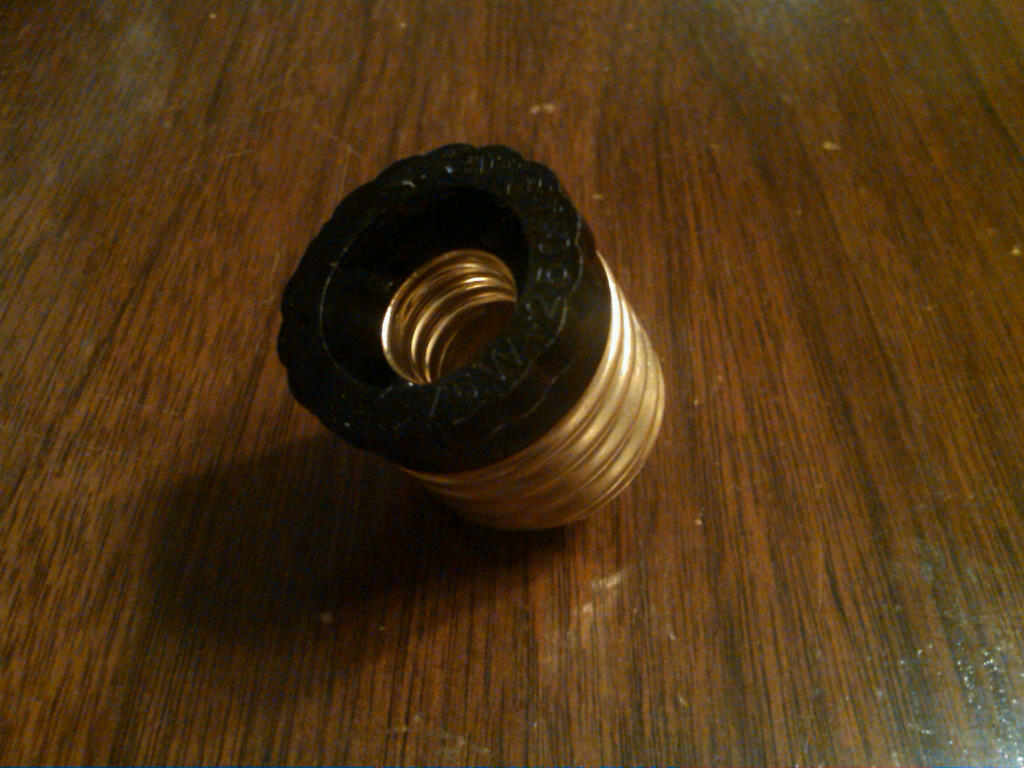
It just screws into your lamp.
Put it all together and what do you have?
Copperized Vintage Hobnail Milk Glass Lamps
I may have to work on the name.

I’m also entering this month’s:
