Master Bedroom Makeover–The Reveal
I hate calling this post a “Reveal” because this room is not quite the end vision I had in mind. It’s pretty close, but due to one of those life-has-other-plans-for-you moments, this is the most “reveal” I can show. If you are new here, you may not know that we had to move to a new house before we could finish this bedroom makeover.
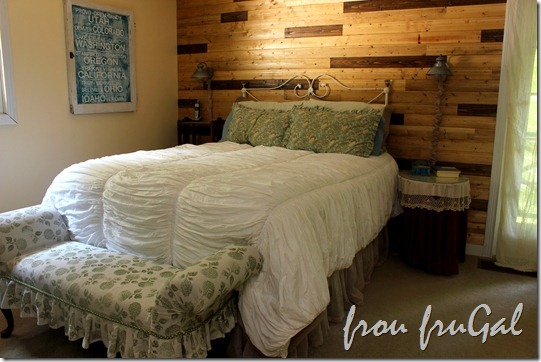
I won’t drag it out for you. Here is the final look of the room prior to our move.
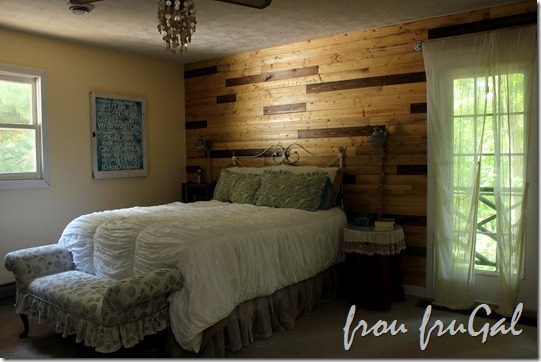
I finished the faux pallet board wall two weeks before we got the notice we had to move. D’oh! *face palm* I cannot tell you how sad I was to leave this behind. I was just gearing up to make new nightstands for the sides of the bed and to make the curtains. Sadly, life can and does change on us whether we want it to or not.
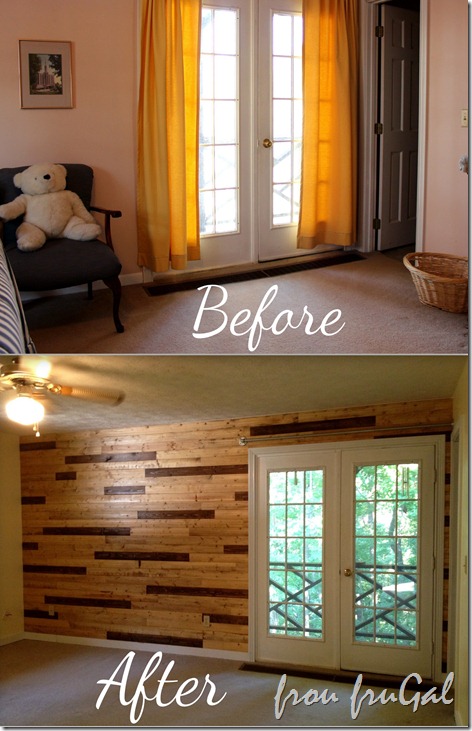
Here is the wall just after we had moved our stuff out. I had actually stained the boards three different colors, but the difference in color between the light and mid-range version are not that noticeable. If I were to do this again, I would have made it more obvious.
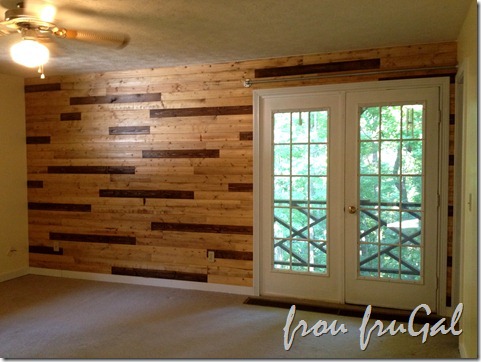
Even though I showed Hubs pictures of what I was trying to do on this wall, he didn’t really understand. I got as much input from him as I could about his preferences and then just said, “Trust me.” I think he’s finally coming to accept that I have good ideas in my head, even if I can’t always share what that idea is beforehand.
I followed the directions from the Creative Little Daisy blog on her Palletless Pallet Wall. Her instructions are great so I’m not sure there is anything I would add to them. It cost about $87 for the wood and another $40 for the baseboard and closet trim. I replaced the baseboard when I did this project, as the old baseboard was kind of wimpy. For the record, with the exception of about three boards, I cut and installed all the woodwork myself.
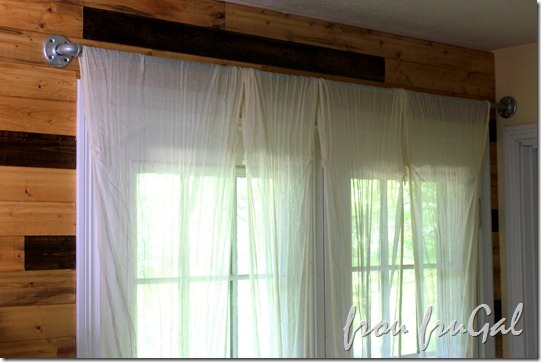
I made the curtain rod out of electrical parts. The “curtains” are lengths of cheesecloth that I wanted to smock to make into curtains. This look won’t work in our new home because we don’t have the same level of privacy in the new bedroom. I’ll have to come up with a different plan.
I painted the walls a soft yellow color. This room is very shaded by the trees around the house, making it very dark throughout the day. I wanted a warm color in the room to counteract the shade. The yellow mostly looks like a heavy cream color, but at night it appeared the yellow that is really is. It’s a nice, soft neutral color for this space.
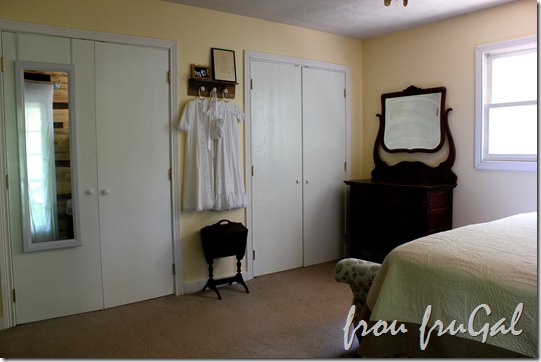
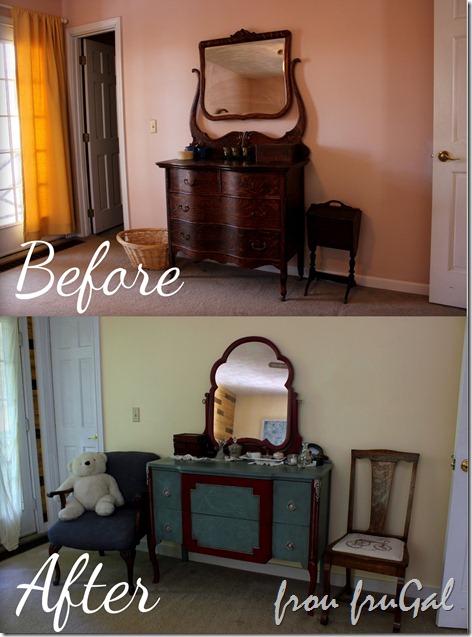
The dresser didn’t really work in that narrow space by the closet (there is a baseboard heater to the right of it that keeps it from moving closer to the window). I had been keeping my eye open for a serpentine highboy for that space and I had actually found one on Craigslist, but was too slow and lost out to someone else.
I never really liked both dressers in this room. If I had found a highboy, I would have moved the antique dresser back to this wall and given the blue and red dresser to Katie.
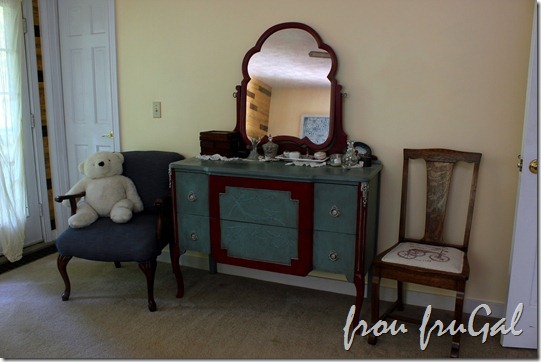
As for the chairs, I had planned to make a slipcover for the blue chair or reupholster it altogether. I’ve actually reupholstered the chair twice in the last 24 years so I was leaning more toward a slipcover. We have room for one of the chairs in our new room, but I’m not sure if both chairs will fit. It might be a weird fit. I’m still trying to figure it out.
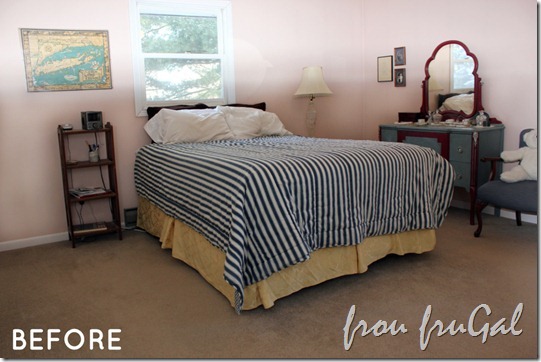
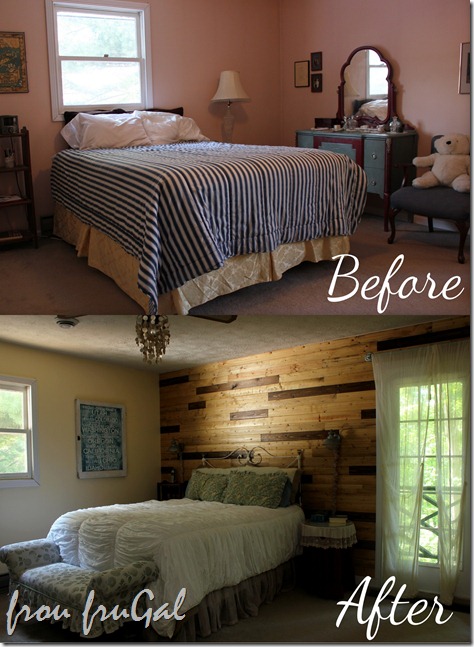
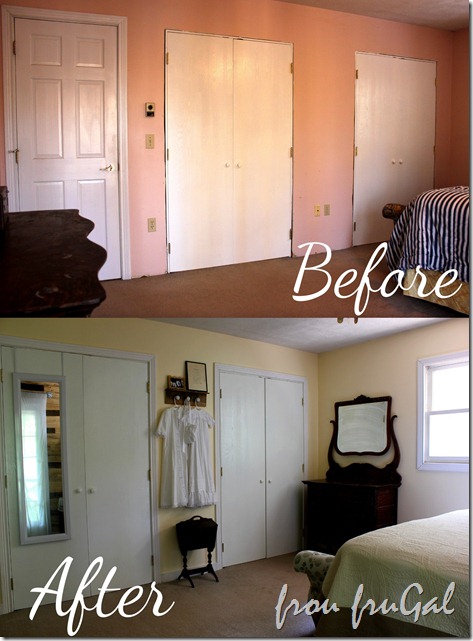
In case you missed it, the before of this room looked like a muted rainbow had exploded in this space.
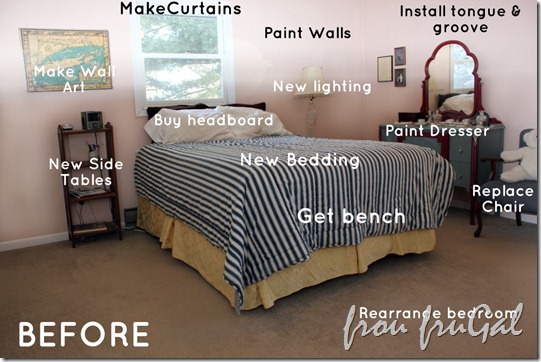
My plan to improve the space went something like this:
You can see the new wall color and the tongue and groove in this post. I did not paint the dresser or create the new side tables. I started out by Buying New Bedding and a Bench for the end of the bed
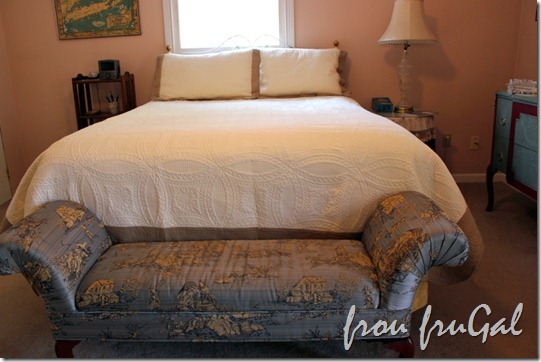
as well as a Craigslist Headboard that I spruced up with some glass doorknobs.
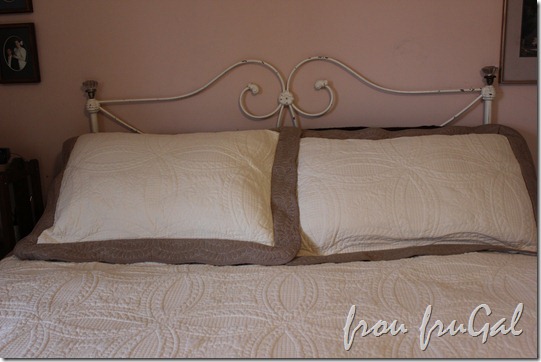
Next, I made Bed Skirt out of a Window Scarf that I picked up for $6 from Goodwill.
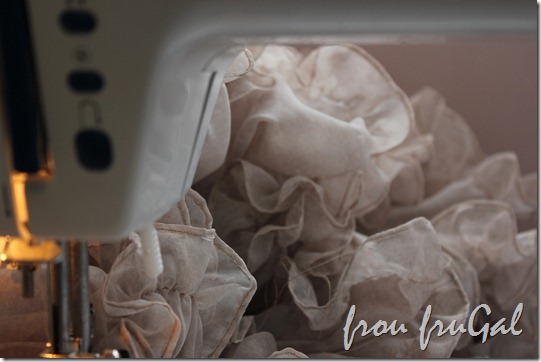
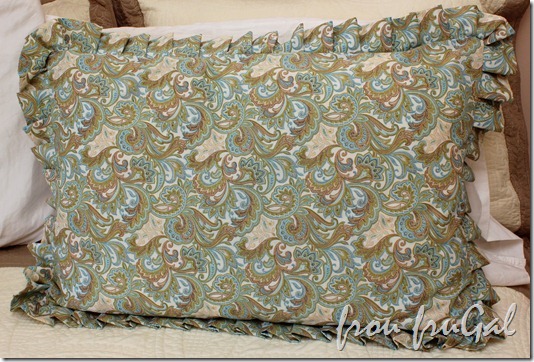
Up next in the sewing phase of the makeover were some Pleated Pillow Shams that I made following the tutorial from Centsational Girl.
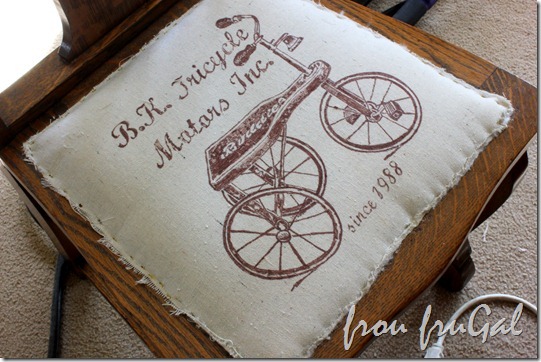
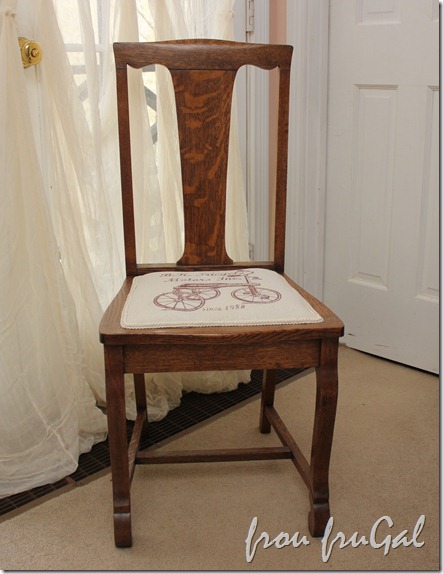
Taking a break from the sewing, I created a Custom Seat for a New Chair by drawing on a drop cloth with a Sharpie.
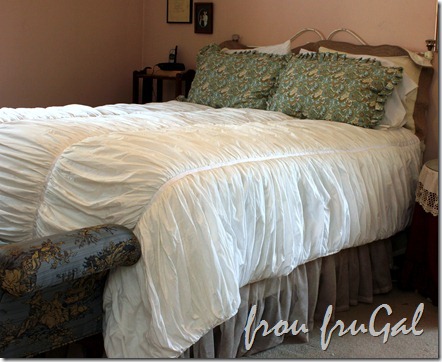
I almost cried “Uncle” and threw in the towel on the whole room makeover after cranking out the quilt project to end all projects. My Knockoff Pottery Barn Quilt sure is pretty, though, so I’ve forgiven it for all the headaches it caused me.
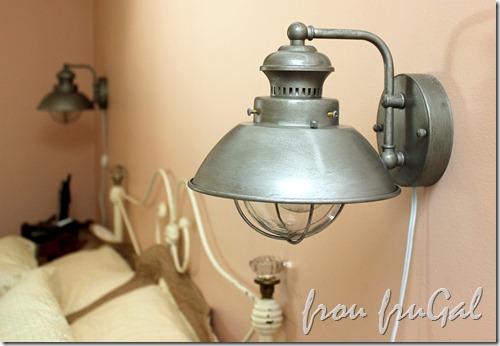
Wanting nothing more to do with any kind of sewing for a good, long while, I turned my attention to the lighting and created a couple of Industrial Side Lights
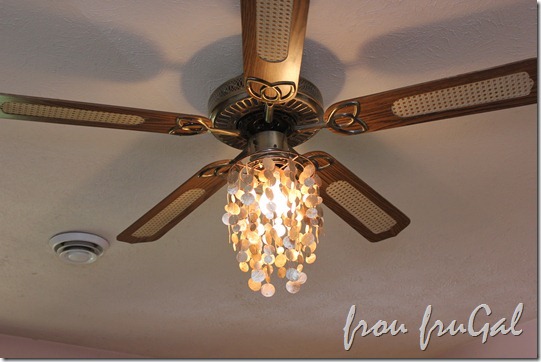
and a Fandelier.
What I failed to show you after this project, was that I ended up making a Cord Cover for the industrial lights using leftover window scarf material from the bed skirt project.
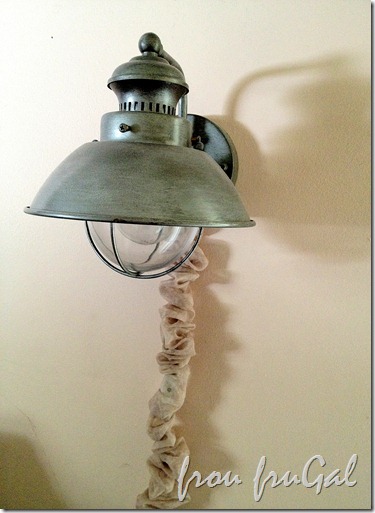
With such a light weight material, it is pretty easy to turn the lights on and off through the cord cover.
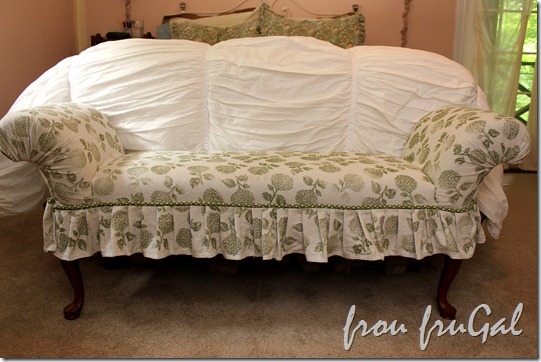
Up next was my Hand-Stamped Bench Slipcover project. As this was my first ever slipcover, I have to say that I am very pleased with how it turned out.
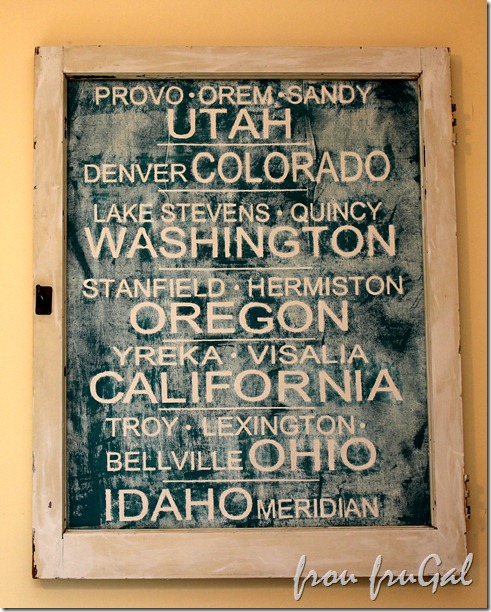
Finally, I made new wall art with my Drop Cloth Subway Art
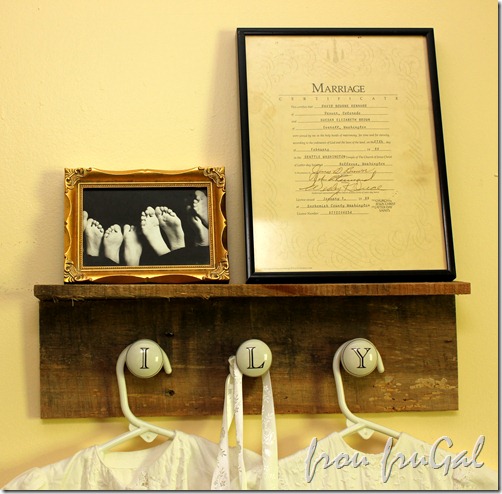
as well as my Pallet Board Shelf.
Overall, I was very happy with what I was able to accomplish. I know a lot of people could have cranked these projects out faster than I did, but I liked that it took me awhile to do them. It allowed me to live with something and see how I liked it.
Both Hubs and I were very happy with the mix of soft, feminine bedding and the harder, more masculine lines of the pallet board and the industrial touches in the room.
In our new room, we plan to expose the brick on the wall behind our bed instead of using the pallet boards. Depending on how that turns out, I may have to change up my linens a bit to incorporate more red into the mix. Our bedroom will not be a priority, though, as we have some other issues in the house, like a leaky tub and water-damaged floor, as well as an unfinished floor in the living room that are higher on the priority list.
Okay, I’ve probably rambled on enough, but I’ll close with some Before & After Shots.
Cost Breakdown:
-
Matelassé Bedding, 2 Sets of Sheets and Shams – $155.94
-
Headboard & Doorknobs – $48
-
Dust Ruffle – $6
-
Pleated Pillow Shams – $13.43
-
Custom Chair – $22.75
-
Knock Off Pottery Barn Quilt – $59.25
-
Industrial Lights and Fandelier – $69.90
-
Bench Slipcover – $9.37
-
Drop cloth Subway Art – $26.00
-
Pallet Board Shelf – $3.84
-
Paint – $25.77
-
Electric Pipe & Parts for Curtain Rod – $12
-
Wood for wall, baseboards & Closet Doors – $127
Total Project Cost to Date: $573.25
It took me about 6 months to do all the projects, so the cost of my makeover was less than $100 each month. Not bad, considering we could take nearly everything with us when we moved.
I’d love to hear what your favorite part to the makeover was. Is there anything you feel inspired to try yourself?
Suesan
Thank you for reading Frou-FruGal. For more projects, please click to my site, http://froufrugal.blogspot.com
Thank you for reading Frou-FruGal. For more projects, please click to my site, http://froufrugal.blogspot.com

