Master Bedroom Makeover–Industrial Lights & Fan Froufing
As the weather in Ohio continues to fluctuate like a menopausal woman, I have tried to focus on projects that can be done in spite of the weather. We are going from hot to cold so fast it’s a wonder I don’t’ have whiplash. With the bulk of my sewing projects completed, it was time to focus on the lighting in our room.
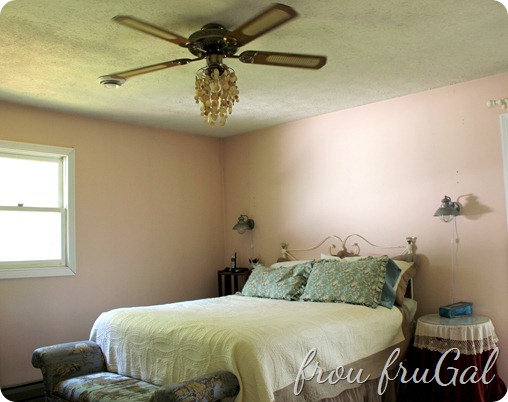
We have the basic room fan.
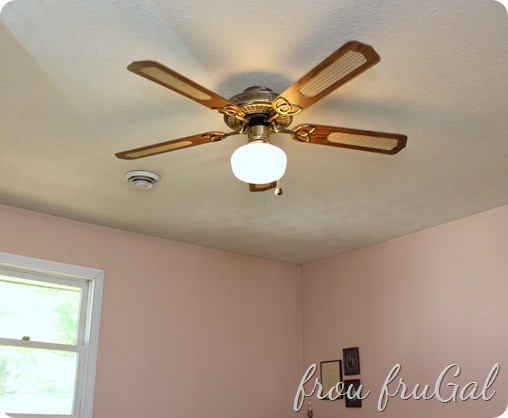
Have you ever seen the home improvement shows where the professional comes in and says, “That fan has GOT. TO. GO!” as if you are harboring some sort of war criminal? I get why designers may not like them, but as a home owner, I fully appreciate the usefulness of a ceiling fan.
See that round vent on the ceiling? That’s where our air conditioning comes in. Our bedroom is the furthest away from the A/C unit. We need a fan in the summer to help move the cold air around our room. If we didn’t use fans, we’d have to have the A/C turned colder than 72 degrees.
We also have electric baseboard heaters in the room so the fan helps lift the heat and warm the room during the colder months which really saves me money. In this house, fans are a necessity and as much as I’d love to put a chandelier in my room, it’s just not practical.
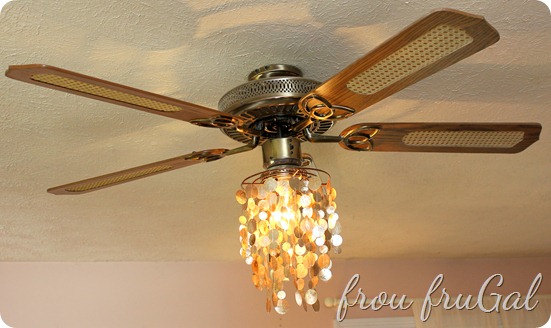
My challenge then, was to make the fan more interesting. Back at Christmas time when the Daja was home, she and I went down to Columbus for some shopping. We popped into World Market where I found this 8” coffee capiz shell “lantern” for $19.99. Not sure why they call it a lantern. I call it a shade.
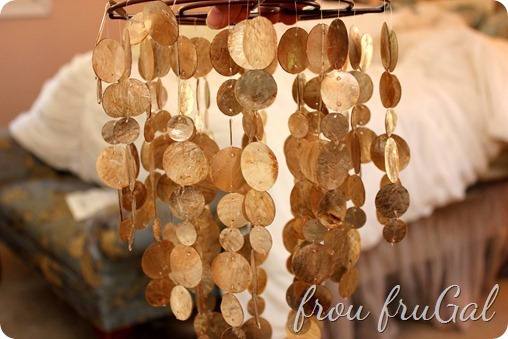
I had to buy it, even though I wasn’t sure how it would fit. At first, I just unscrewed the light bulb, and then stuck the shade around the light bulb and screwed it back in. That didn’t work so well.
When I was putting together my Pinterest board for my Master Bedroom Makeover, I came across a tutorial on House*Tweaking who had done the same thing. She purchased the larger shade for $69.99 and I while I did love that one, I thought it would be too big for my fan. Plus, let’s be honest. I simply didn’t want to pay that much money to upgrade my fan.
On House*Tweaking, she used zip ties to hold the shade to the frame. I had been overthinking the process, assuming I’d have to disassemble the light from the fan, attach the shade between them and reassemble it.
Nope, zip ties. Baby. Worked like a charm. Thanks, House*Tweaking! You’re a genius.
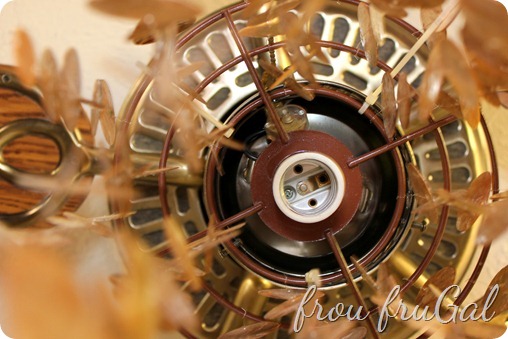
It’s kind of like playing Where’s Waldo to see the zip ties. Here’s a side view.
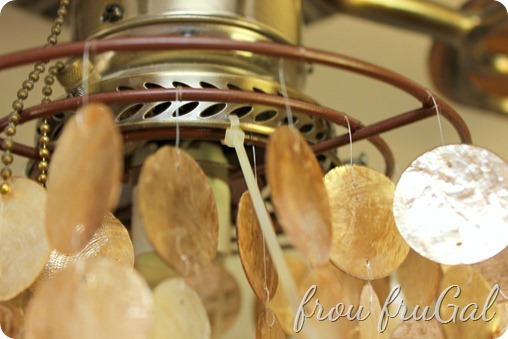
Genius, right? I just snipped the ends down close and you really don’t notice them from the room. If they ever do start to bug me, I’ll simply color them in with a brown Sharpie and call it good.
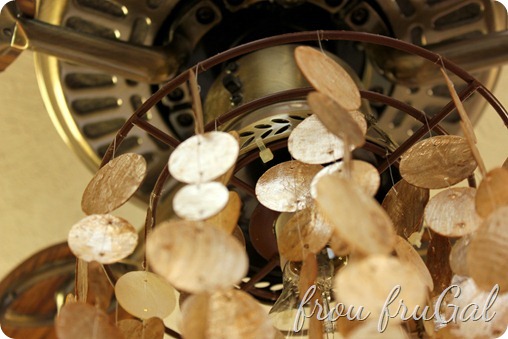
In case you are wondering, the fan does move the shells when it is on the highest level. I kind of like the white noise of them clinking together. It makes me feel like I’m in the tropics. Hubs, not so much of a fan. Ha! See how I just did that? He’s not a fan of the FAN?…I know. I’m a dork.
Anyhoo, we rarely have our fan on the highest setting. We were having trouble with the fan being unbalanced and it would make the pulls clink against the globe when set any higher than low. We figured out that the connection at the ceiling wasn’t tight. I pushed a shim in there to tighten the gap and now we can have the fan on medium without anything clinking or clanking.
A clear glass bulb looks the best in fixture and doesn’t take away from the look of the shells.
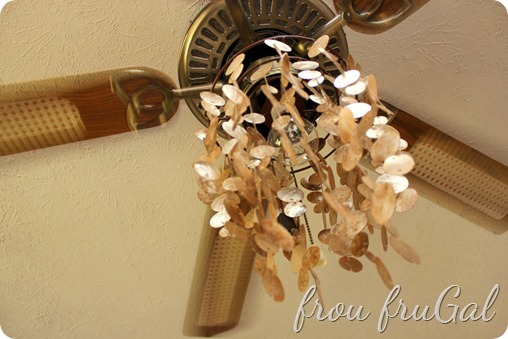
I love the look of the fan and shells together. The coffee colored shells tie in nicely with the caning on the blades. I’ll admit that this type of fan blade isn’t my favorite, but it adds another layer of texture to the room and the tones all match what I’m going for. With the new shade on the fan, I’m really happy with it.
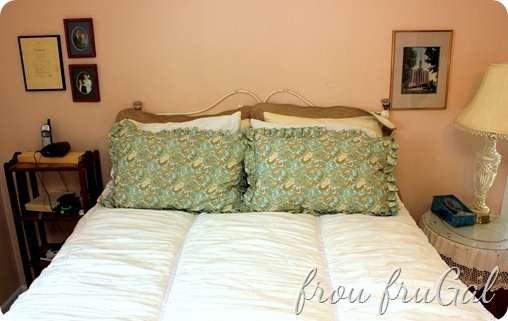
Our only other light in the room was a bedside lamp that I’d purchased about 15 years ago from a hotel liquidator’s store for $5. I like that it has a three-way bulb, but it’s just a little big for the table and I’ve never found a matching lamp for Hubs’ side of the bed.
Part of our plan is to have some industrial elements in the room to balance out all the froufy bedding. When I saw the tutorial on That’s My Letter to convert hard wired sconces into a wall plug, I knew I had found a solution for my room.
I started with two Steel Outdoor Wall Lights that I picked up from Menards for $19.98/each.
I didn’t like the faux rusted look, as it is kind of hokey looking to me. Our plan is to put tongue and groove wood paneling on the wall behind our bed so I wanted more of a contrast between the lights and the future wall. Enter my aged silver finish process.
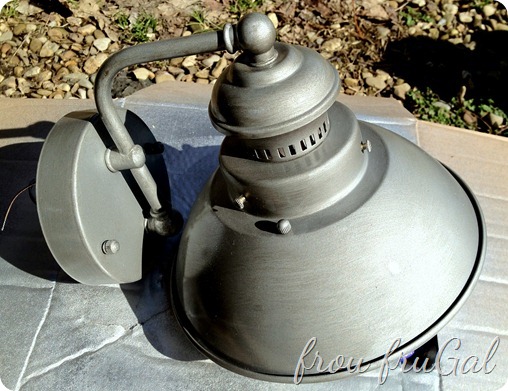
I sprayed a clear coat over the top to add a bit of shine. Using the antiquing glaze on them made them a bit dull. I also wanted to protect the finish and the clear coat helps do that while adding a bit of shine.
I hung them by the bed and because I don’t always like to measure, I hung them up and called it a day, feeling really good about knocking that project off my To Do list. Then Hubs walked in the room and told me they were crooked and proceeded to get all technical on me. I’m glad I have that man around. He’s a keeper.
If you look closely, you can see where I hung them the first time.
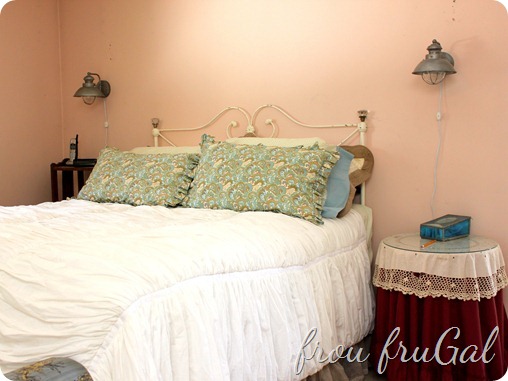
This picture really makes me want to get a move on the wood wall, as well as make the new side tables for our bed. It is hard to force myself to be patient and let this room come together as I have time to work on it. Just know that the crappy little round table is on it’s way out and the antique table on the other side of the bed will find a new location soon.
Other than the paint finish, I followed the tutorial to the letter. It’s very simple to rewire the lights.
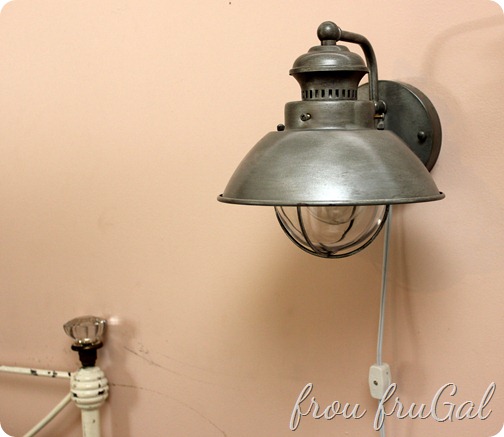
I plan to make some cord covers out of left over fabric from my Window Scarf Bed Skirt project. I’ll be sure to show you that when it’s done.
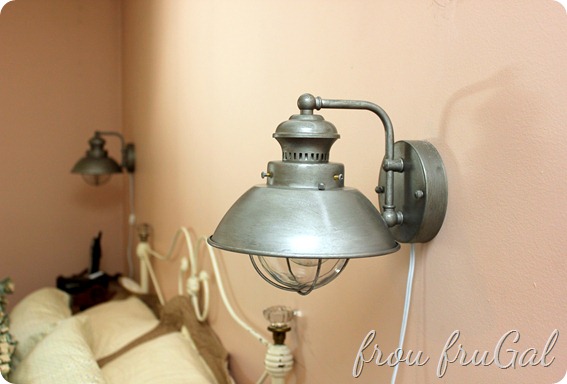
For now, I’m happy to have the new lights in my room and to see it shaping up and coming together.
Cost Breakdown:
-
8” Capiz Shell Shade – $19.98
-
Wall Lights – $39.96
-
Cord Set with Switch – $9.96
-
Zip Ties, Paint, Antiquing Glaze, Clear Sealer Spray – Stock on Hand
Total Project Cost – $69.90
Total Project Time – 30 minutes for Fan, 2 hours for Wall lights but only because I painted them.
Slowly, my room is coming together. I’m working on the bench and some art work for the walls. I have started staining the wood paneling, but the weather turned on me again. I’m hoping to get the ceiling painted and the walls painted this weekend since I need to do that before I can put up the paneling.
Do you have any projects that you’re itching to do but can’t because of the weather?
Suesan
