Master Bedroom Makeover–Custom Design Chair Seat
In February, I managed to score this cute chair for $8.00. It was the right price, so I snatched it up. I wanted a simpler chair for Hub’s side of the room and I had planned to just replace the cane and call this one done.
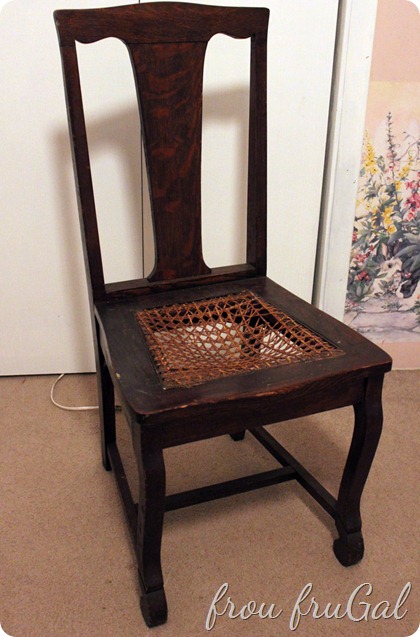
Oh, Simple Project, why must you taunt me this way? You lure me in with the possibility of your high quick-to-cute ratio and then once I’ve succumbed to your siren’s call, your Superb Potential gauge drops to empty and I’m left with something I wasn’t expecting. That could also sum up an old boyfriend or two, come to think about it. Well that’s a topic best left for never.
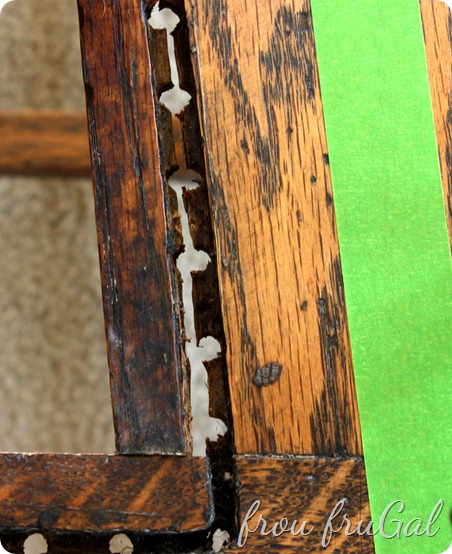
At any rate, I’ve been doing projects for 25 years and I’ve yet to meet a DIY Project without a complication or two. See that gap between the holes? Yeah. Not. Supposed. To. Be. There. I couldn’t even fix it. Trust me, I tried. Ninety damaged screws later, I was on to another solution for the seat.
Today’s post isn’t about refinishing the chair. Today is about changing gears and coming up with a custom design for the chair.
Like I said, one of the hallmarks of DIY is complications, especially when it comes to reworking something that was already made, be it furniture or a house. When you start taking things apart, you are guaranteed to find something unexpected and a lot of times, that means you may have to rethink your original plan.
For this chair that means that caning is out and upholstery is in. I thought about finding a fun fabric for the seat, but my overall design idea for this room is for it to be very personal for me and the man. We are going on 25 years of marriage and that’s a good amount of history together. I want things to have meaning to us which made me think about what kind of design would be fun for this chair.
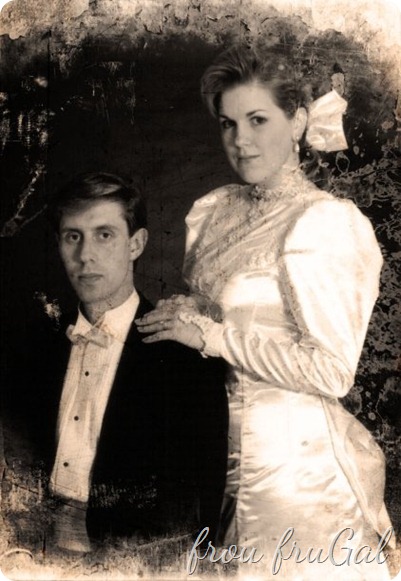
Back when Hubs and I were first married, we were both taking classes at the business school at Brigham Young University. (Artsy photo edit courtesy of Baby Girl). Gotta love the ‘80’s bows. Yes, that is one across my butt. Don’t judge.
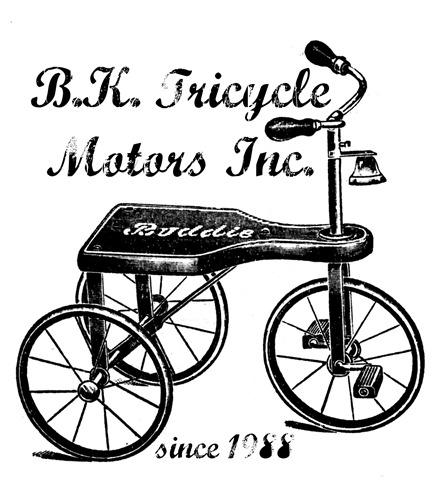
One day, Hubs said to me, “We should start a business. We’ll call it Tricycle Motors Inc. (TMI) and each one of our kids will be one of the prototypes.” It took me a few minutes to realize that kids are the motors for a tricycle. Over the years we would talk about actually starting TMI. It’s a good thing we never did, since TMI has an unpleasant connotation these days.
I went to The Graphics Fairy site to see if she had an image of tricycle I could use. She did and I came up with this design. The B.K. stands for the initials of our surnames. I used the Marcelle font for the text.
I went with my tried and true method of drawing on a drop cloth with a Sharpie Marker. I used this same method for my Ancestral Map Settee. You can buy overhead transparencies from any office supply store and then print on them from home printer. You could probably even have them made an office center for just a few cents. My transparencies are about 12 years old, so those weird marks you see on it are probably from age.
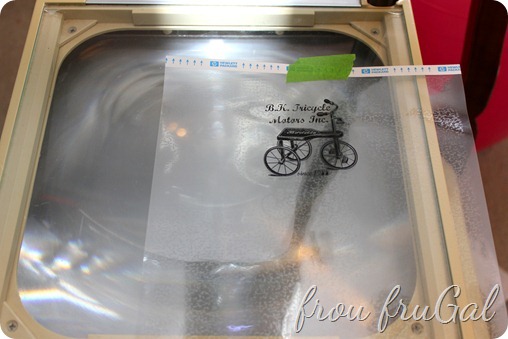
When making your transparency, unless you are doing something really big, you need to make your image small. That transparency is the size of a standard sheet of paper. See how small my image is? If you don’t start out with a small image, you won’t be able to get it small enough on your material because an overhead projector makes things larger. Just trust me on this. Make your transparency image small.
Which brings us to the subject of an overhead projector. Most people don’t just have one. I don’t, but my church does and I was able to use the one at the church. Schools often have them and if you call the secretary, they are often willing to let you use them. Libraries are also known for having them. Again, call and ask. You never know who might be willing to help you out.
I cut out a piece of fabric the size for my seat and taped it to the wall. Next, I projected the image onto the fabric and started tracing.
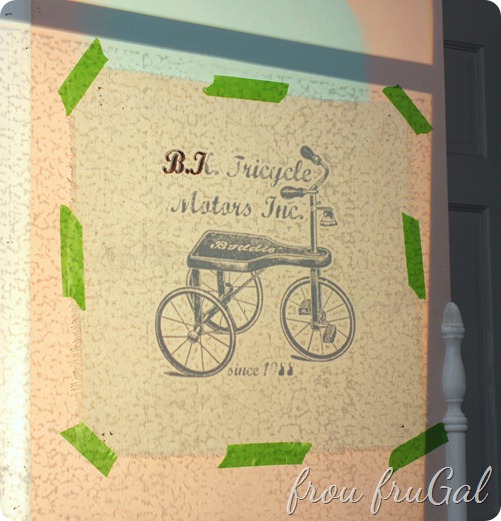
Use very light pressure. I use the Ultra Fine Tip Sharpie for the detail work and the Fine Point for some of the thicker areas. When drawing on the fabric, use the lightest pressure you can while still getting the ink onto the fabric. Never push or hold your pen on the fabric, or the ink will bleed.
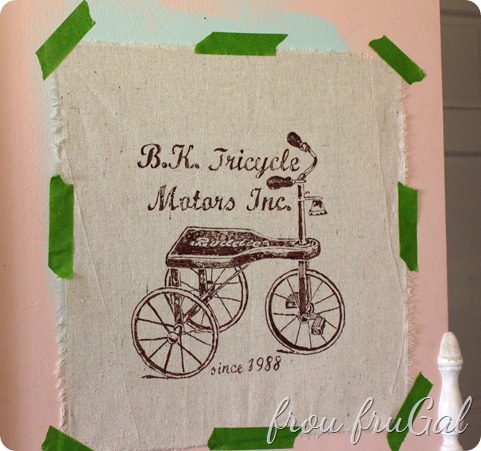
Turn off the projector to check your work. You need the basic design with the overhead projector. Once you have that, you can fill in or fix any areas as needed.
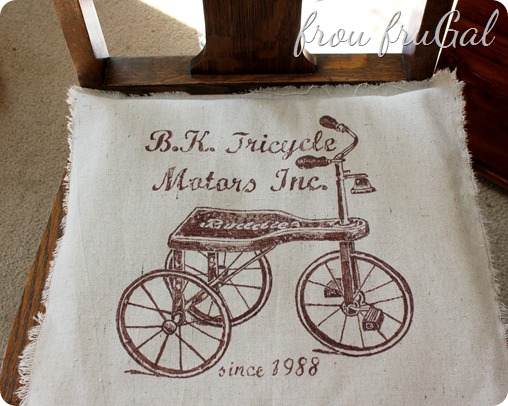
That’s pretty much it. The finished chair is a guest post on My Repurposed Life tomorrow. Be sure to check it out to see the finished chair.
Let me just say a word about drop cloths. Not all drop cloths are created equally. I messed up and used one with too loose of weave for this project. Plus, it’s not as thick as the drop cloth I used for the settee. This meant the staples from my pneumatic stapler often punched through the entire cloth, tearing the cloth.
Short of ripping out all the staples, buying a new drop cloth and then redrawing the design, there was no good way to fix it. Wasn’t gonna happen. I had to pull the fabric tighter than I wanted to in some places, which made for some imperfections. I tried to disguise the problems with the gimp, but they are there.
If you plan to upholster with a drop cloth and staples will be involved, do yourself a favor and buy a tight-weave, heavy duty drop cloth. I’m going to make a slip cover for the other chair, so the looser weave is actually okay for a slip cover.
Overall, we are very happy how the chair turned out. It’s personal and has meaning and it’s cute. It fits all the criteria for our makeover.
Cost Breakdown:
-
Drop cloth – $.50 (The whole cloth was $14.95 but I used a very small piece)
-
Sharpie Markers/Transparency – Stash on hand
Total Project Cost – $.50
Total Project Time – 1 hour
Suesan
