It’s My World…I’ll Do What I Want!
We have this one thrift store in town that prices things in the oddest fashion, $.90, $1.91, $2.92, $3.93…you get the point. I found this globe during one of my visits. Since it was only $3.93 I decided it needed to come home with me.

I was all excited at first because I thought it was a really old globe. In looking at the countries, it had Russia and Burma which made me think it was pre-USSR days, but from what I can figure out, it can’t be older than 1991.
The base was great on it’s own. My first idea was to leave the base as it was and just paint a black chalkboard paint on the globe. However, that seemed kind of blah to me, and I thought I could kick it up a notch. Bam! Just like Emeril, but, you know, without the whole part where you cook stuff.

I’ve been on a copper kick lately and I decided that I wanted to make the base copper with a verdigris patina and then paint the globe with a bold color with some homemade chalkboard paint.
Here’s what I came up with for the base:

I spray painted the base with a Hammered Metal Copper spray paint.

Next, I used some paint that I bought at True Value. It’s called Fairytale, but I’m not sure it would be easy to find. It happens to be the perfect color for a faux verdigris look. It makes a natural looking patina when wiped off.

Idn’t pretty? I love me some copper. It’s my favorite metal right now.
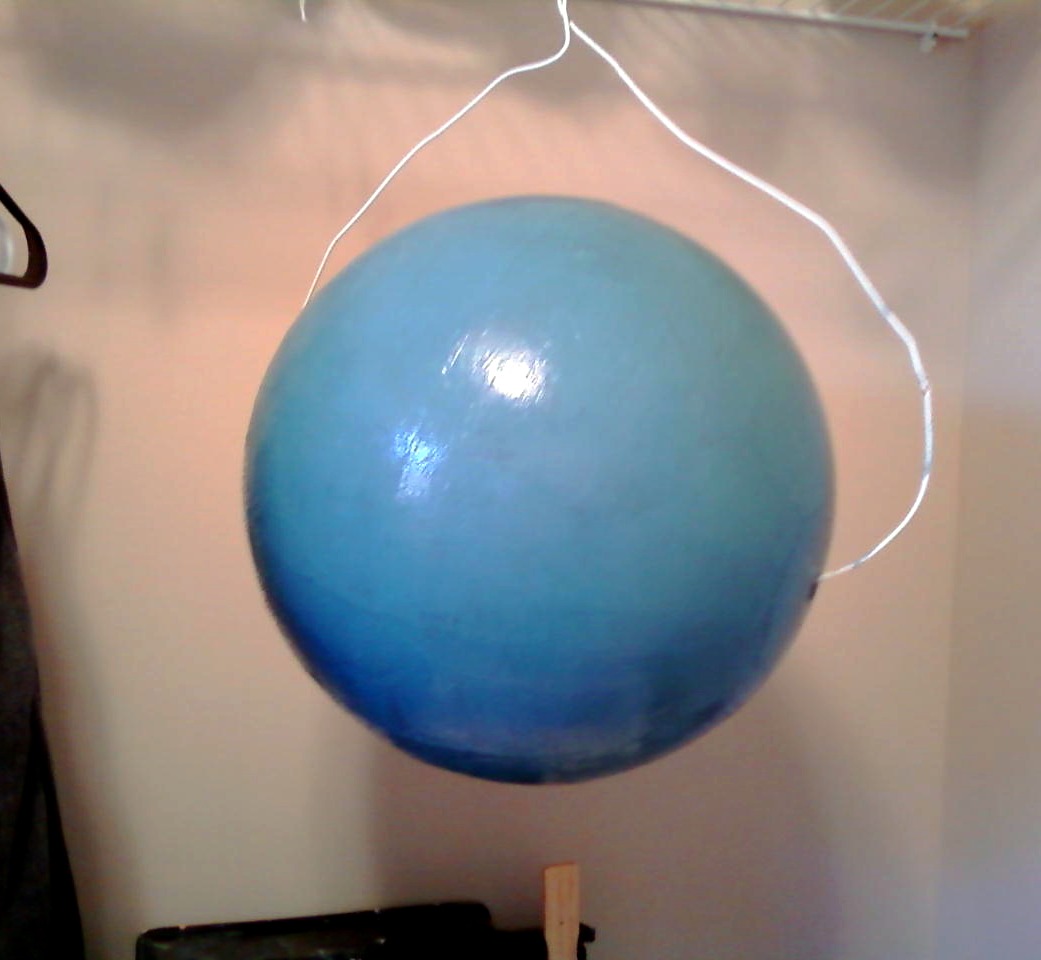
After several false starts on the globe, I finally came up with this solution:

I opened up a wire hanger and then hung it over my laundry room sink to paint it. You can kind of see where I outlined the continents with some white paint.
Originally I was going to be all careful and paint up to those lines, but then I remembered I have no patience for that kind of thing. Phew! Good thing I remembered that! I’d have driven myself insane trying to be all detailed-like…and with a spinning object, no less! As it was, I was a little slow remembering this little-known fact about myself because I also had the genius idea of scoring an outline around the continents. I thought the score mark would show and then I’d do the white outline over the score marks. I got over that real quick, too.
When it finally sank in to my purty lil’ head that I’m kind of Attention-Deficit and just wanted this project done already, I busted out the paint and got to work. I bought some white grout to add to the paint for this project, but it has since gone missing. I suspect a super-helpful husband had a hand in the grout’s relocation. Fortunately, I had some black grout on hand, and that seemed to do the trick just fine. If you don’t know, adding grout to your paint will make the paint into chalkboard paint.
Here’s the globe drying. I painted it on with a brush, and then rolled over it with a foam roller.
I feel a word of caution is in order.

Learn from my mistakes, Gals! One more little side note:

If you do happen to lose that special little plastic piece, a washer at the top and bottom will work just fine.
For those of you who want to know, here are the instructions for making the chalkboard paint. This is from Martha Stewart and I have to confess that I just read the recipe and made it. I didn’t read all the instructions still need to sand it down. Er, um, and then I’ll need to re-condition the globe ‘cuz I DID manage to do that part.
Hubs finally mentioned that we could make the world look however we wanted. It’s our world, after all. Our idea is to make the USA really big so we can put markers of some kind in all the places we’ve lived. I haven’t gotten that far into the project, but I’ll be sure to show you when I get it done.
If you’re curious, you can read the About Me tab to see those places. I’ve got a link to a special map that illustrates the migratory patterns of my family. Yeah, I’m a dork. You got a problem with that? I’m thinking rhinestones will be involved, because let’s be real here…it’s my world! I can bling it up if I want too.

Project Breakdown:
Globe – $3.93
Paint – $6.97
Spray Paint, Paint Sample & Grout – Stock on hand
Replacement Washer – Stock on hand
Chalk – left over from when my kids still played with it…good thing I kept it around!
Total Project Cost – $10.90
Total Time – About 2-3 hours, but mostly waiting for paint to dry (I’m not going to tell you how long I dithered. That’s just plain embarrassing!)

Be sure to check out the parties on my side bar to see where I’m linking up!
