Fall Wind Catcher
Last Fall I was looking for a project and I saw a cute Wind Catcher. I thought to myself,
“I can make one of those.”
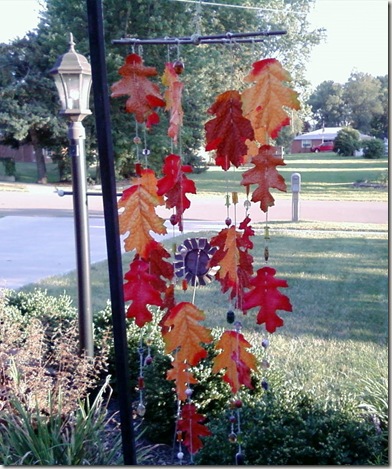
So, I did. I did not think to post pictures along the way, so I’m using my finished piece for today’s tutorial.
Here’s what you’ll need to make yours:
- Silk Fall Leaves in assorted colors
- Natural Hemp Cord and needle with hole large enough for cord
- Small Dowel
- Beads
- Glue – Gorilla or E6000
- Spray Paint
Cut the dowel into two equal lengths. Mine are about 10”. Spray paint the dowel to the color of choice. I used my Hammered Metal Bronze paint. You can leave them a natural color, but since this is going to be outside, you should protect it with some poly if you choose to not paint it.
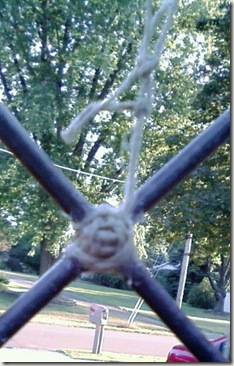
After the dowels dry, cross them into an X and use a length of the hemp to secure them in the middle. Like so:
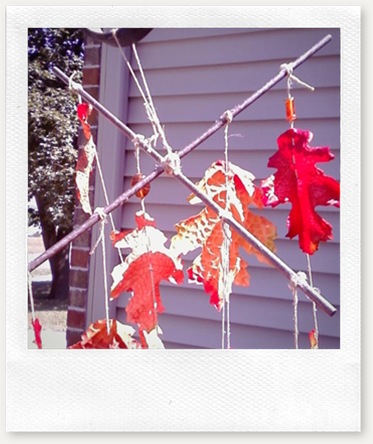
Next, cut 4 pieces of hemp 24” long and 4 pieces 18” long. Tie the 4 longer pieces on each dowel, about 1/3 of the way from the center to the end of the dowel. The shorter pieces should be tied on about half way between the first string you tied on and the end of the dowel.
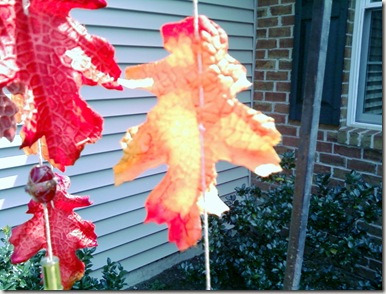
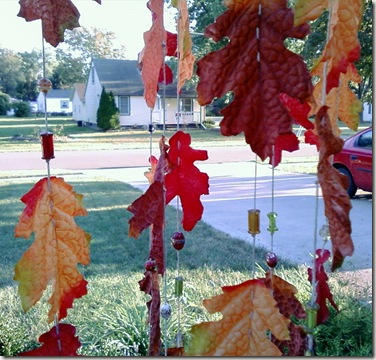
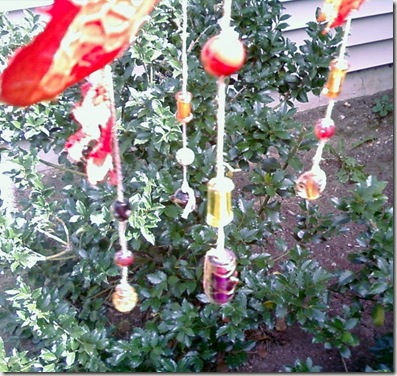
Next, thread the leaves and beads onto the hemp cord. I started with beads on every other cord, and leaves on the opposite cords. After the bead, I tied a simple overhand knot, to keep the bead in place. These really move in the wind, so you want them to be secure. To get the leaves on the cord, you need to thread your cord onto the needle and sew about 2-3 stitches through the leaves. I tied a knot after the last stitch to keep the leaves from moving down the cord.
Pay attention to colors. I did a lot of playing around to keep the colors of the leaves and beads varied.
I anchored the bottom of each cord with three beads. I tied a regular knot at the end of the cord, and then tied a taut-line hitch above the bead. Wow. All those years of working with scouts really pays off with the whole knot-tying thing.
Hubs always digs it when I talk knotty. What?! I’m just saying…
I wanted the bead to be at the bottom of the cord and not see the cord, but you could also just leave the cord free.
After you get everything on, you will need to balance the piece. It really takes 2 people to do this. As soon as you get it balanced, dab some glue by the knots on the dowel to keep them in place. I think this is the hardest part of the project.
I love my wind catcher.
It moves,
it sways,
it dips and swings.
It just looks like it’s having a great ol’ time out there. It’s in a spot that catches the light so the beads shimmer in the sunlight. It’s a fun, easy project.
Cost Breakdown:
Leaves – @ $6 I bought the leaves on sale at JoAnn’s when they had buy one, get one free.
Beads – Stash on hand
Spray Paint – Stash on hand
Dowel – was less than $1
Cord – @ $3
Total Project Cost: Less than $10
I’m linking up to the parties on my link’s page, plus:


