Kitchen Update – Plaster and Paint
In my ongoing battle to compete in the Dueling DIY challenge by The Ugly Duckling House, this is all I’ve got to show for my week.
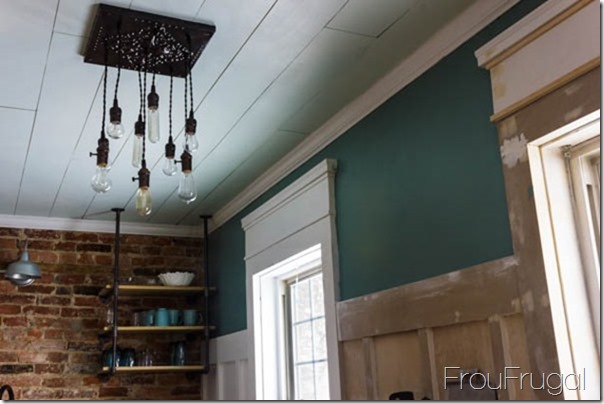
Here’s the To Do list I’ve been working off of:
-
Finish filling big hole
-
Sand window wall, prime and paint (It’s all sanded except for the big hole area)
-
Sand board and batten on window wall, prime and paint (It’s all sanded and ready to be primed)
-
Build radiator cover
-
Sand arched wall, prime, paint
-
Sand, stain and seal big shelves (I just need to put the sealer on)
-
Cut trim for window wall and chimney side
-
Caulk, sand and paint crown molding (I have one more coat to do).
Okay, so maybe I got more done than I thought. It’s probably because it’s invisible work that is preparing for the fun stuff, like color and paint, but by itself isn’t all that exciting.
Last week I told you I had the window wall all sanded except for the big hole area. Well, I then sanded that area and realized I needed to do another coat of plaster to even things up. I did that and primed the wall, all excited that I was one step away from painting.
When I got the primer on, I could see areas that needed more plaster. Sonofa… More plaster means more sanding (which I loathe almost as much as snow days). Between the snow outside my windows that just seems to grow and grow and the white plaster dust inside my house, I am surrounded by white stuff of one kind or another. Neither one is fun.
Today I woke up determined to paint. I started by sanding more patched areas on the walls. Wouldn’t you know it, there were still more places to fill with plaster. Let me explain something here. I’m going for completely smooth walls above the board and batten. When you put white plaster over whitish walls, it gets very difficult to see all the places that need to be filled. Priming the wall shows some of the trouble spots, but painting white primer over white plaster still makes it tricky to see everything.
I filled everything I could see and while that plaster was drying, I started painting the crown molding. Then I primed the walls, then I mixed up the new paint sample for the ceiling color. dI’m trying to lighten the color.
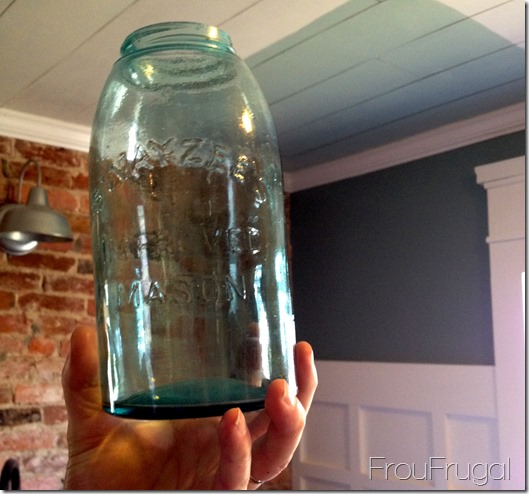
I used my antique Mason jar from Hubs’ grandmother’s house as my inspiration. However, while I love the color of the ceiling, it was much darker than I wanted it. I want more emphasis on the walls and not the ceiling. So I lightened the color by 50% and then I bought a sample pot of white paint and mixed the full sample of the 50% lightened with the full sample of white paint. It’s exactly right, except the samples are satin finish and I want my ceilings to be flat, but color-wise we are good to go.
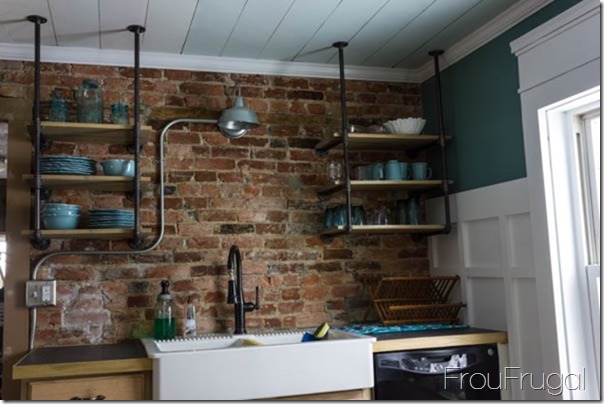
It’s hard to see where it’s painted and where it’s white primer, so it’s just a very pale version of the color and I love it. I will take my special blend up to Lowes and have them mix up some ceiling paint for me.
Once I got the ceiling painted, I was ready to paint the walls.
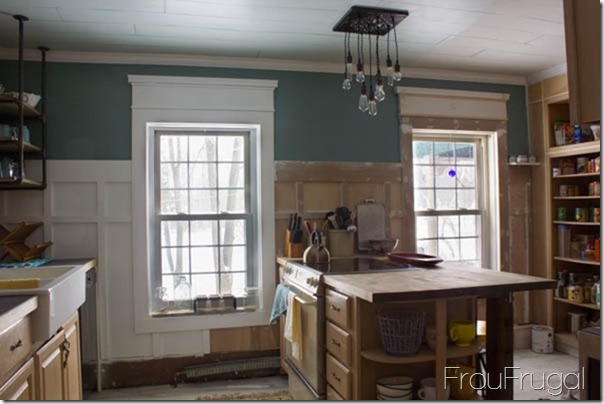
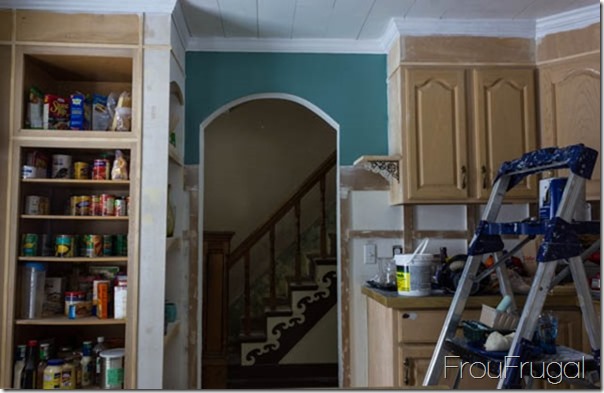
It’s really interesting how colors play off of each other. If I had painted the blue color on the wall before I had painted my board and batten white, I probably would not have liked the color. It’s very dark feeling next to the unpainted b&b. But because I first put this color on the wall next to the crisp white board and batten on the left side of the wall, I could see how pretty it was next to the white.
It makes me very itchy to get the board and batten painted, but of course, Mother Nature is completely unaware of my plans and is not cooperating with some warmer weather for me to do this.
Someone asked me last week why I was using two different primers in my kitchen. The reason I am using an oil-based primer for the board and batten area is because all of that wood and MDF is plant based material. Anytime you are trying to paint something that is raw wood or MDF or stained, you will have the best success in sealing the product with an oil-based primer. The oil in primer is necessary to keep the oils in the wood from bleeding through.
Oil-based primer is also necessary when you are trying to paint latex paint over an area that has been previously painted with an oil-based paint. If the paint is really super glossy, err on the side of caution and prime it with an oil-based primer.
See the stairs through my archway? The last owner painted latex paint over an oil-based paint and all the paint was peeling off. I sanded this months ago and have yet to seal it. I plan to do it when I am priming the cupboards.
If you have used the correct primer to seal your material, you can use any type of paint over it.
Priming is not a fun step, but it’s very necessary. For my upper walls, I have plaster and for that I can prime with a water-based primer. I could use the oil-based primer for it, but I’m trying to stretch my primers as far as I can. Since I had a gallon of water-based primer, I will use that where I can.
All the sections of wall you see painted, I was able to do with one sample pot of paint. I have one more area on the other side of the kitchen so I will need another sample pot of paint, or I may buy a quart of paint. I have found more areas that need some plaster touchups. {Insert swear word of choice here}.
I’m resting for now. All this painting and patching and sanding requires a billion trips up and down the ladder. I’ve moved that ladder around my kitchen at least 7 times today, probably more. I love my platform ladder. It’s a great tool for jobs like this because the platform gives me just enough room to stand without hitting my head on the ceiling. Even in a house with short ceilings like this one, I can stand on the platform.
I have the last section of wall to skim coat with plaster, as well as the archways. Both archways are very textured and since I have to put some plaster on, it would look weird to have parts smooth and parts textured. Plaster is quickly becoming a swear word in these parts.
My To Do list now looks like this
-
Fix plaster issues on window wall, prime and paint
-
Skim coat wall by microwave
-
Sand board and batten under cabinets
-
Prime and paint board and batten up to fridge
-
Paint crown molding
-
Remove pulls from cabinet doors and fill holes
-
Build radiator cover
I’ve been putting some things off because of weather so my list may change depending on what is happening here in arctic Ohio.
Be sure to check out the other ladies that are all working to finish their kitchens.
-
Sarah at the Ugly Duckling House
-
Carrie at Brick City Love (Her neighbor’s house fire did some damage to Carrie’s house but she’s still working on her kitchen. Go Carrie!)
-
Kelly at House of Gold
-
Jessica at Cape of Dreams
