31 Days…Busted
I tried. I really did. Until I stopped trying. And then, I didn’t try so much after that.
After my last post where I showed our plank ceiling progress, I had all these high hopes for finishing the month on a good note and redeeming myself for my slacker ways. So how did I do?
Well, I didn’t. I didn’t do. I walked away from that last post and pretty much walked right into a funk.
I don’t know if it was the reality of Hubs being gone and me staying here with Katie and the boys and realizing that things are just going to be super hard for the next few months that got to me. It could be that or it could be a combination of all the stress of losing a loved one, losing a job (and getting a new one), planning for another move, some external stress caused by other people and just life in general all happening in the last few months all catching up with me.
All I know is that for the last few weeks I haven’t done much of anything. I realize that is part and parcel of the depression gig. It’s my life and I’d love to tell you everything is hunky dory in my world all the time, but that’s not the truth. The truth is that sometimes, I don’t accomplish very much.
I don’t really want this to be a depression post. I don’t really like talking about my depression. It’s a part of my life and I can’t really pretend that it isn’t, but I don’t want it to be the defining factor of my life. I’d rather be a person of hope and joy and fun and happiness, which is mostly who I am when depression doesn’t have its claws in me.
So, rather than focus on all that I didn’t do this month, I’d rather celebrate what I did do. Even if I didn’t write for all 31 days, I did write more this month than I have in the previous 4 months and that’s a win in my book.
In summary, here’s how my version of the 31 day challenge played out.
In 31 Days or Bust, I outlined my plan for the month. I included a list of what I hoped to accomplish. Here’s where I stand on the list at the end of the month.
- Finish epoxy sealing the counters
- Water seal the brick wall
Replace missing bricks in kitchen wallGrout behind sink- Fill 10 bajillionty holes with wood putty in board and batten in kitchen (about 60% done with this).
- Caulk my life away in the kitchen
- Patch walls in kitchen
Cut plywood for kitchen ceiling planksRemove ceiling fan in kitchen and replace light- Hang light above kitchen sink
- Remove cupboard door hardware and fill holes
- Fill holes and prep cupboards for paint
Find paint color for lower cupboards- Prime board and batten
Fill crack along stair runner- Caulk stairs
- Prime stairs
- Paint stairs
- Install pad for stairs
- Install stair runner
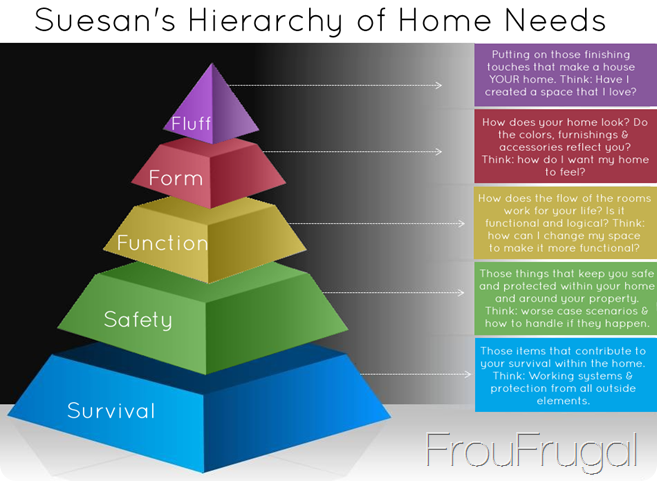
I gave you my philosophy of when and where to spend your time and money on your home in Suesan’s Hierarchy of Home Needs.
I started the putty-ing process in Putty-ing Around.
In Pumpkin Fluff, I showed some of my favorite pumpkin ideas out there right now.
In my Virtual Kitchen Design post, I showed you my plan for the kitchen, although after reading comments by my readers and talking to Hubs about it, I have a few changes to my plan. You’ll have to stick around to see how those play out.
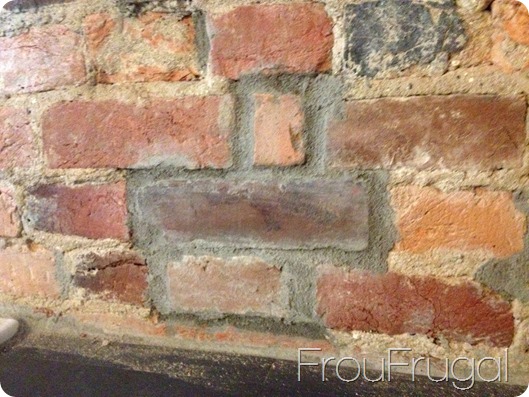
In the Brick Bashing and Brick Wall Repair posts, I fixed some damaged bricks on the kitchen sink wall.
I told you about the life of a band parent in a small midwestern town in my post, Friday Night Lights.

In Where Was I? I told you more about the trials of my life and how I was trying to deal with them.
And, finally in my Plank Ceiling Progress post, I showed you some progress that Hubs and I made on the ceiling.
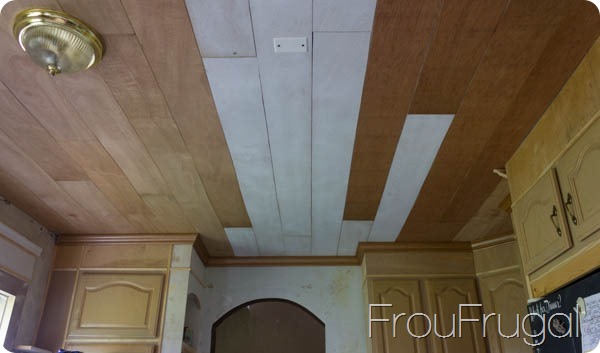
Since that post, I went to Lowes to pick up the rest of the moulding to finish the crown on the ceiling, only to discover that Lowes has reset their stores and no longer carries the crown moulding I had purchased. Thankfully, this picture from that post helped the guy at the millwork desk locate my crown moulding in their system so we could special order it.
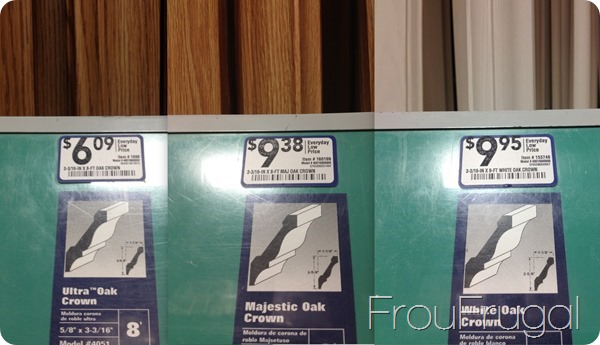
He was very kind to give me the original price of the moulding ($6.09) and not the new special order price of $11.35/each. I needed 6 more sticks of moulding, so that saved me an extra $31.56 that I wasn’t planning to spend on my kitchen project. I’m still waiting for the moulding to arrive but will get that up as soon as it gets in.
I’m still trying. In the midst of all this kitchen stuff, I started a pretty project. I needed to do something pretty and creative.
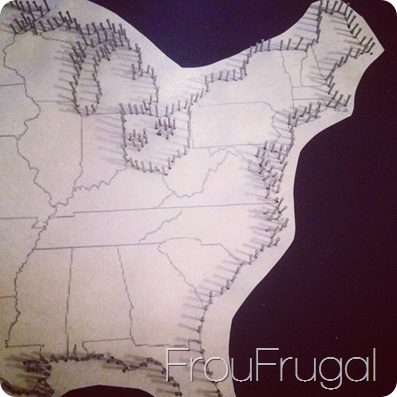
I’m working on a string art project and hope to have it finished in a day or two.
Until then, thanks for following. Thank you for your encouragement and support. I need it and I’m so grateful for it.

