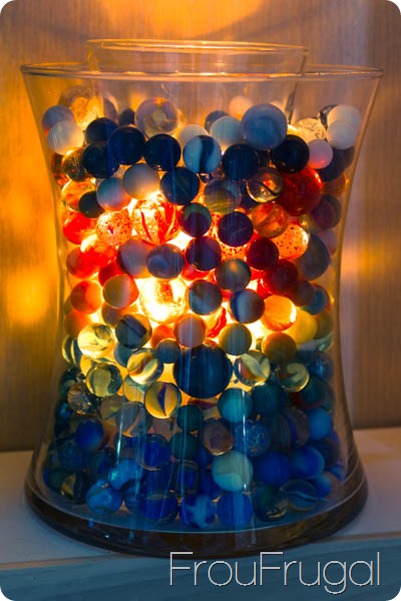
How To Make Your Own Candles In The Microwave
Back in April, I was sick of working on my kitchen and I wanted a quick and easy project that I could just call “done.”
That sort of worked. Let me explain. It started with my desire to find a way to showcase my vintage glass marbles. It’s part of our inheritance from my mother-in-law’s house.
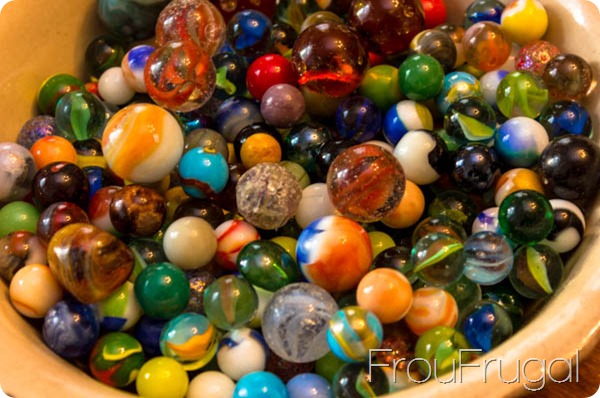
Some of these marbles were well-loved, as evidenced by their chips and dings.
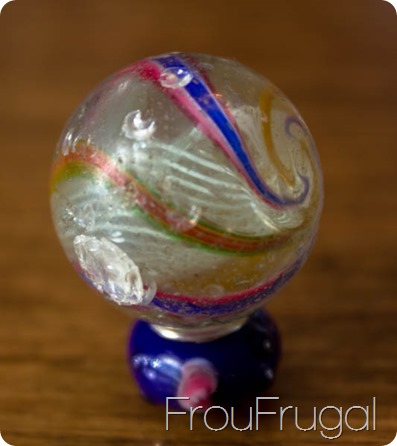
Others probably just sat in a bowl or jar for most of their life. I love how different each marble is. The marble on the left has the color laid on top of it, while the colors in the clear marble run all the way through the middle of the marble.
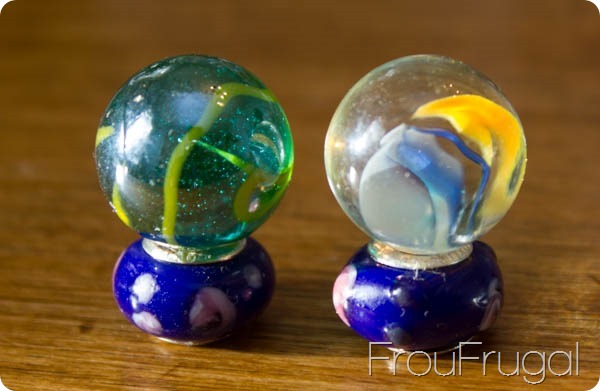
The sheer variety of the marbles just astounds me. They are each so unique and beautiful to me. It amazes me that kids used to shoot steel balls at glass marbles. Crazy.
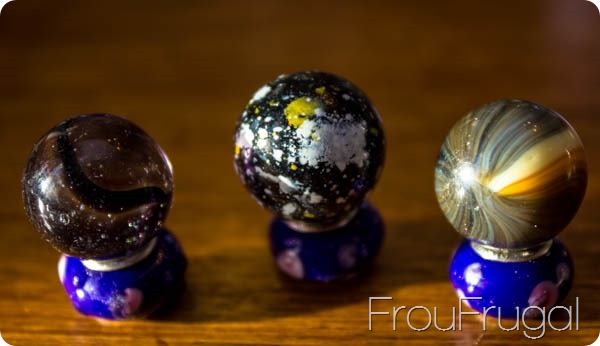
Since I have a significant amount of marbles, I wanted a project that used all of the marbles. I love the look of light shining through glass so I thought about how to make light shine through the marbles. I came up with the idea of a candle. Glass marbles + candle light = awesome project in my book.
I started with a glass vase from a flower arrangement I was given once upon a time. I bought a smaller vase from Walmart for a couple of bucks that had a similar shape. I looked all over for a candle that would fit in the smaller vase. All the candles I found were too fat to fit past the narrow part of the vase, bringing the “quick and easy” portion of this project to a screeching halt.
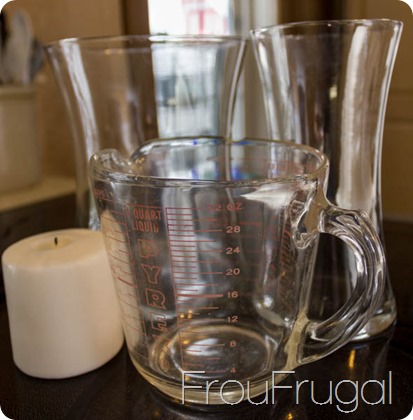
Fine. Be that way, stores. I will find a way to make this work, though. You can’t defeat me! I grabbed a candle I had in the house that I’d obviously used once or twice. I also grabbed a glass measuring cup. I stuck the candle in the measuring cup and put it in the microwave.
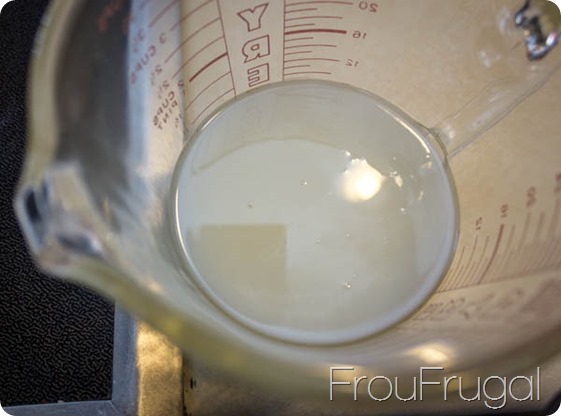
Then, I pressed the minute button and start button and let the microwave work its magic. It took several minutes to melt down the candle. A word of warning: be careful when taking the glass measuring cup out of the microwave because it gets hot! Some candles take longer to melt than others.
I have done this technique with several different candles now and some candles only take about 3 minutes to melt down. This particular candle is very slow burning and it took about 7-9 minutes to melt. I can’t remember now, but I recall that it took a lot longer than I expected.
NOTE:
If your candle has a metal tab at the bottom, be sure to remove that before microwaving. Also, some people have mentioned that wax is highly flammable. Use caution when microwaving. Try microwaving in 30 second intervals and keep an eye on the microwave as you are melting the wax. Better safe than sorry!
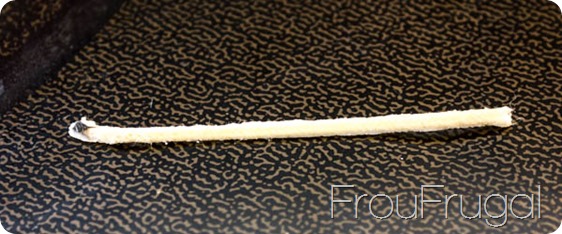
Because this candle is much shorter than my vase, I had to get creative about the wick. Once the candle wax was sufficiently melted, I fished the wick out of the wax and let it dry a bit.
I taped the wick to a longer string and then suspended the string from a bamboo skewer over the top of the vase.
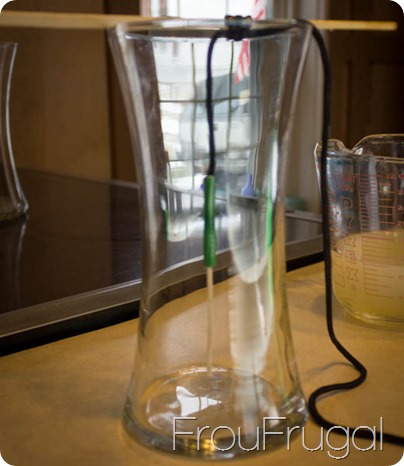
Another way to do this would be to buy some new wick and hot glue the base of the wick into the jar. I didn’t want to make a run up to JoAnn’s for new wick and I was trying to use what I had. Either way works.
With the wick in place, I poured the melted wax into the vase.
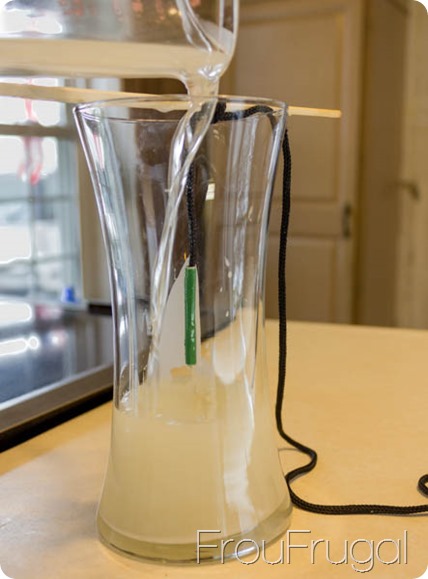
I left the candle alone on the counter to cool and that must have been my mistake. When I came back several hours later to check on it, the wax had dried but a giant air bubble had popped, leaving a huge crater in the top of my candle, near the wick. Edited to note: One reader suggested poking holes in the wax before it dries will pop any bubbles and keep craters from forming.
Discouraged that I was now entering the “problem child” phase of a project that had promised to be quick and easy at the outset, I did what any self-respecting DIYer would do. I walked away.
For nearly 5 months, to be exact. Oh, it didn’t take me that long to stop being mad about it. I just got busy with other things and wasn’t wanting to start all over again with the candle project until the other day when I again needed a quick and easy project that I could finish and call “done.”
To fix the crater problem, I ended up cutting off a hunk of wax from another candle I had, melting the wax down and pouring it on top of the old wax. It’s not perfect because obviously, they are different types of wax as shown my the line of demarcation below.
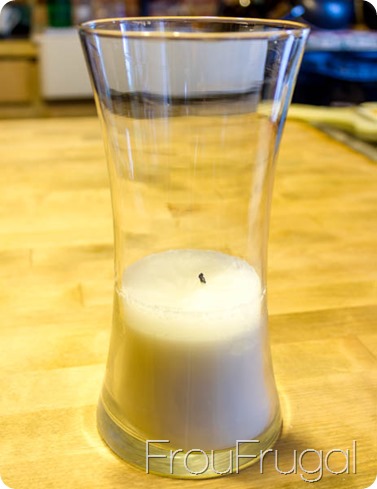
When I melted the new candle wax, it melted completely clear, but the first wax always was white. I was fine with this since I won’t really see the actual candle. I mostly was trying to fill the giant crater in the old wax, which I apparently failed to get a picture of. Sorry about that.
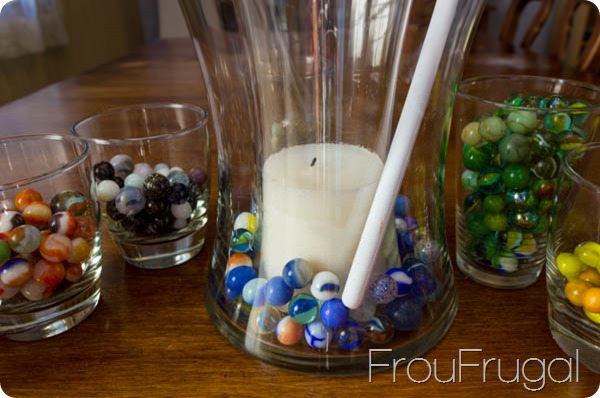
The picture above is after I cleaned up the melted wax that was along the sides of the vase. It cleaned up with a green scouring pad and a little soap and water.
Once the candle part was ready, the rest of the project really was quick and easy. Phew!
I sorted out my marbles by colors. Hubs just rolled his eyes at me at this part. I think he would be fine with all the marbles jumbled up, but I wanted something different.
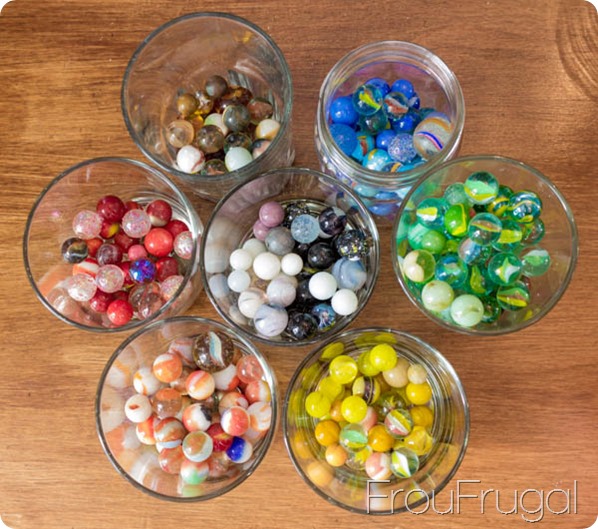
I put the smaller vase with the candle into the larger vase and started adding the marbles to the larger vase by color in rainbow order. Blue, green, yellow, orange, red and then I added the browns, blacks and whites. I used a long spoon to try to place the marbles where I wanted them. Also, I used the spoon handle to turn multi-colored marbles so the color I wanted to see was showing.
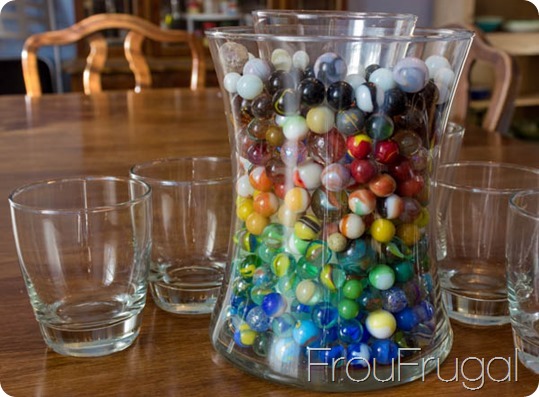
As you can see, I didn’t get all the marbles faced the right way. Curse you yellow-swirled marble in the blue section! I didn’t have a lot of yellow marbles and only a few of the black and whites, but I still am happy with the way it turned out.
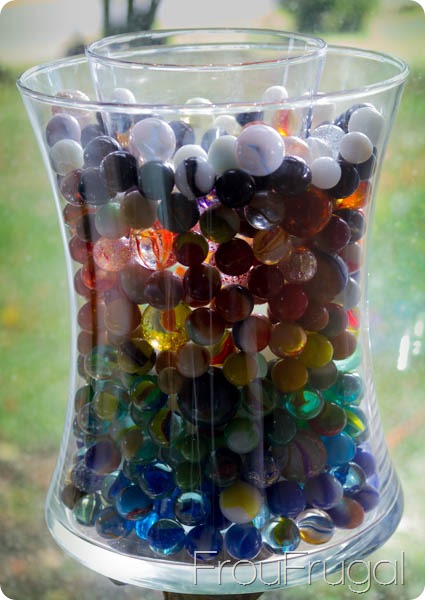
I love it! I should have finished this months ago instead of ignoring it. I love seeing light come through the vase.
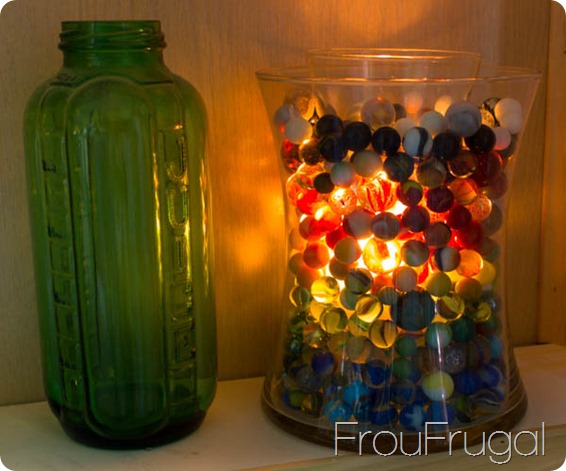
Even better than the natural light coming through the marbles is the look of candle light glowing through the vase. Perfection!
Have you ever had a “quick and easy” project that was neither quick nor that easy? Have you tried to find a new way to show off a collection? Have you ever tried to make your own candles? Despite my little set back, it was super easy and I’ll be looking for more ways to make my own candles.
“Done!”
