Kitchen Renovation – June Progress
It’s been more than a month since I’ve given you an update on the kitchen reno. If you read my post about my father’s passing, you saw a sneak peak of where things were at the beginning of the month.

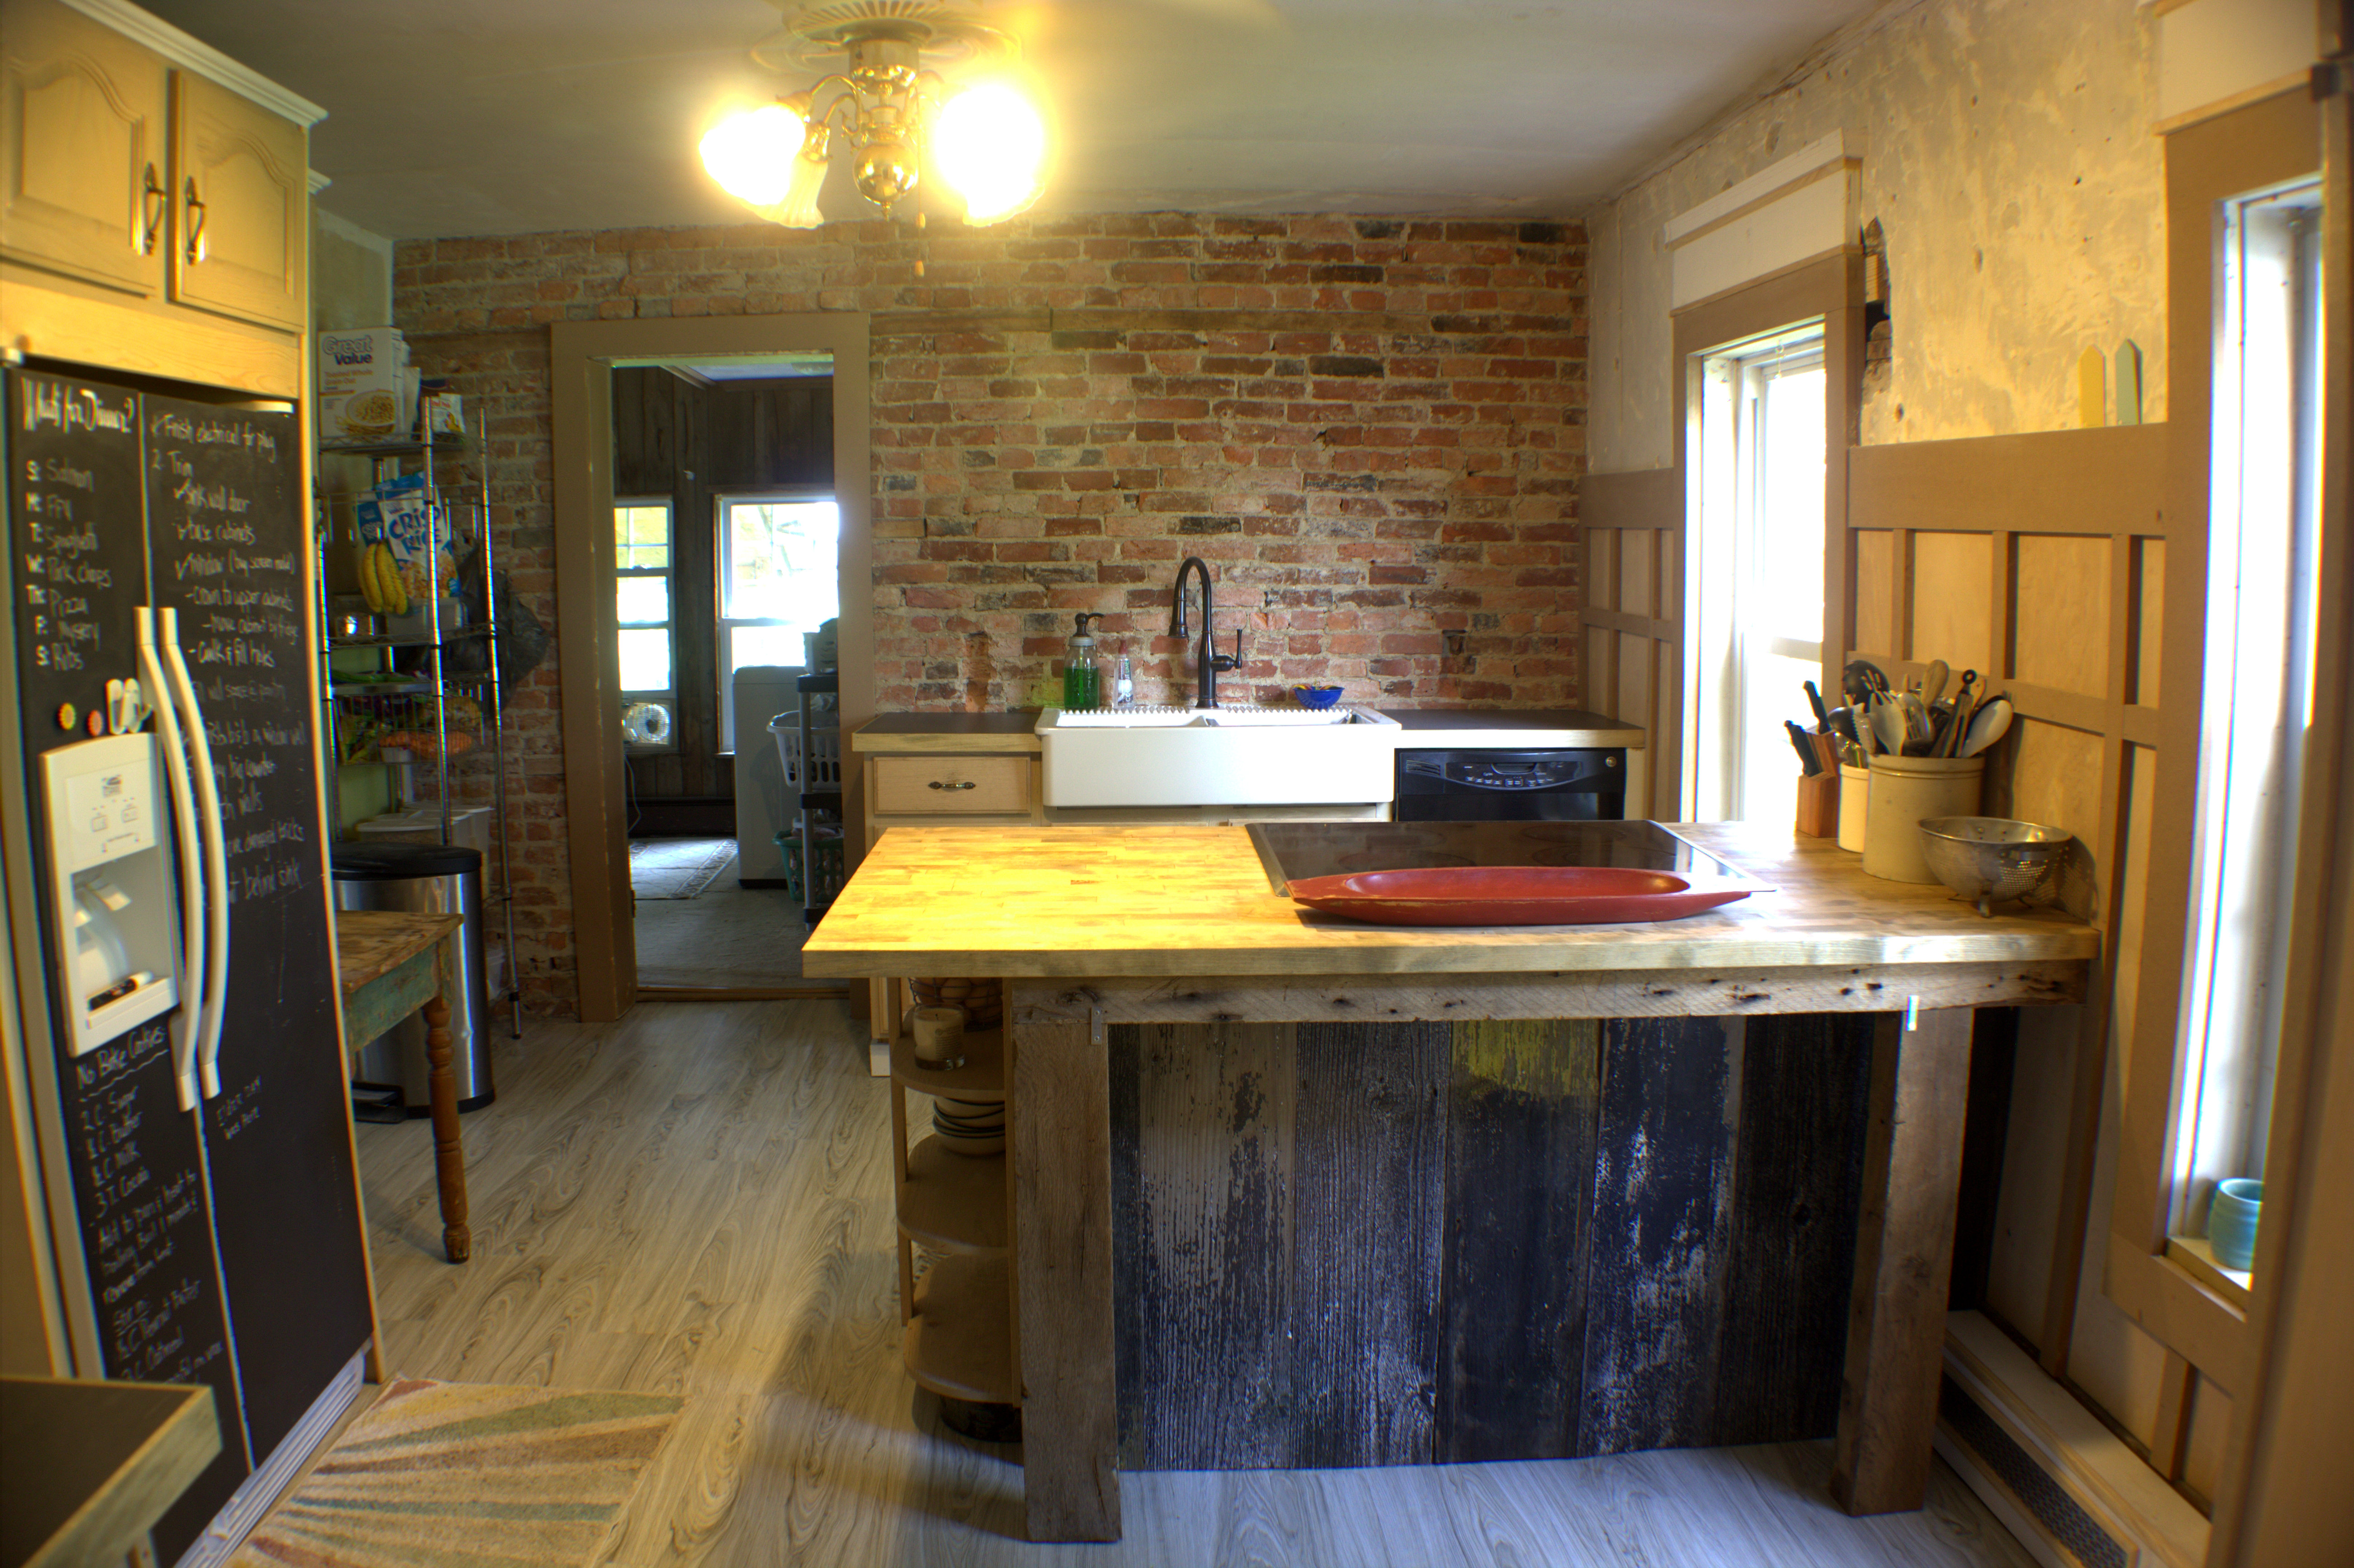
You can see that my new floor is in. It’s the Allure vinyl wood plank tile in Alpine Elm from Home Depot. It was pretty easy to do and worked well with our subfloor. It took me about 1.5 days to do it. Hubs helped me get started on the half day and I knocked out the rest in another day.
However, we did have a tragedy strike when the fridge scratched the new vinyl not just once, but twice. Lest you think I’m some sort of dummy, we protected the floor the second time we moved the fridge and that stupid fridge still managed to scratch the floor. I hate this fridge with a passion that is impossible to describe but trust me when I say I will NEVER move this fridge again.
On the upside, I now know how to replace the vinyl plank tile and even though we had an entire box of leftover tile we will hold on to it. Just in case. I’ve learned that saying the word “never” pretty much guarantees the “never” event WILL happen in your future. It’s best to be prepared. I’m just saying, is all. Be prepared.
Anyhoo, I knocked out the back of the bar area the week after my Dad died while waiting to get on a plane to go to Boise for his funeral. I’ve said it before and I will say it again, being productive/creative helps me cope with stress. It’s often cheaper than therapy and I really needed to stay busy that week. Before I got on the plane, I had progressed to this point.

The posts under the bar were just wedged in place. Once I got back I secured the posts with some brackets and some screws, toenailed into place like so. If you aren’t familiar with the term, toenailing means driving a screw or nail at an angle which makes a strong join.

I’m anxious to start painting and getting to the pretty part of the kitchen. I have a ton of things to do before I can get to the pretty. Here is a list I posted to Facebook a week ago.

I’ve completed tasks 1, 3 and 4. On task 2, I’ve done the first three items. I’ve still got some epoxying to do on the big counter, but I need to pick up some more nail polish remover before I can finish that one.
Here’s how things look today. I will show you some before and progress shots so you can see how far I’ve come.
Here is the kitchen before.

Here’s how it looks today.

I’m still on the hunt for the perfect stools for my bar area. Finding the right look for the right price has been challenging. I’ve found several stools that I love, but there is no way in heck I’m paying $600 for a stool. A STOOL!! Not gonna happen, no matter how much I love that pretty little crank handle.
Here is the big counter area before.

Here’s the big counter area today.

You can’t tell from this viewpoint, but the glass cupboard is just a smidge too high. I need to move it down and then I can finish the board and batten underneath it. When we pulled the carpet out from under the cabinets, we smoothed the walls with putty at that time, which is why this area has a faux board and batten treatment (ie, no board – just battens). However, under the glass cupboard is some really bad particle board so I will put the actual board up in that area to cover the particle board.
I’m very happy with how the counters turned out. It’s really hard to tell that these are tile counters at first glance.

If you look to the left side of the counter, just above the handle on the drawer, you can see a faint line. That is the joint where one tile meets the next.
The tiles are butt-joined together (meaning one tile butts up against the next as tightly as possible). The gap between the tiles is filled with clear epoxy to seal the joint and to keep water and other junk from filling in the joints. Mostly it looks like a solid surface counter, but at no where near the cost.
It’s also hard to tell in the pictures because the color of the trim on the counters so closely matches the cupboards below, but the wood trim is actually very close in color to the butcher block counter in the stove peninsula area. Once I have the cupboards painted in a light grey, the trim will really pop.
Speaking of the stove area, here is the before shot.

Here it is now, complete with a photo-bombing dog.

Brutus must be feeling left out these days because he keeps trying to get in all my shots. When I asked him what he was doing, he gave me his innocent look. He does it well.

With the curtains gone, the cupboard down and the new trim above the windows, as well as the board and batten in place, you can see how the windows look more proportional to the space.
I still need to build the radiator cover on the left side of the stove area, but it also means I have to do some plumbing work to fix a tiny leak in the pipe. Which means I have to wait for Hubs’ schedule to free up so we can tackle that project together.
Another project I still need to tackle is with the pantry area. Here is the space before.

Here is what it looks like now.

I plan to build a bookcase/display shelf on the end of the pantry to kind of balance out that fill gap on the left. I hope to start on that next week.
By the way, look at that gap in my walls. Do you see it? Look to the left of the fill board between the pantry and the wall, right above the board and batten.

These are the kind of things you deal with in a 163-year-old house. Crooked walls. Once I have a shelf board on top of the board and batten and put in a corner fill piece, you won’t see the gap, but in an ideal world, you would not have to deal with this kind of stuff. If you live in an old house, just try to stay flexible when problems like these arise because you can usually find a fix.
Remember this little fix? A little wedge of wood filled the gap and once it’s painted it won’t be so noticeable.

This is the final view of the kitchen to show you.
Here is the microwave area before.

And here is how it looks today.

That little table was a roadside rescue. I plan to trim it down to be closer to the size of the microwave. I will then move my garbage area to the space on the end. I plan to build a little shelf underneath the table to hold a raised dog bowl and water area. I have four caster rollers that I plan to use to raise up the table a bit, too.
I was going to work on the board and batten for this area today but the rain put a stop to those plans. My missionary daughter needs a couple of new skirts so I will be sewing those while it rains outside.
My kitchen is really coming together. My goal is to have the big projects done and the painting completed before July 12th when I leave to go get Katie. It’s easier on her to have things already changed than to have her try to live through the changes. Plus, the girl is OCD about open cupboards and I think it’d really wig her out to have all the doors off the cupboards. It’s my goal, so we’ll see how it goes.
The big projects I have to do, besides the painting, are to build the open shelves on the sink wall and to build the bookcase at the end of the pantry. I also need to do the radiator cover. After that it’s patching walls, replacing some brick, a caulk and putty party and then painting my guts out. Yee Hah!
Oh, and I’ve made a couple of decisions. I am putting the planked ceiling, crown molding and new lighting on hold as a Phase 2 of the kitchen renovation project. Moving lights will take more time and money than I have right now and I want to put some more thought into that before I do it.
Also, I will not be doing any tutorials on the kitchen projects until after my big reveal. I may have another update for you before the reveal, but considering my time line, I may not. Just know that I will get to tutorials soon.
What do you think of the changes so far? I’m still open to color suggestions since I haven’t firmed up my ideas on that. What colors would you do?