Bedroom Makeover – Pleated Pillow Sham
Today in round whatever-we’re-at-now of What the Heck is Taking Suesan So Long to Makeover Her Bedroom, I present to you:

As part of my bedroom makeover, I wanted to make some pillow shams for my bed. I bought some fabric from JoAnn’s.
As luck would have it, shortly after I purchased the fabric, I saw a tutorial on Centsational Girl that struck my fancy.
Kate has a nice tutorial, and if you’re an experienced sewer and have standard sized pillows, you won’t have any trouble following along. You can read about it on her blog by clicking on the above photo. However, I do not have the lush, full pillows that she does, so I needed to modify my pattern. Since I modified the pattern a bit, I figure I’d give you my step-by-step instructions.
Cutting Out The Fabric
You will need a piece of fabric 45” x 60”. Most cotton fabric that would be good for a pillow sham comes in 45” widths. Prewash your fabric before you cut it out according to this guide. I didn’t actually leave any space between pieces D, E & F, but I didn’t want to modify my drawing.

When I cut out cotton fabric, I like to measure, cut a notch at the desired width and then rip the fabric. Cotton tears easily and when you rip the fabric, you get perfectly straight lines. If you plan to rip your fabric instead of cutting it, add an extra 1/8” of an inch to each measurement to allow for the fringe that occurs when you rip the fabric.
Tip: If your fabric has a directional pattern, you may need to turn pieces B and C to account for the pattern.
Piece A is the front of the pillow. It measures 27.5” wide by 18.5” tall. Again, my pillows were smaller than Kate’s but if you need to adjust the pattern to fit your pillows, measure your pillow to get your dimensions. Don’t forget to take in the thickness of the pillow into consideration when measuring. Be sure to add 1” to each measurement to account for seam allowance.
Pieces B & C are the back of the pillow. Here’s where my pattern differs from Kate’s. I originally used her dimensions but then realized my pillows were smaller than the pattern. I didn’t want to put a sad little pillow into the sham, so I needed to cut my pieces down. I ended up making my back pieces a total of 3.5” bigger than Piece A. This allows for a 1” hem on each side, as well as a 1.5” overlap of the two pieces.
Pieces D, E & F are the pleat strips. If you are customizing the size of your sham, for the pleat strip you will need to measure the perimeter of Piece A (for my pillow it is 27.5” + 27.5” + 18.5” + 18.5” = 92”). The pleat strip is just shy of twice the perimeter. (60” x 3 = 180” pleat strips vs. 92” x 2 = 184”). Sorry for the math lesson, but if you want to customize your own pillows, there’s the formula.
Sewing The Pleats
Pieces D, E and F are the pleats. Let’s start our directions with the pleats. Sew pieces D, E and F together along the short end to create on long strip. I use 5/8” seam allowance. You can see in the picture below that I place a piece of tape along my seam allowance guide. It just makes it easier for me to see which line I’m following.
After you have the long strip sewn together, fold it in half along the length of the strip and press the fold in place.
My pleats are spaced 1.5” apart and each pleat overlaps itself by 3/4”. These number can be adjusted. If you want closer spaced pleats, try and 1” – 1.25” apart to see how you like it. I think the 3/4” overlap is a good amount, but again, play around and see what you like.
Once I knew my spacing, I made a couple of guides with some tape on my machine. I measured 1.5” from the needle and put a piece of tape there to mark that spot. Then I needed another mark 1.5” from that spot. To make a 3/4” pleat, you actually need 1.5” of fabric because you fold it to form the pleat (3/4” + 3/4” = 1.5”).

Take your strip and about an inch down the strip, make a pleat in the fabric. You can use your pleat guide on the machine to make sure the pleat is deep enough. When sewing the pleats, line up your fabric with the edge of the pressure foot. You need to have a smaller seam allowance at this step or you will see that first seam on the ruffle once the pillow is done.

Get that first pleat made and sew just to the top of the pleat. You can’t see the mark on the tape in this picture, but my finger is at the mark. Grab your fabric at the mark and move it up to the top of the pleat guide. Now sew to the top of your new pleat and repeat all the way down the strip of fabric.

It takes a minute or two to get the hang of it, but it goes pretty quickly. As you come to the seam where Piece D is sewn to Piece E, you may be able to adjust the pleat to hide that seam.
When you are finished with your strip of pleats, you need to pin it to the right side of Piece A.

This is how it will look all pinned in place. However, you need to overlap the ends of the pleat strip. At the end of the pleat strip, fold about 1/2” of fabric under.

Tuck the start of the pleat strip into the end of the strip.If you can, put the folded edge behind the first pleat to hide the seam. You may not have enough fabric. Pin the folded edge in place. If you want to avoid hand stitching at the end, you can open up the start of the pleated strip and sew the two ends together. I thought it was easier to hand sew at the end, so I didn’t do this step.

To help make the join look as seamless as possible, I picked out the last pleat before the join. This left me with some extra fabric between pleats.

Form a pleat between the join and the last pleat on the strip. If there is less spacing between these pleats, it won’t be that obvious unless you’re trying to squish too many pleats into the space. If so, you may need to pick out a couple of more pleats and adjust them by hand to even things out.

The last few pleats are a little close together, but it will not be noticeable on the finished pillow.

Once your pleats are pinned to the front, sew them in place. Again, use less than a 5/8” seam allowance.
Tip: When pinning pleats around the corners, push a little extra fabric into the corner to allow the pleats to make the corner without pulling too tightly.

Next, pin the pleats down at the corners so the edges are not in the seam line.

Pillow Back
To make the overlapped opening at the back of the pillow, you need to sew a hem on one of the 18.5” edges of both Piece B & C. I eyeball it, and apparently my eyeball is calibrated to 1/2”. Turn the edge over 1/2” and finger press the fabric.

If you have never finger pressed fabric, it’s pretty simple. Fold the fabric where you want it and push down on the edge with your finger or fingernail. Cotton fabric takes this pretty well and you should be able to see a crease or fold in your fabric where you pressed down.
Fold the hem over 1/2” a second time and finger press in place.

Sew hem in place, keeping stiches fairly close to the hem’s inner edge.

Once both back pieces have a sewn hem, overlap the hemmed edges, like so.

Stitch edges in place.

With right sides together, pin pillow back to the front of the pillow.

Make sure corners are smooth and pleats will not catch in the edges. Not that I know anything about that.

Sew pillow together using the 5/8” seam allowance. Clip fabric at corners. This removes some of the bulk at the corners and helps make a smooth corner.

Turn pillow right side out. Make sure all the corners are turned out and no ruffles were caught up in the seams. You can see how there is a tiny pleat at the corner to help the fabric move smoothly around the corner.

I do one final step to my pillow. Understitch the opening of the pillow back to reinforce it. This will take the stress off that join so it won’t tear open when putting a pillow in it.
To understitch, sew the pillow back to the seam allowance. The seam allowance is turned to the right and is under the pillow back. The pillow front is to the left, under the pleated ruffle. Make sure only the back and the seam allowance are under the needle.

Stitch close to the seam.

You don’t need to understitch the whole pillow. Just go far enough to go over the join area, plus about an inch on each side of the join.

Your final step is to hand sew the join of the pleat strip. I like to use a blind stitch because you can’t see it. Weave your needle in and out under the fold between the two sections to be joined.

You shouldn’t see the thread at all, but I’ve pulled the fabric apart a bit so you can see how the thread weaves in and out.

It will lay smooth and you will not be able to see the join.

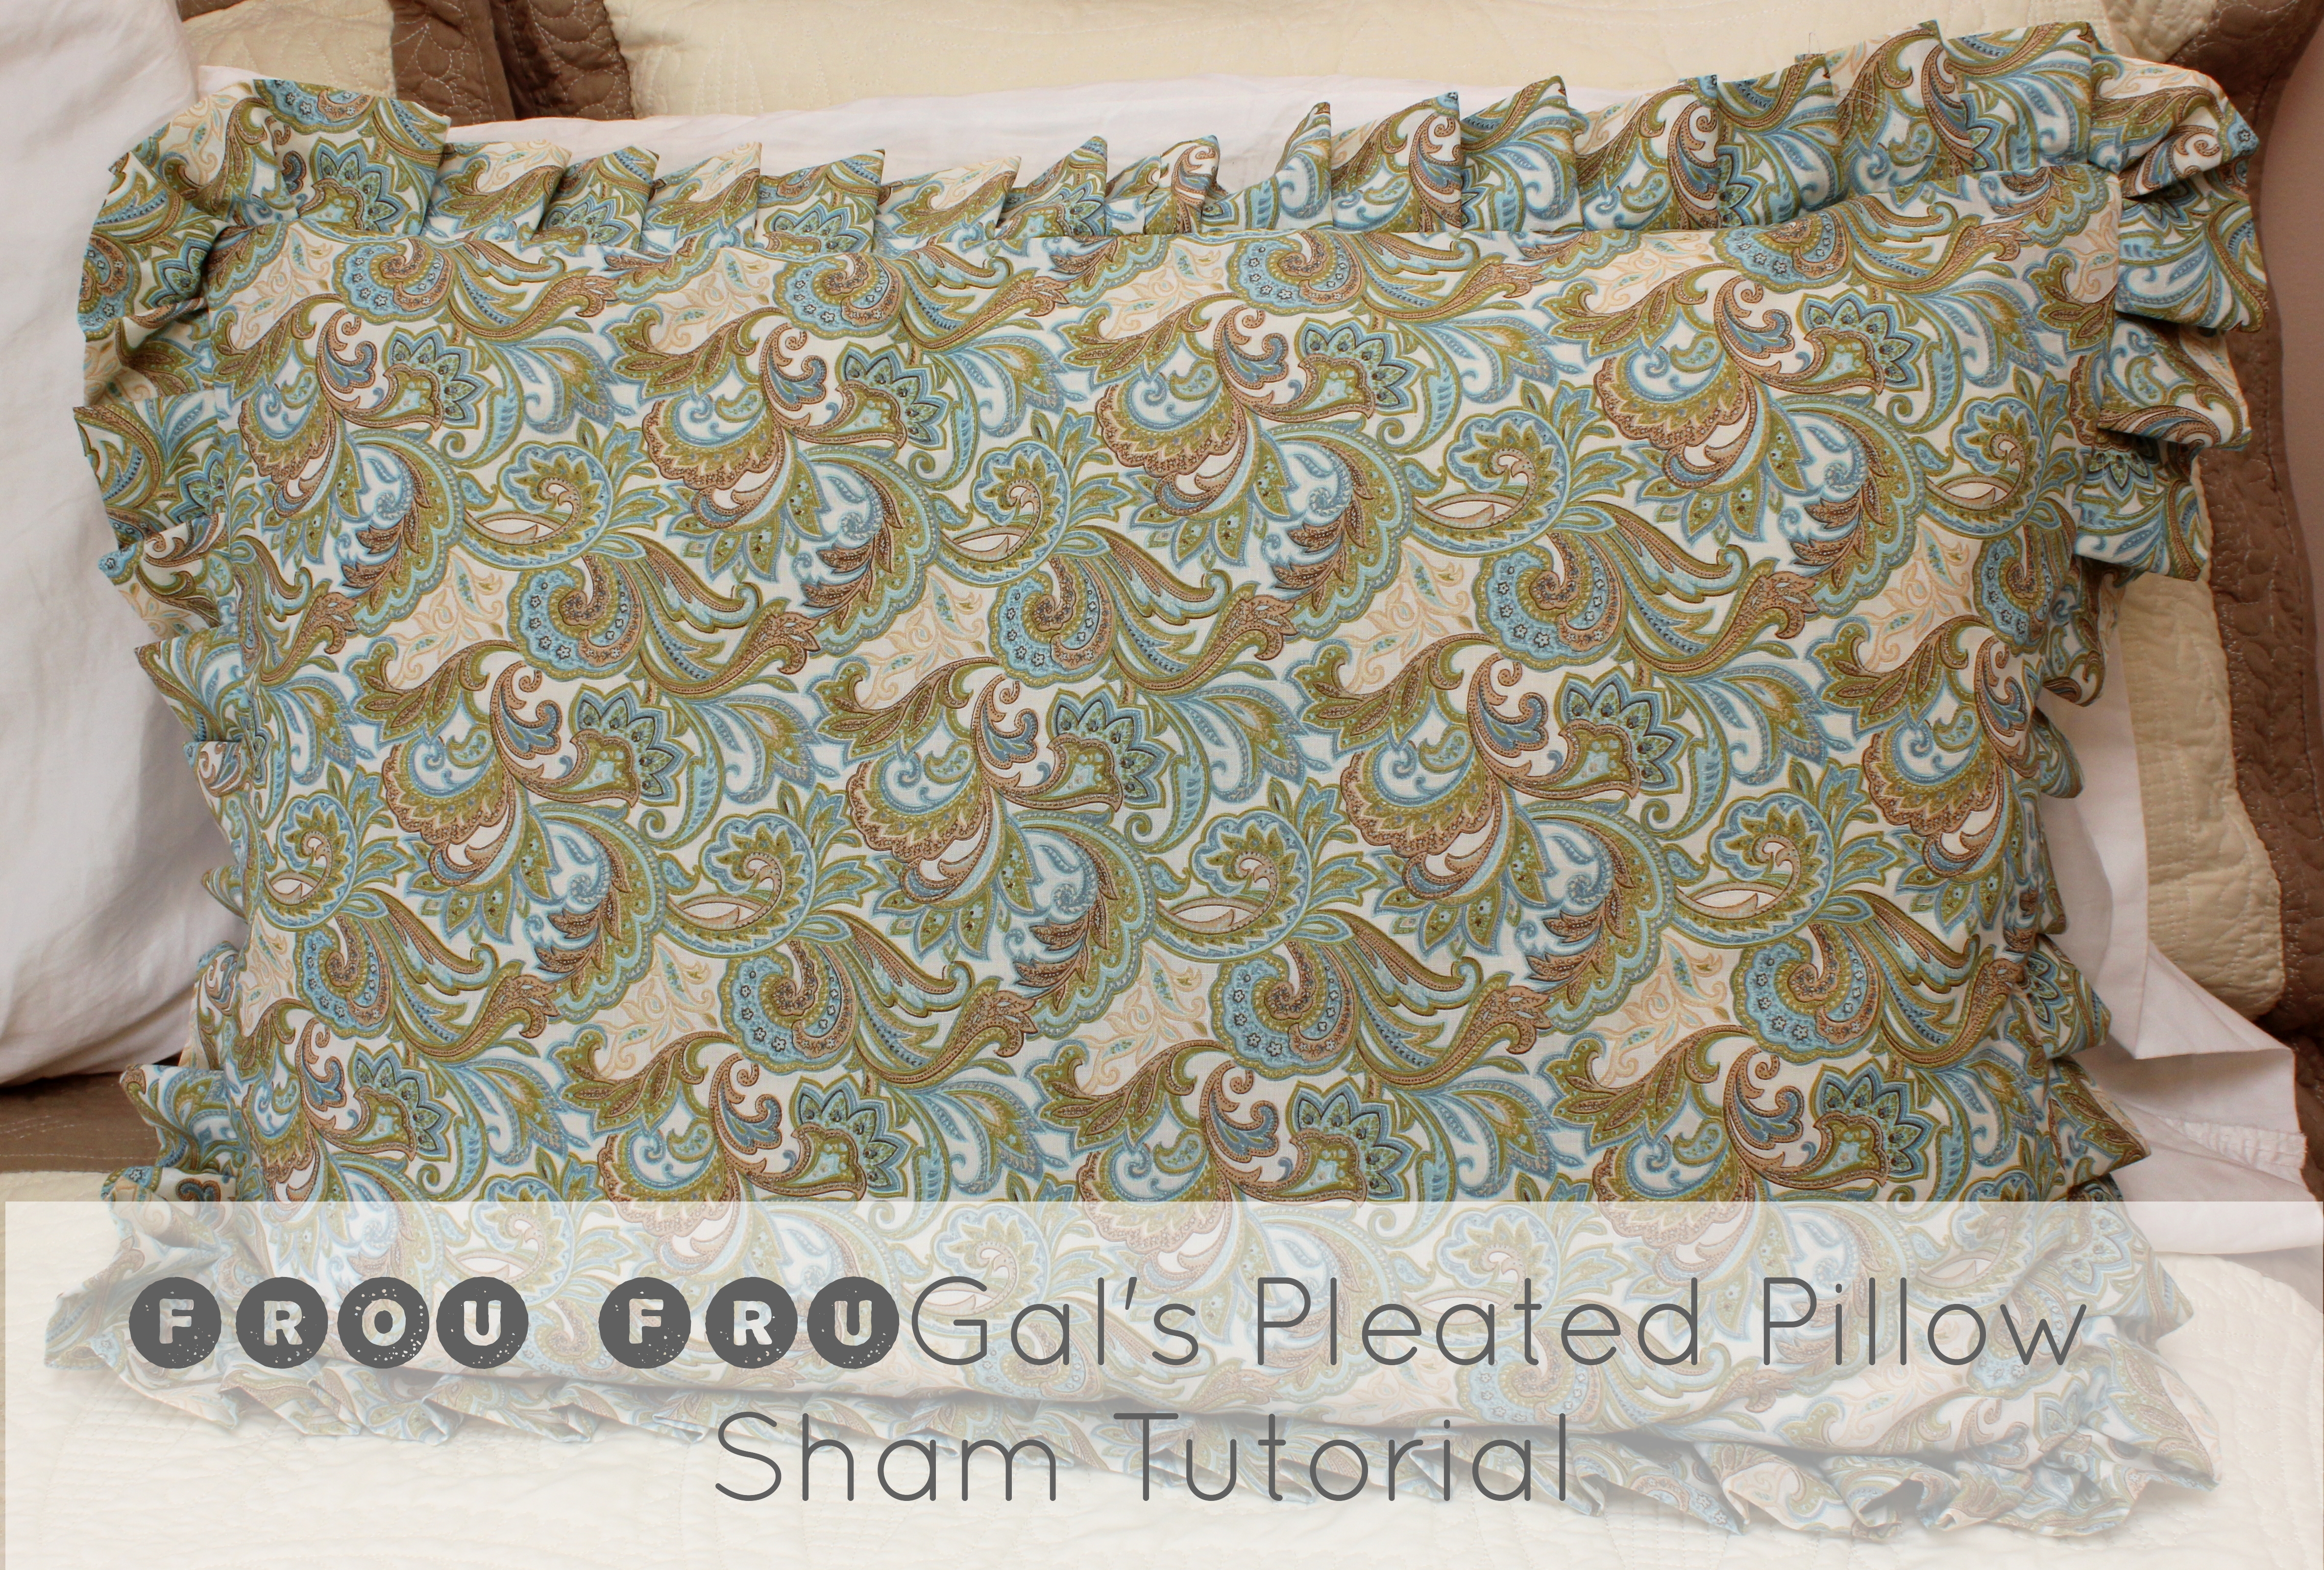
I know I gave you pretty detailed instructions, but don’t let that scare you. These pillow shams are super easy to make and you get a custom look for very little money and time.

My bedding is coming together. I love the pop of color these pillow shams give my bed. I wish I could photograph and style it better, though.

Yes, my walls are still pink. My artwork is all goofed up. I have a lot left to do in this room. I have a new quilt to show you in a day or two. I’m almost done with Hubs chair and the lighting changes are coming soon, too. I’m hoping to finish both of those projects this weekend.
Project Breakdown:
-
Fabric – $5.57 per pillow (1.67 yards at $5.59/yard with 40% off coupon)
-
Thread – $2.29
Total Cost – $13.43
Total Project Time – 3 hours for 2 pillows

If you liked this tutorial, please share it with others.
Thanks,