Craft Organizer
Back in the summer, Hubs called me from work one day to say that his office was liquidating some office furniture and did I want any? We decided to buy a couple of pieces, one of which was a 2-drawer lateral file cabinet, similar to this one.
(This is not the actual cabinet, but is, in fact, a picture I swiped off the internet).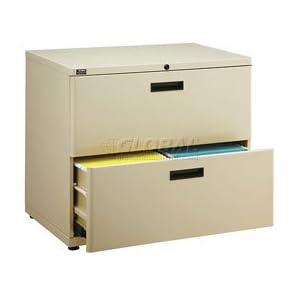
I know, bad Blogger. I could have sworn I took a picture of the cabinet before I started working on it. Imagine this: the same putty color, only with a slight film of newspaper ink to dinge it up. The manufacturer plate has been pried off the top edge, and there are a couple of dings on it, acquired after 30 years or so in a pressroom.
It was $15 bucks. I wasn’t going for a fashion piece. In fact, I thought I’d just stick it in a closet and call it good. However, I was hip-dip in projects when Hubs brought this home and I had no time to think about it other than I thought I could put it to use.
Want to see what I ended up with? Okay, before I show it to you, I want to put out the disclaimer that my office walls are still pink and the bunny wallpaper is still firmly in place, owing to the fact that I have misplaced the wallpaper remover tool no fewer than 3 times now. Don’t judge, ‘kay? The scorer tool has been found and I’ll be putting it to use this weekend.
I started out by spray painting the cabinet, but even after doing that, I realized I couldn’t hide some of the flaws.
I Mod Podged some fabric over the file cabinet to camouflage the problems. The design of the fabric does a good job of distracting your eye from the dings. I didn’t take any pictures of the Mod Podging process, but I painted some onto the cabinet, smoothed the fabric over it, painted more on, repeat until done. I used an Xacto blade to trim off the excess fabric. I painted over the fabric with Mod Podge to give it a little more protection.
I used 1.5 yards of fabric for the cabinet, which is 36” wide. It was just barely enough with a few scraps to spare.
Here is the before and after of the front, top right side of the cabinet.
This is the before and after of the back, right side of the cabinet.
I purchased the fabric from Wal-Mart for $4.44/yard. They have a couple of different prints in this fabric family. I may get a coordinating print for my curtains. I’m not sure yet.
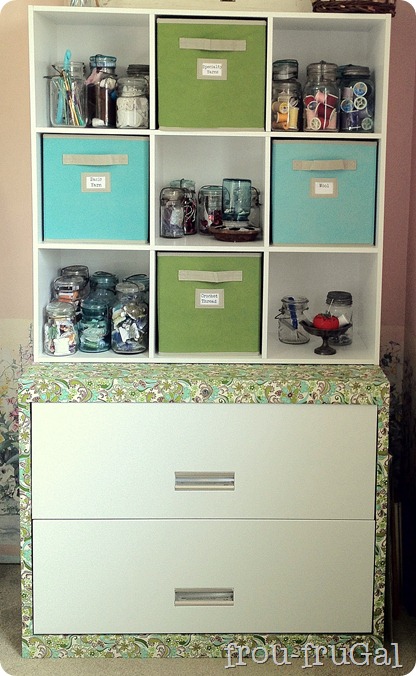
I’ve used the drawers to hold fabrics and various sewing supplies.
In all honesty, this is not my entire fabric stash. This is just the fabric I had in the house. I may or may not have 2-3 tubs out in the garage. Baby steps, people. Baby. Steps.
The top half is your basic 9-cube organizational unit you can buy at Target/Lowes/Home Depot/etc for around $50 or less. Mine is from Home Depot for $46.97 and the fabric cubes were $6.98/each.
There were a bunch of Mason jars out in the barn, so I cleaned some up and put them to use to hold my threads, sewing notions and the like.
My knitting needles and crochet hooks are now sorted out. See that big blue crochet hook? Can’t tell you how many times I’ve lost that one!
Assorted ribbons and trims.
Embroidery Floss and various fibers.
Want to know what those fibers looked like before I sorted them all out? Sadly, this was just the first pile.
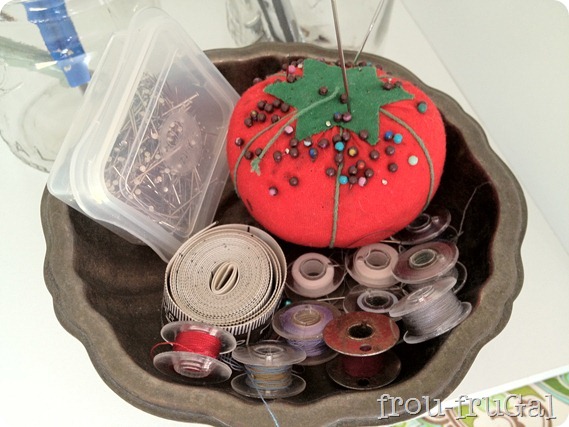
I used my Silhouette SD to cut out some paper bobbins. If you want a copy of my Silhouette file to make your own, leave me a comment and I’ll send it your way.
Then I sorted and de-tangled my heart out. Once I had a strand free, I wrapped it around the bobbin.
I refuse to admit how long my threads have all been jumbled up like this, but let me just say that when I showed the Daja a picture of the floss like this last night during a Skype call, she nearly passed out from shock. Again, we’re not judging, ‘kay?
There are jars for the sewing threads, too.
I also put a little silver dish to use.
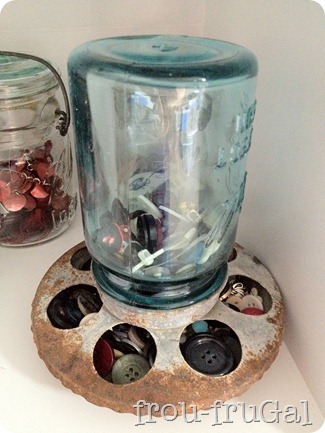
I used a rusty chicken feeder that I bought at a garage sale to hold my buttons.
The drawers hold all my yarn.
In sorting and organizing my supplies, I’ve come to the realization that if I’m in danger of becoming a hoarder, it’s with my craft supplies. As I was sorting out all the floss and threads, I seriously debated just tossing the whole lot. It’s not like I’ve done a ton of embroidery in the last few years.
However, just having the supplies out where I can see them, has since spurred my creativity to the point where I actually embroidered a recent project. I think being able to see my supplies will help me find ways to use them.
I love having things organized and being able to get to them as I need them. My craft room/office is still a work in progress. It was a happy accident that the blue in the fabric is a perfect match to the Double-Wide Dresser.
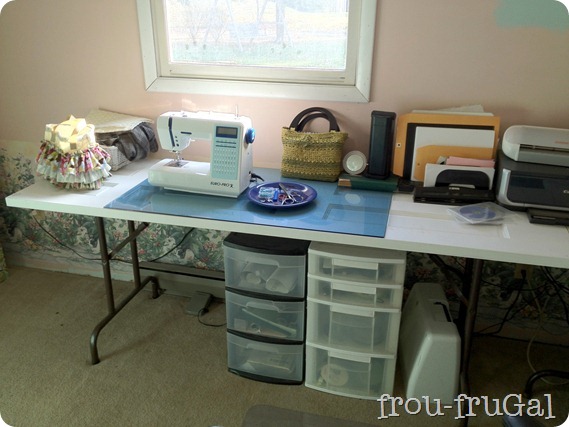
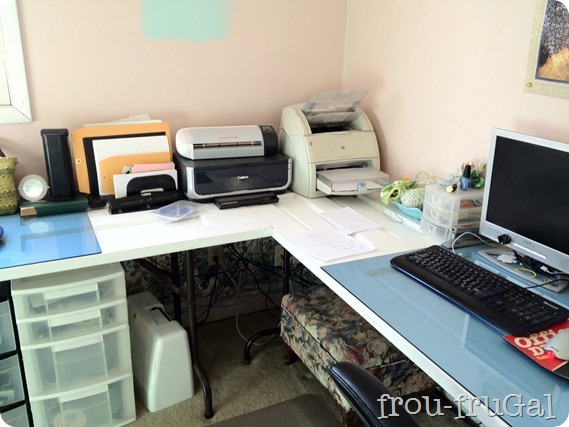
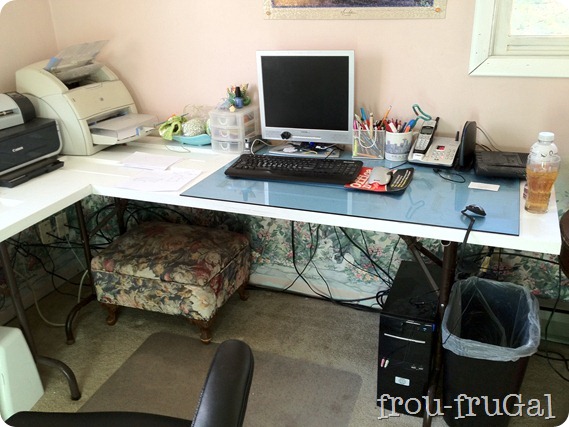
Remember my desk I made out of a couple of doors? It’s well used.
My list of To Do’s is long:
-
Remove wall paper
-
Paint walls
-
Board and Batten? I’m still trying to decide, but I’m guessing yes.
-
Install baseboard
-
Make Curtains for windows
-
Make desk skirt for back of desk to hide cords
-
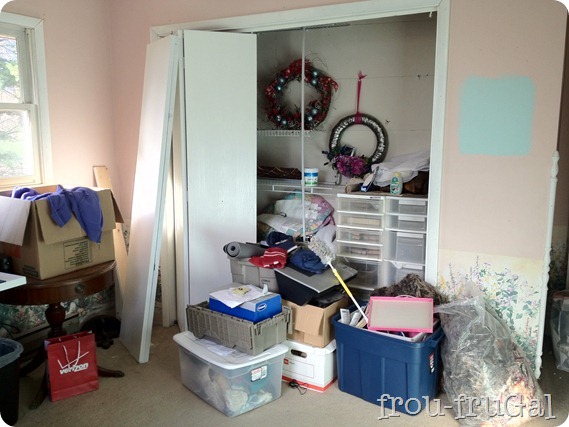
Organize closet space
Closet space? Yeah, I may not have shown you that disaster area.
Fine. I’ll show it, but you know the drill by now…this is a judge-free zone.
I’m pulling out the wire shelving system and moving it down to Kiddo’s room. I’m thinking of moving the double-wide dresser into the closet because I have plans for space where it resides now.
For now, I made a customized craft storage piece for a reasonable price.
Cost Breakdown:
-
File Cabinet – $15
-
Fabric – $6.66 (1.5 yards @ $4.44/yd)
-
9-Cube Storage – $46.97
-
Fabric Cubes – $27.92
-
Spray paint, Mod Podge, Mason Jars – Stash on Hand
Total Project Cost: – $96.55
Estimated Project Time – About 5 hours to paint, Mod Podge fabric & assemble cabinet.
Suesan
If you want the Silhouette file for the bobbins, please make sure to include your email address in your comment, if it’s not tied to your account. Thanks!

