Fixing a Shower Drip
Ever have a shower that drips no matter how hard to try to tighten the faucet handles? I do did. I noticed it the first time I took a shower. However, due to the worst month on record, I wasn’t able to fix it until now.
Each day, it seemed the drip got bigger and bigger. I left a bath pouf on the floor of the shower so at least the water hit that pouf and not the shower floor. It was the hot water, and every drip sounded like coins falling to me. Weird.
For the purposes of this tutorial, ignore the hole in the drywall where the showerhead comes out of the wall. That was the result of Hubs “adjusting” the showerhead the first time he used the shower. The whole pipe broke off into the wall, requiring Hubs to sweat (solder) on a new fitting. Drywall repair is on the list. The list is growing daily.
At any rate, I decided that since Hubs was too distracted by outside projects, this was a project I could tackle myself. I started by crawling into the space where the water shutoff resides.
See that red lever? That’s the shut-off. We live in the country, so our water comes from a well. Your shut-off may look different, but typically it will be between the water source coming into the house and the water heater.
Generally, when the handle is lined up with the pipe, or parallel to the pipe, the water is on.
To shut off the water, turn the lever so it is perpendicular to the pipe. The picture below shows the water off.
Note: Before you begin taking anything apart, turn both of the shower faucet handles “on” to relieve any pressure in the pipes. This will spare you from being sprayed with water once you take things apart.
Start by removing the center faucet cap. These are usually marked to indicate which handle is hot or cold.
I just used a tiny screwdriver to pry off the cap. Once you have it off, you’ll see a screw is holding the handle onto the valve.
Unscrew it.
We have hard water and the hard water stains and calcium build up. I was going to clean it before I took a picture, but chances are, yours may have some hard water stains too.
I’m just keeping it real, folks.
Once the screw is out, pull off the handle.
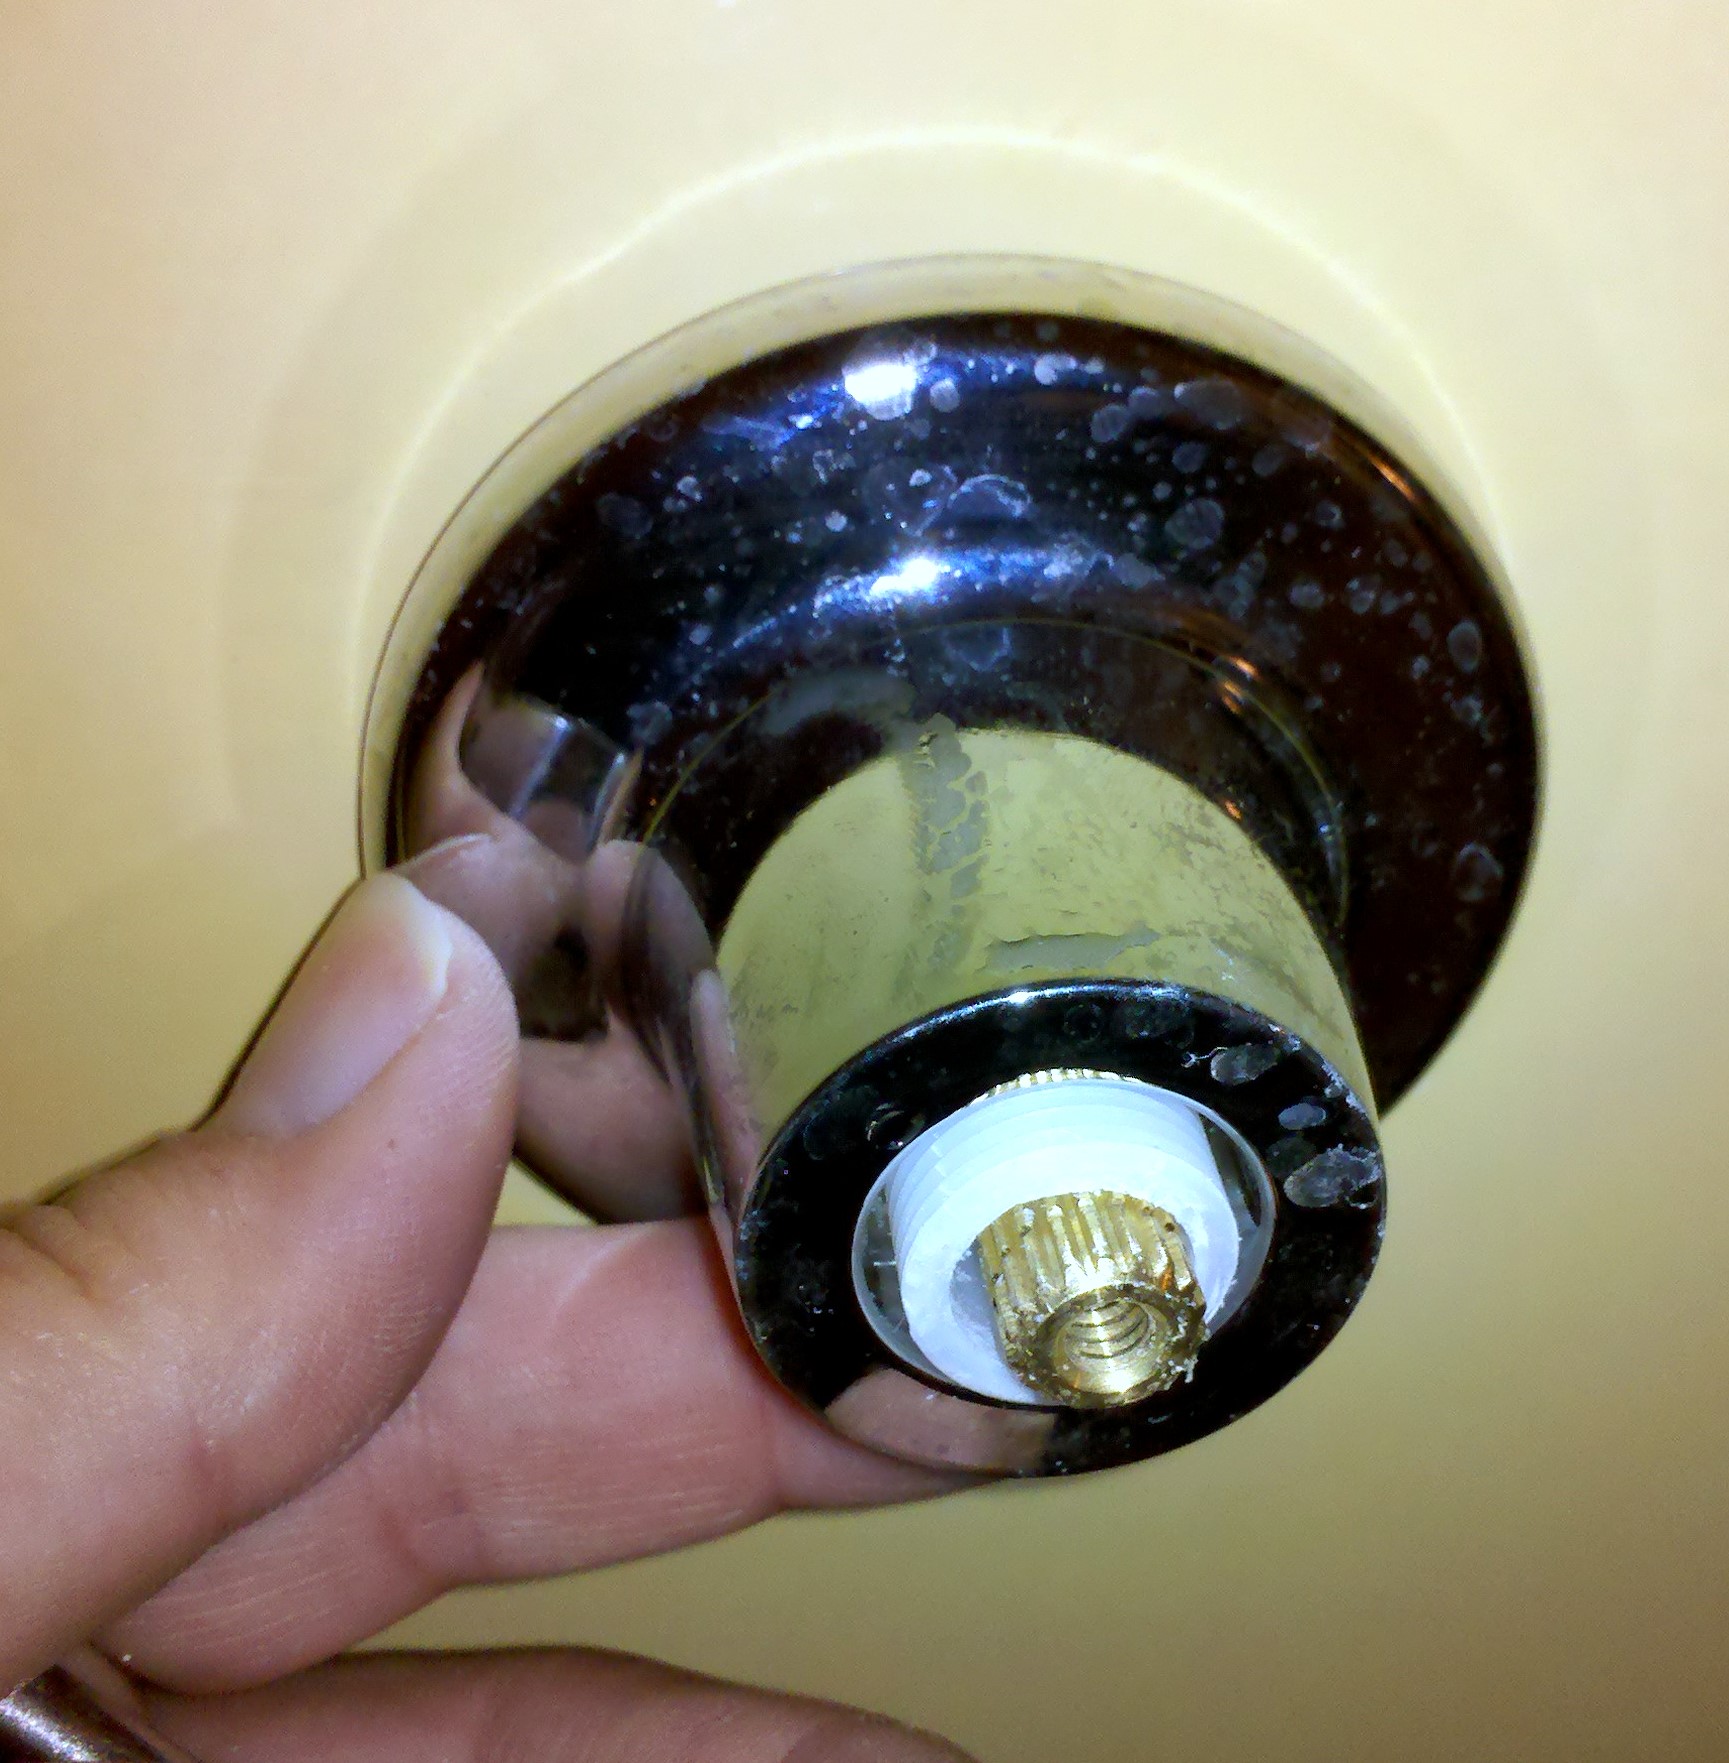
The faucet base cover unscrews. You need to take it off as well.
This is the valve stem. Hopefully, you will be able to get to the base to unscrew it. If not, you will need to invest in some tub wrenches. The are about $20 at the box stores. They will be able to get into the wall to fit around the base of the valve so you can loosen it.

Since mine was exposed, I used a Vise Grip to loosen the valve.
Simply unscrew the valve. Since I had the water off and I wasn’t exactly sure if the cold was dripping or not, I took both of them off.
Here’s what the valves looked like out of the pipes.
You can see that they are a little different. I think these must have been fixed or replaced at some point. See the screw on the end? The screws should be tight against the washers. The one on the right came from the cold water and that washer is nearly gone.
You’ll want to take a flashlight and look into the pipes to see if there’s any corrosion or scratching.
The reddish ring just on the inside of the pipe is a washer. You’ll want to pry that out and replace it. Even though this one is fine, washers are cheap and as long as you’ve gotten this far, you might as well replace them.
If you’re a regular here, you know I just moved to a new town. We have a True Value hardware store in town. It’s a little bit pricier than the box stores, but it’d take me an hour round-trip, to go pick up new washers at a box store.
I’m happy to pay the few extra cents if it means I don’t have to lose an hour. Plus, the people at the True Value are just so nice and helpful. The parts I needed were downstairs and the helpful clerk went downstairs without me to get the parts since my knees were mad at me yesterday and were telling me that stairs were not an option.
He came back upstairs with all the washers that I needed. The little plastic squares at the end of the valves are used to hold the handles on. I had him replace those, because I had problems getting the old ones off. However, I couldn’t fit the new ones onto the valve stems, so I ended up using the old ones.
You’re now ready to put everything back together. Before you do, wrap some Teflon tape around the threads. The tape will ensure a tight seal.
Make sure to pull the tape tightly as you wrap it and to keep it smooth. Also, don’t wrap more than once or twice around the threads.
Make sure the top washer is on the valve at the base of the threads before you reinstall.
The white plastic threads on the right valve is what the handle base screws onto.
Now just reverse your steps to reinstall.
Points to Remember:
-
Make sure all connections are tight, but don’t over-tighten
-
Make sure you know which valve came out of each side (hot and cold). If you mix them up when you put them back, the handles will turn off and on in the opposite way. In my case, I switched them around so that the handles turned to the center to turn on the shower.
-
Don’t forget the washer at the base of the threads, otherwise you’ll have a leak in the wall.
There you have it. Your shower should no longer drip. Mine still has to be tightened fairly tight, but doing so now stops the drip whereas before it just made for a tight handle.
A whole new faucet is down the road for us, as we have dreams of remodeling this bathroom. Harvest gold showers are not on our mood board.
We’re dreaming of something like this:

For now, I no longer hear money pouring down the drain, which makes me a happy girl.
Now, it’s time to dig out the scrap of drywall we have around here and to patch that hole! It just moved up the list.
Cost Breakdown:
-
New Washers – 1.78
-
Plastic Handle Parts – $3.48
-
Plumbers Teflon Tape – Stock on hand