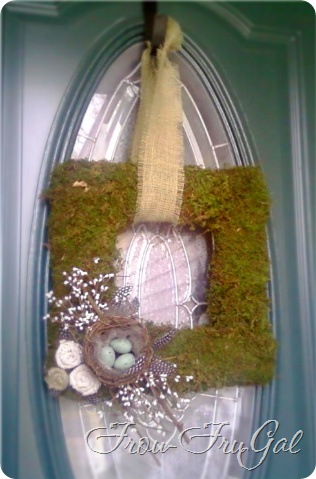
Spring Square Wreath
Back in February when I was trying to pioneer a technique for making my own foam wreath forms, I made a square wreath form. My technique didn’t turn out as I envisioned, but I still was able to use the forms.
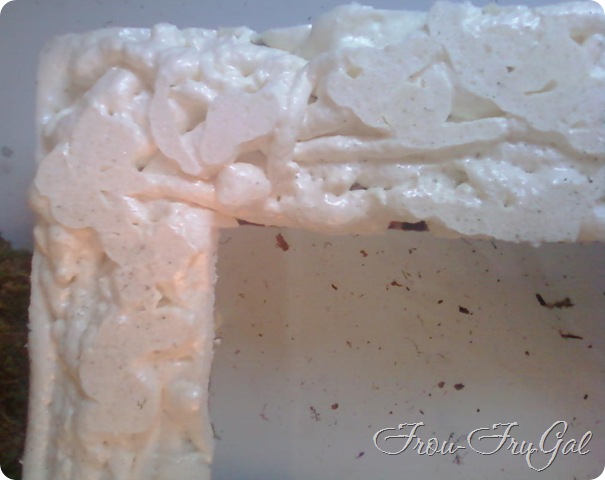
I made a square wreath form using the lid from a pizza box and some Great Stuff.
The Great Stuff sprays out in rows. I wasn’t sure how much it would expand after I sprayed it, and at the time, I wasn’t thinking about even coverage. When it dried it was very bumpy. I used a bread knife to level the form.
If I use the foam again, I’ll be sure to spray the rows more evenly. Once you start spraying the foam, you have to use the whole can because you can’t save it.
When I made the square wreath form, I wasn’t exactly sure what I was going to do with it, but I knew I wanted it for my spring wreath.
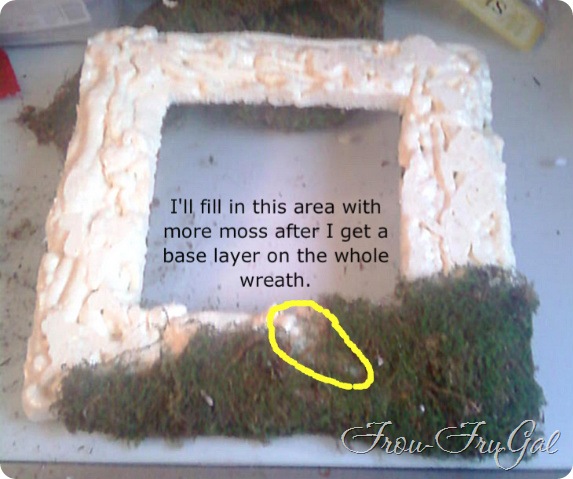
After muling through a few ideas, I finally settled on a moss base for the wreath. I used sheet moss and hot glued it to the form. The sheet moss had some corners on it from where it was folded. I formed those over the corners of the wreath where possible. I glued the outer edge of the form first and worked toward the center.
Sorry for the bad pictures. It was 5 a.m. in the morning when I was working on this and the lighting wasn’t the best.
Hubs woke up and came in to see what I was doing. I made the mistake of asking him what he thought. He gave me the funniest look and said, very sweetly, “It looks like crap.” After 23 years of marriage, you’d think I’d learn that he calls ‘em like he sees him. I’ve stopped being offended because I know he can’t see the vision in my head.
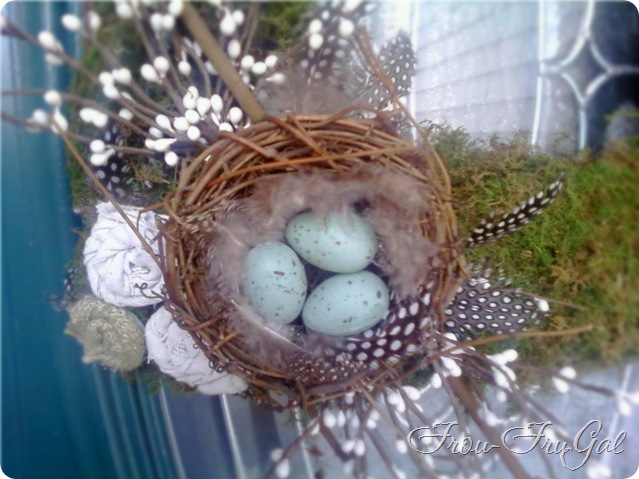
I bought some tiny berry picks, some feathers and a birds nest and plastic eggs. The berries remind me of pussy willows, which I absolutely love. They are some of my favorite signs of spring. I used some green floral wire to hold the nest onto the frame.
When I was at JoAnn’s, I noticed one of the eggs was smashed and I didn’t want to walk back to the floral section to find another one. I asked the cashier if she’d take some money off the price and she took off 75%! When I was doing the price for the post, I noticed she took the 75% off the berries instead of the eggs, but they were both the same original price so it’s all good.
I used an embossing stylus I had and stuck it in the hole at the end of the egg and pushed out the smashed area. It discolored the plastic, but it popped the egg back into shape. I just glued the ugly side down. I glued some feathers in the nest before gluing the eggs in.
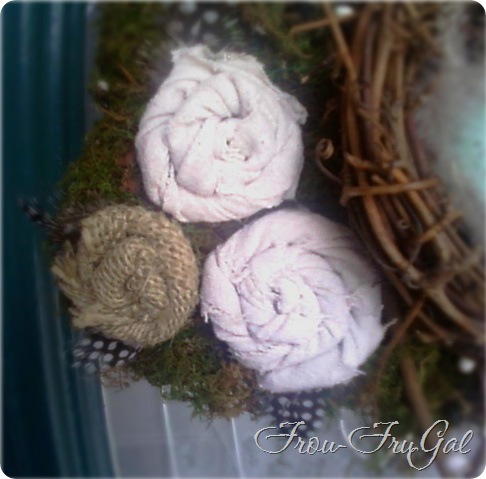
I used some scrap burlap and drop cloth to make the flowers.
A rectangle strip, twisted and wrapped in a circle and then hot glued onto a scrap of felt gave me some flowers. I glued on a couple of feathers for a leaf look and glued the flowers right onto the wreath.
Another scrap of burlap was used as the ribbon. I just cut it the width I wanted, fringed the edge and then tied it off with some twine.
I need to glue some weights onto the back on the right side to offset the weight of the decoration on the left. Also, in the full light of day, I can see a few spots that need a bit more moss, but overall, I’m happy with the look.
I love how natural it looks. Hubs and the boys like it since it’s so nature-y and not girly.
Cost Breakdown
1 bag Sheet Moss – $2.99
Bird’s Nest – $2.99
Bird Eggs – $0.99 ($1.00 off for buy 1, get 1 deal paired with nest purchase)
Tiny Berries – $.47 (10% off Coupon plus 75% off)
Feathers – $1.19 (40% off Coupon)
Pizza box, Foam, Burlap, Drop Cloth, Twine – Stash on Hand
Total Project Cost – $8.63
Total Project Time – 45 minutes
Be sure to check out the link parties on my sidebar. I’m also linking up at Inspired by Charm.


