Settee – Restoring Wood Finish
Restoring A Wood Finish
In my first installation on the $20 Settee, I showed you how to DeUpholster a piece of furniture. If you missed the first tutorial, click the picture to learn how to DeUpholster. Be sure to read the comments, because I answer readers questions on their upholstery issues.
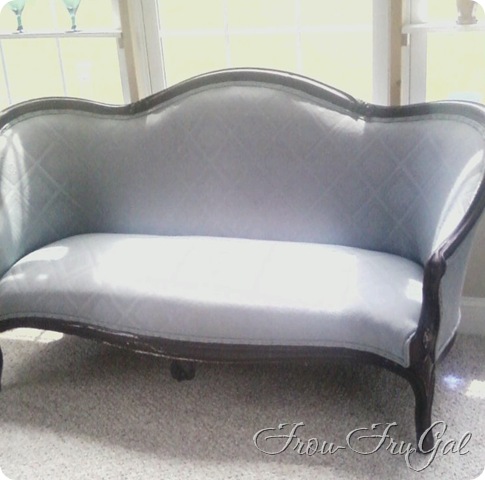
Hubs was opposed to my painting the wood on the settee and I agreed to try to restore it. I’m often at war between the purist in me that wants things to be restored to their natural splendor, and the creative genius that lives inside of me that wants to paint and try a new color. In this case, it’s a hand-carved settee. It’s old and it’s in good shape. Despite the very personalized fabric I’m going to put on this, I will increase the value of the piece by restoring it.
Once you’ve removed the upholstery and have reinforced any of the straps/pads/or fillings, you’re ready to strip the wood. If you’re going to replace all the padding, you’ll want to refinish the wood BEFORE you put on the new padding.
It might just be me, but as soon as I say/hear/see the word “strip,” the soundtrack in my head starts playing David Rose and his orchestra’s classic striptease song, The Stripper. That’s not just me, right? Anyone?…Okay, it might just be me.
If you would like to want to play along, however, feel free to press start on this YouTube video so you can hear the soundtrack as you learn how to strip off an old wood finish.
Go ahead. Press Play. You know you wanna. (the video is totally G-rated. It’s just the record spinning around). The dance moves that follow are a lot more fun with the music playing. First, you have to listen to some dude introduce the song……Ready now? And. Here. We. Go.
To strip the old finish from the settee, I used a product from Zinsser called StripFast that I bought from Menards.
ehijh BA-nuh Nuh, Buh-Nah Nuh Nuh kqwxy
Step-Bump, Step-Bump.
According to the not-very-helpful, friendly young man at Rustoleum, they make products especially for Menards that have different names than their regular products. However, Rustoleum lists a product called Furniture Refinisher that has identical label wording as the StripFast, despite the Rep’s insistence that these are different products because they have different product code numbers. Whatevs. They are both one-step refinishing products made for antiques, so if you don’t have a Menard’s, look for the Zinsser Furniture Refinisher.
If you are removing paint, I would use a product formulated specifically for paint removal. The StripFast is intended for removing old shellac and varnish. It did a good job at lifting the old color off, but I wouldn’t recommend it for painted surfaces.
Put your right arm out and sloooooowly peeeeeel that glove on. Tug-snap, Tug-snap. Left arm, but with a hip roll this time.
Use Protection
Rubber gloves meant for chemical processes are a Must! Eye protection, too, if you’ve got it. And for the love of your olfactory neurons, wear a face mask, people. It’s gonna get stinky up in here.
Caution: I highly recommend this process be done in a well-ventilated area. I also highly recommend stripping in the bedroom under the right circumstances. That said, refinishing a piece of furniture in your bedroom with the door closed so as to not smell up the rest of the house is not the kind of stripping that should go in your bedroom. Ever. Even if you open all the windows to let in the frigid winter air and run the bathroom vent and the ceiling fan, it really isn’t the optimal setting. Not that I know that from personal experience, or a 2-day, fume-induced headache or anything. I’m just saying that might not be a good idea.
ehijh Waaaaaaa Nuh-Nuh Nah. Waaaaaaa Nuh-Nuh Nah kqwxy
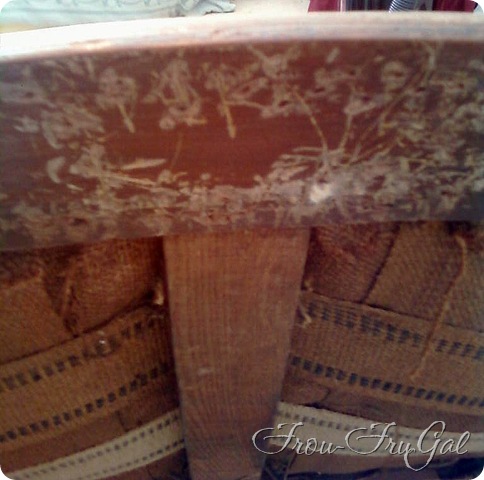
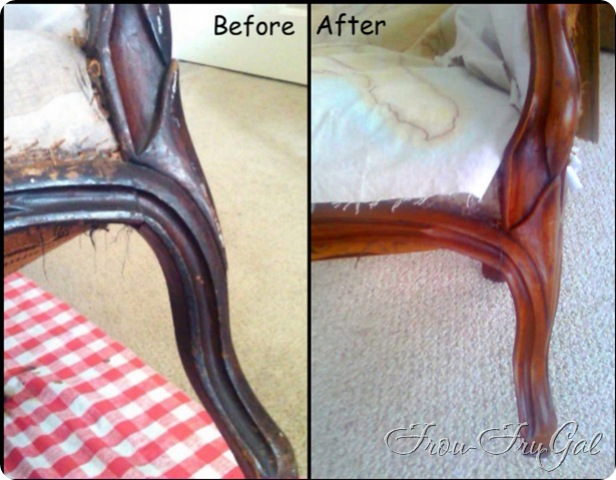
Here are some before shots so you can see just how dark the finish was on the settee.
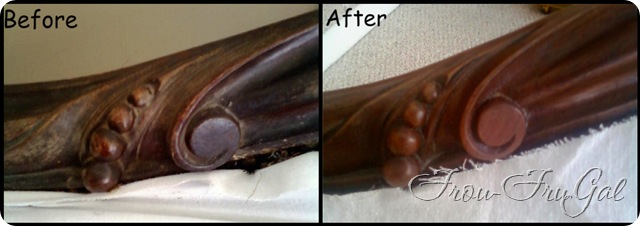
Remember how I told you this little bumper thing was hard to get off? I didn’t lie. You can see the sad remains of our battle.
It was me or the bumper. I didn’t care how much sanding I’d have to do to fix these scrapes and gouges. The bumper was going down!
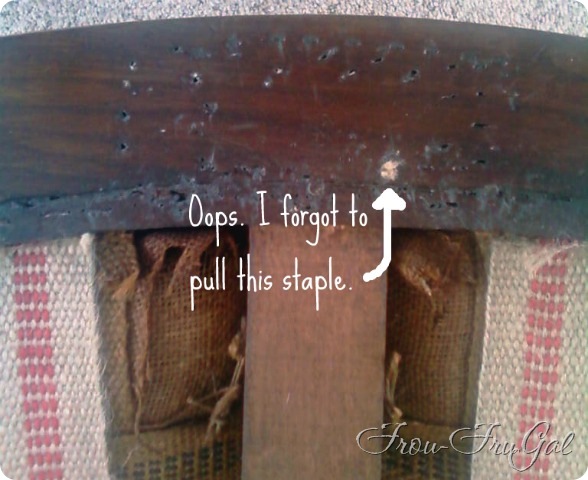
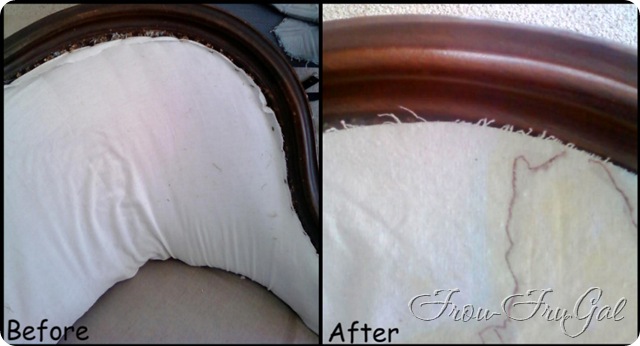
I fully intended to sand this area after I used the refinisher, but check out the after shot. You can see that many of these scratches were surface-scratches in the varnish. Most of them disappeared during the refinishing process. Those that didn’t are getting covered up by the new bumper.
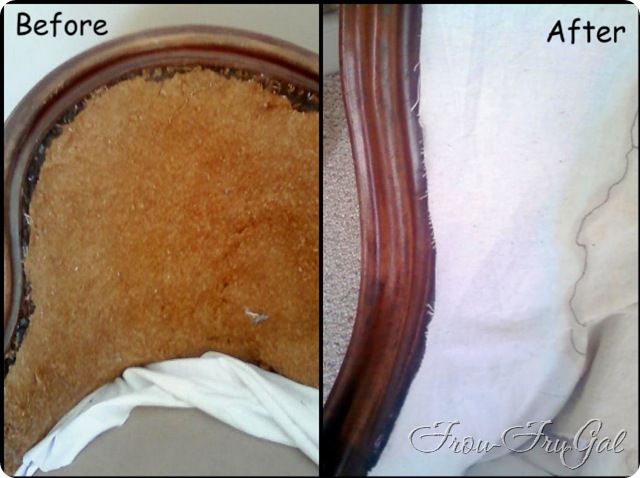
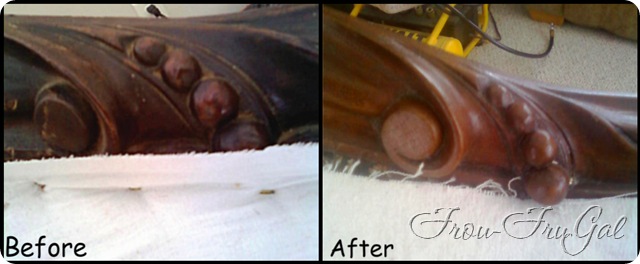
Notice the wood grain? You really couldn’t see it before. Here are some more before and after shots.
Step-ball-change, Step-ball-change
Pour the stripper in to a glass bowl. Using a piece of steel wool (super fine wool breaks down too fast. Use fine wool and I broke each piece into 3 smaller pieces), dip the wool into the stripper and apply in circular motions to the wood. I didn’t have a lot of exposed wood for circles, but where there was enough area, the circle motion works best to break through the old varnish.
Right hand on left shoulder, Left hand on right shoulder, Right hand on right hip, Left hand on left hip and circle hips. Wait. Isn’t that the Macarena?
I applied some stripper onto a section of wood and let it sit for a few minutes. Then come back and rework the area. If you don’t have a lot of room for circle motions, be sure to follow the grain of the wood.
In the above Before photo, I’d sanded some of the wood prior to using the stripper. I didn’t have to go over this section as many times. You can see the color difference between the sanded and non-sanded areas. When I used the stripper, it’s almost like it redistributes the stain color that you’re breaking down. You can see in the After picture that the color is uniform.
Bend aaaaaaaand Snap. Bend aaaaaaaaaand Snap.
You may need to go over it multiple times. I had to do about 3-4 passes to really get it to the color I liked. For detail areas like this scroll work, use an old toothbrush to get into all the nooks and crannies.
I LOVE the detail work on this. It’s so pretty and smooth now.
Jump down, turn around pick a bale of cotton. I’m running out of moves.. I think I need to work on my stripper moves.
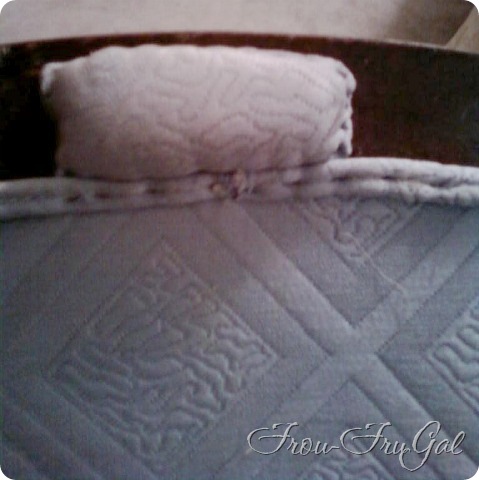
Did I just give you a glimpse of the fabric to come? I did, didn’t I? Someone made the comment on the earlier post that I teased you with the fabric and then didn’t show any pictures. As long as were stripping, I just flashed you with what’s to come.
Awkward hand jive. Grapevine. Take it to the back. Grapevine Right. How’s your heart rate?
Oh my gosh, I did it again! I flashed you again. I’m such a fabric tease. Once you have all the old finish removed, go back over everything with a clean piece of wool and a clean amount of stripper. When it’s dry, apply a protective coat to it. I use Minwax Paste Finishing Wax. Rub it on. Let it dry for 10 minutes and then go back and buff it all off.
It gives the furniture a beautiful hand-rubbed look. Yum!
Okay, Big Finish now.
Step-bump. Step-bump-bump. Pull Mask off and toss.
Turn around. Look over your shoulder. Pull Eye protection off and toss.
Turn back around and Shimmy. And Shimmy. And Shimmy like you mean it, baby!
Pull Gloves off. Circle above head and toss (in the trash, of course, except don’t. Clean them up with Mineral spirits and save).
Jazz Hands above head and take a bow.
Phew! Wasn’t that fun?
Cost Breakdown:
-
Settee – $20
-
DeUpholstering Supplies – $49.33
-
StripFast – $5.95/quart
-
Steel Wool – $3.47
-
Chemical Gloves – $5.97
-
Eye Protection/Face Mask – stock on hand
Total Project Cost (To Date) – $84.72
Suesan
If you missed the other posts in the series, here they are:
-
Settee – Restoring the Wood Finish

