Settee – DeUpholstering & Reinforcing
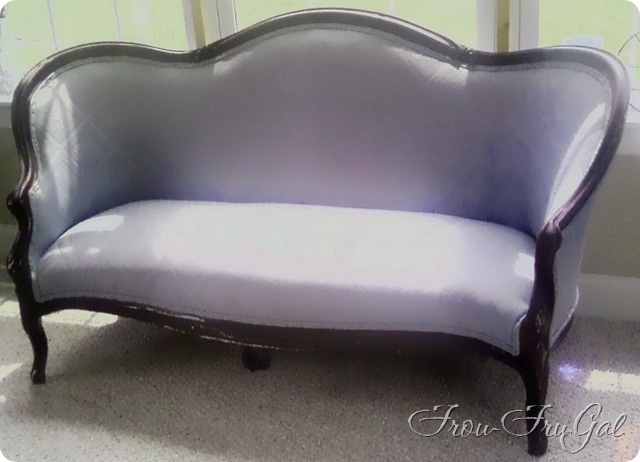
Last summer I went to my neighbor’s garage sale and picked up a cute little settee for $20.
She told me her mom gave it to her and it was an antique but she didn’t have a place for it. Having been in her house, I could see that this little love seat was to curvy for her modern tastes. When we went back over on day 2 to look at some other things I had my eye on, her mom was at the sale and she told our mom we’d bought the settee. I guess Mom was. NOT. happy. that her daughter sold it to us for only $20. Hubs heard Mom rip my poor, sweet neighbor a new one over that little boo boo.
I put the settee in the house knowing that this would be a winter project for me. I’ve been working on her off and on for a few months now. I read on a post by Miss Mustard Seed that she can recover a chair in this same style in about 5 hours, tops. I’m thinking that woman must have reupholstering super powers because I’m pretty sure it took me that long to pull out the 3 bajillion staples in this puppy. It didn’t help that I’ve been suffering from the plague during this project, but between reoccurring bouts of sickness, here’s what I’ve accomplished.
Removing the Upholstery
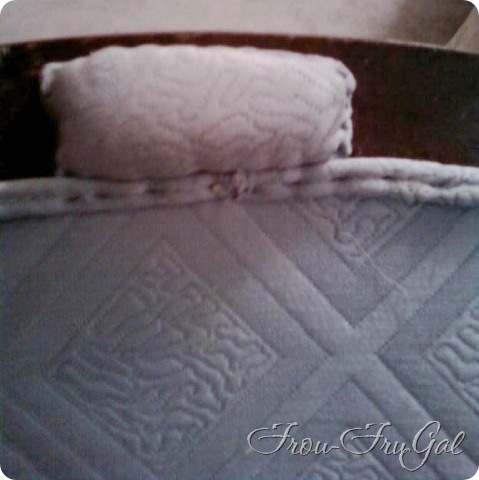
Start by removing the welting or gimp off the settee. You can see the indentations in the welting from the staples they used to attach the welting. I found a join in the welting and started there and just pulled it off.
You can sort of see the long staples in the welting here. Be sure to wear leather gloves when doing this step. Those long staples scratch and you can grip the stapled welting to pull it off without injuring yourself.
This little pillowed bumper in the center back of the settee was a bear to get off. They used a combination of staples and nails. The settee has been refinished at least once. The color and style of this fabric tells me it was probably done in the early 80’s when powder blue ruled the decorating roost. What I don’t get is why, when they redid this bumper thing, they didn’t make it the same size as the original one. There were nail marks around the bumper from the original bumper. Weird.
How to Remove Upholstery Staples
I thought I took pictures of the fabric after the welting removal and before taking it off the settee. False. In my haste, I skipped that step. But here are the tools I used for that process.
At one point, I was going to do a video for you to see what happens, but let me do this instead.
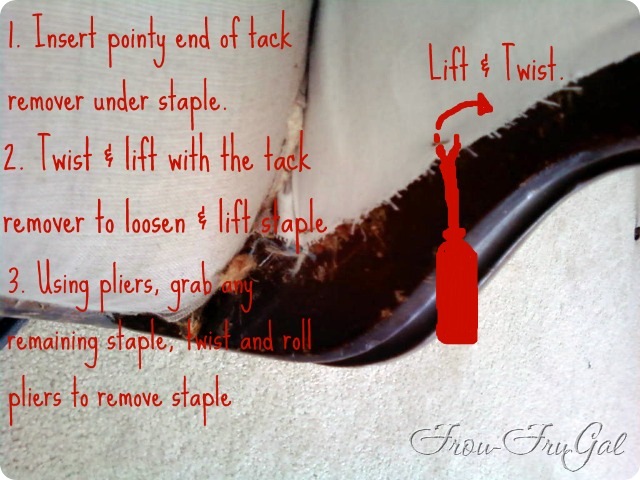
It’s all in the twisting. You can strong arm them out of there, but your hands will tire very quickly. You can also push down/lift up on the tack remover tool to remove the staples. I was more likely to damage the wood when I did it that way. I didn’t want to try to hold a piece of cardboard between the tool and the wood to protect it for every single staple. Remember, there were a BAJILLION of them.
I used the tack tool to lift about ten staples at a time. Then I came back with the pliers and removed them. The rolling motion will save your hands! Since my staples were rusty, many of them broke during the removal process and the pliers were good for pulling the pieces out. Again, grab the staple leg and roll the pliers to the left or right. The rolling motion will pull the staple leg out of the wood.
Salvaging the Padding
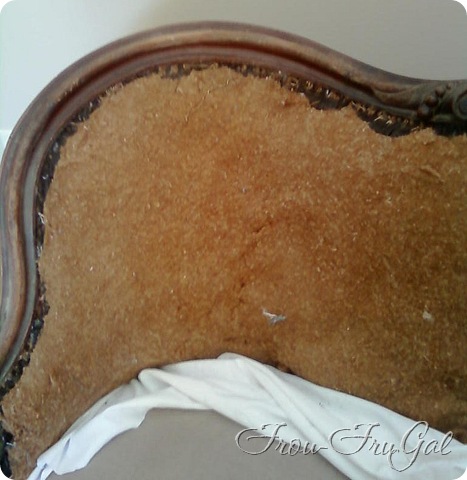
Once you remove the upholstery fabric, you have to assess the condition of your padding and springs. Since this is an antique settee, the back of the settee was filled with wood wool (excelsior). Although it is messy and I was tempted to go “ewww…” it’ was still in good shape. It didn’t smell and I knew it could be reused.
Here’s where you need to be thinking about cost. I could have pulled this out, but I would have needed a lot of foam to replace it. Behind the excelsior, is some black fabric. The fabric is covering another layer of padding that is sewn to the burlap webbing you see below. Padding and foam doesn’t run cheap so you have to assess how much you want to invest if you plan to replace all of that.
If you can reuse what’s inside, do it. It’s much cheaper to add to what’s already there than to replace everything. Of course, if it smells or there’s a chance of mold or moisture, you definitely want to replace it.
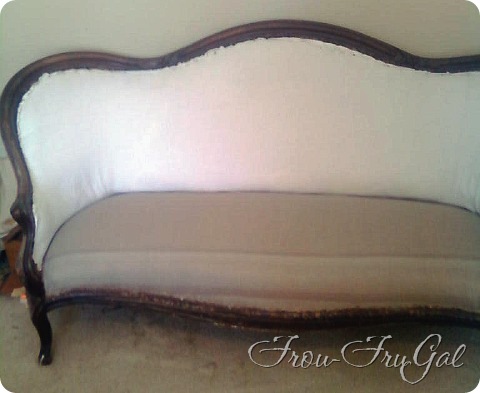
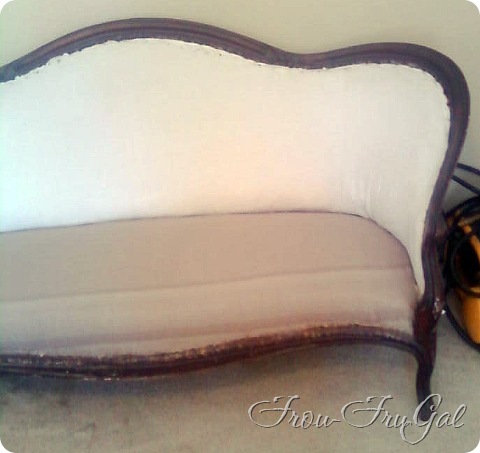
Since I planned on refinishing the wood, I didn’t want to have the excelsior exposed while I worked, so I cut an old sheet to fit and covered it up.
Use the old fabric as a pattern. Be sure to cut any notches at the bottom to go around posts. Start by tucking the fabric in between the seat and the back. Stretch it around to fit and staple it into place. I have a pneumatic gun which I highly recommend. Electric staplers don’t have the oomph to get into the hard wood like you need.
I didn’t actually own an 18-inch stapler for my air compressor. When I priced them out at Lowe’s, they were around $100 bucks, which was more than I wanted to pay.
I was keeping my eye open on Craigslist for one when I read a post by Allison at House of Hepworth’s on a clock she’d purchased from Harbor Freight. I’d completely forgotten about Harbor Freight, which has very low prices on tools. I ran up to our local store and sure enough, they had the gun I needed for $25. Sold! Thanks, Allison.
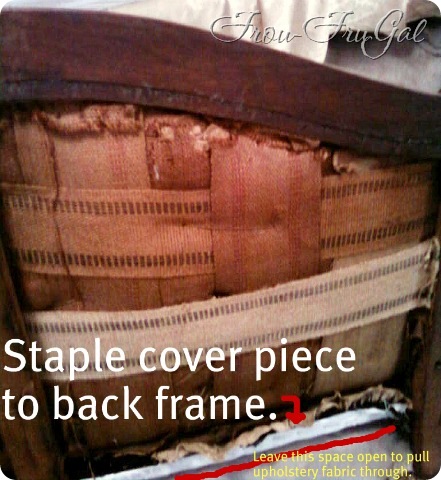
Once you get the fabric stapled into place on the front, pull it tightly from the back and staple it onto the back frame, not the seat frame. Look at this diagram to see where I stapled it.
This is important because if you staple it to the bottom frame section, you won’t be able to pull your upholstery fabric through the back. It’d be like short-sheeting the bed and then you’d have more staples to pull.
Never a fun job!
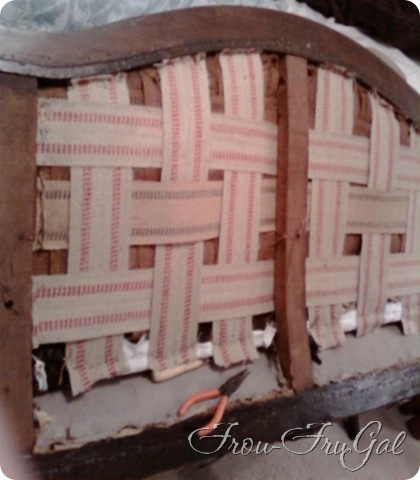
Take a look at the webbing. You can see that some of it is sketchy.
I bought some burlap webbing and stapled it into place to reinforce the original webbing.
The webbing with the blue stripe must have been added to reinforce the back during the last reupholstering job. After I got all the red webbing into place, the blue piece was too loose. I pulled the staples out of one side, pulled it tight again and restapled it.
Voilà!
The brown fabric on the seat was already in place. There was a layer of cotton batting over it and then the upholstery fabric. In looking at it from the bottom, I can see the springs through the burlap webbing. The springs are intact and everything is pretty tight and firm. I will reinforce the webbing on the bottom like I did on the back, though. I think that will push the springs up higher and give it a little more bounce.
Supplement the padding
Antique furniture is not generally known for an overstuffed, cushy feel that we are used to today. Which isn’t to say it can’t be made to have some more coosh. Since foam padding is expensive, I bought a foam mattress cover (twin) from the Dollar store to layer over the seat and back. I will cover that with some bonded poly batting and it’ll be ready for the final fabric.
To Do List:
-
Restore Wood
-
Reinforce Seat Webbing
-
Finish Fabric Design
-
Upholster Settee
-
Apply Gimp
I’ll be using a drop cloth for my fabric, but I’m painting a design onto the fabric. I got inspired by the new Pottery Barn catalog. It’s taken me awhile to get the design right, but it’s coming together nicely. Stay tuned to see how I restored the wood finish.
| Cost Breakdown: |
|
Settee |
$20.00 |
|
Tack Remover |
$2.90 |
|
Webbing |
$4.74 |
|
Pneumatic Gun |
$24.99 |
|
Staples |
$16.70 |
|
Sheet |
On hand |
| Total Project Cost (to date) |
$69.33 |
Suesan
If you missed the other posts in the series, here they are:
-
Settee – De-Upholstering and Reinforcing

