Brace & Bit Coat Rack
Back in the spring, I was up at the library and I came upon these books by Sue Whitney & Ki Nassauer.

I was instantly in lOvE!Sue and Ki had a project in one of these books that I need to rip-off replicate. A few years back, Hubs made this nice coat rack for me. We had one in our Troy, Ohio house (but left if for the new owners) and he made a new one for Idaho house, that we also used in Utah. However, real estate on the moving van back to Ohio was at a premium, and the coat rack was forgotten left in Utah for some other tenants to enjoy.
I started looking on Craigslist for some old braces. If you don’t know what a brace is, it’s an old hand-drill. I found a guy selling 5 of them and I offered $30 for them. He accepted and I was in business. I bought a piece of particle wood board (I was in a cheap mood and this was about $3).
Since I didn’t want the board to look like particle board, I did the glue crackle finish technique on it that’s burning up blogopolis right now. Here’s how I transformed it:
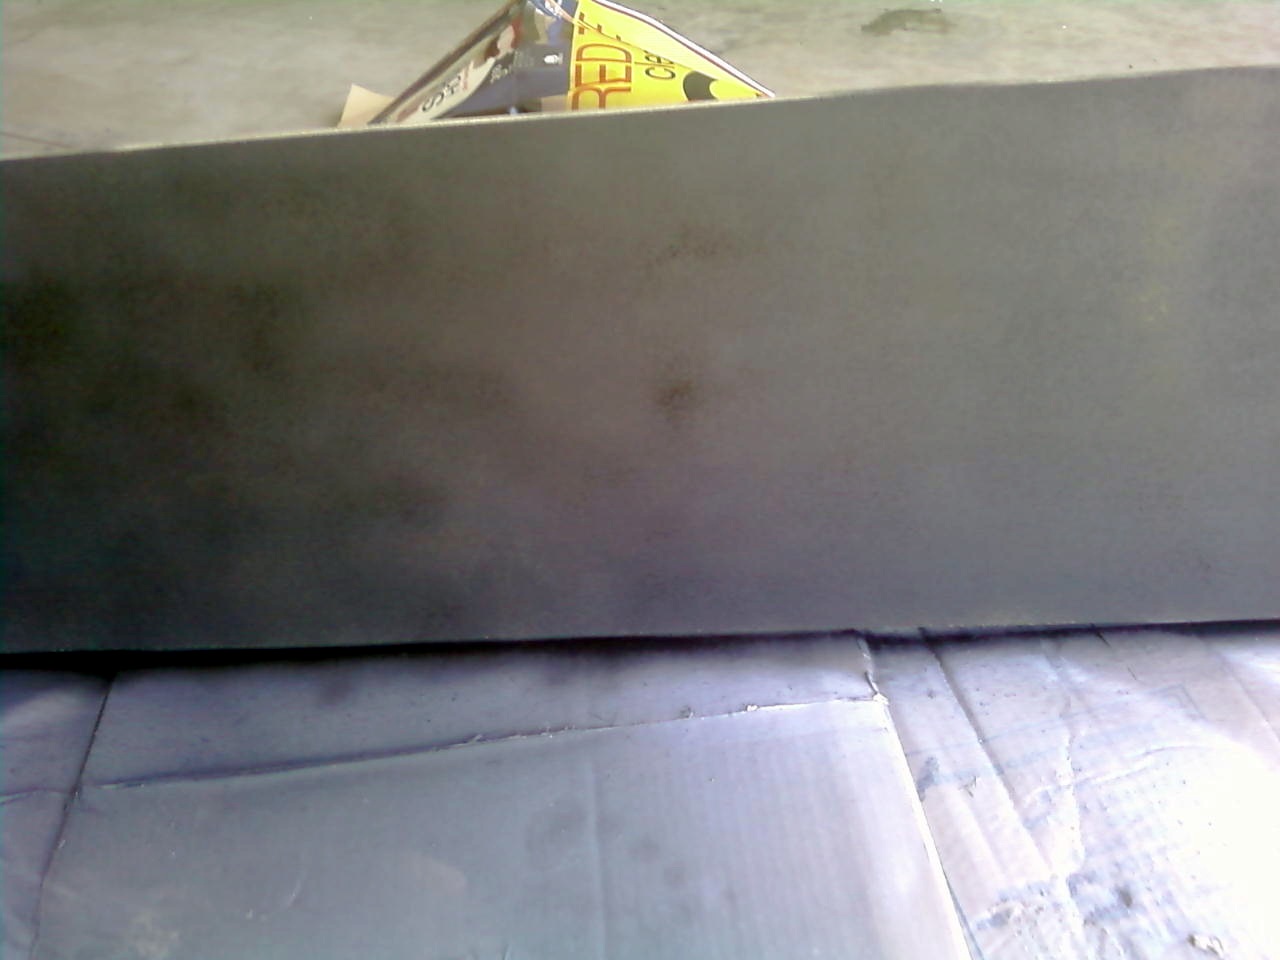
Start with a crappy cheap frugal particle board:

Spray the background color.
Once it’s dry, paint over it with some Elmer’s glue. The thicker the glue, the bigger the cracks. Be sure to paint in the same direction. Once the glue is on there for a few minutes, paint on the top color. Try to paint only one direction, and don’t go over the whole thing several times. Again, a thick coat will make bigger cracks.
Here’s what the board looks like:
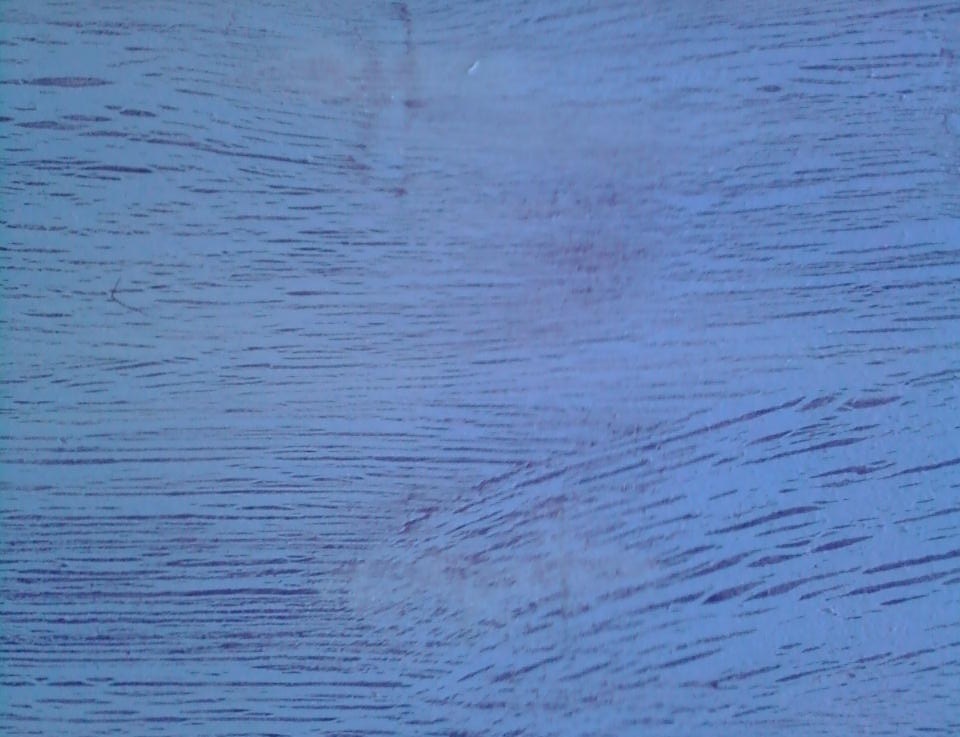
I didn’t like the stark black on the cracks, so I did a light wash of a green paint over the top. You can see in this sample how I changed the direction of the brush. Long, even strokes are best. This change is hidden behind one of the braces, so it’s all good.
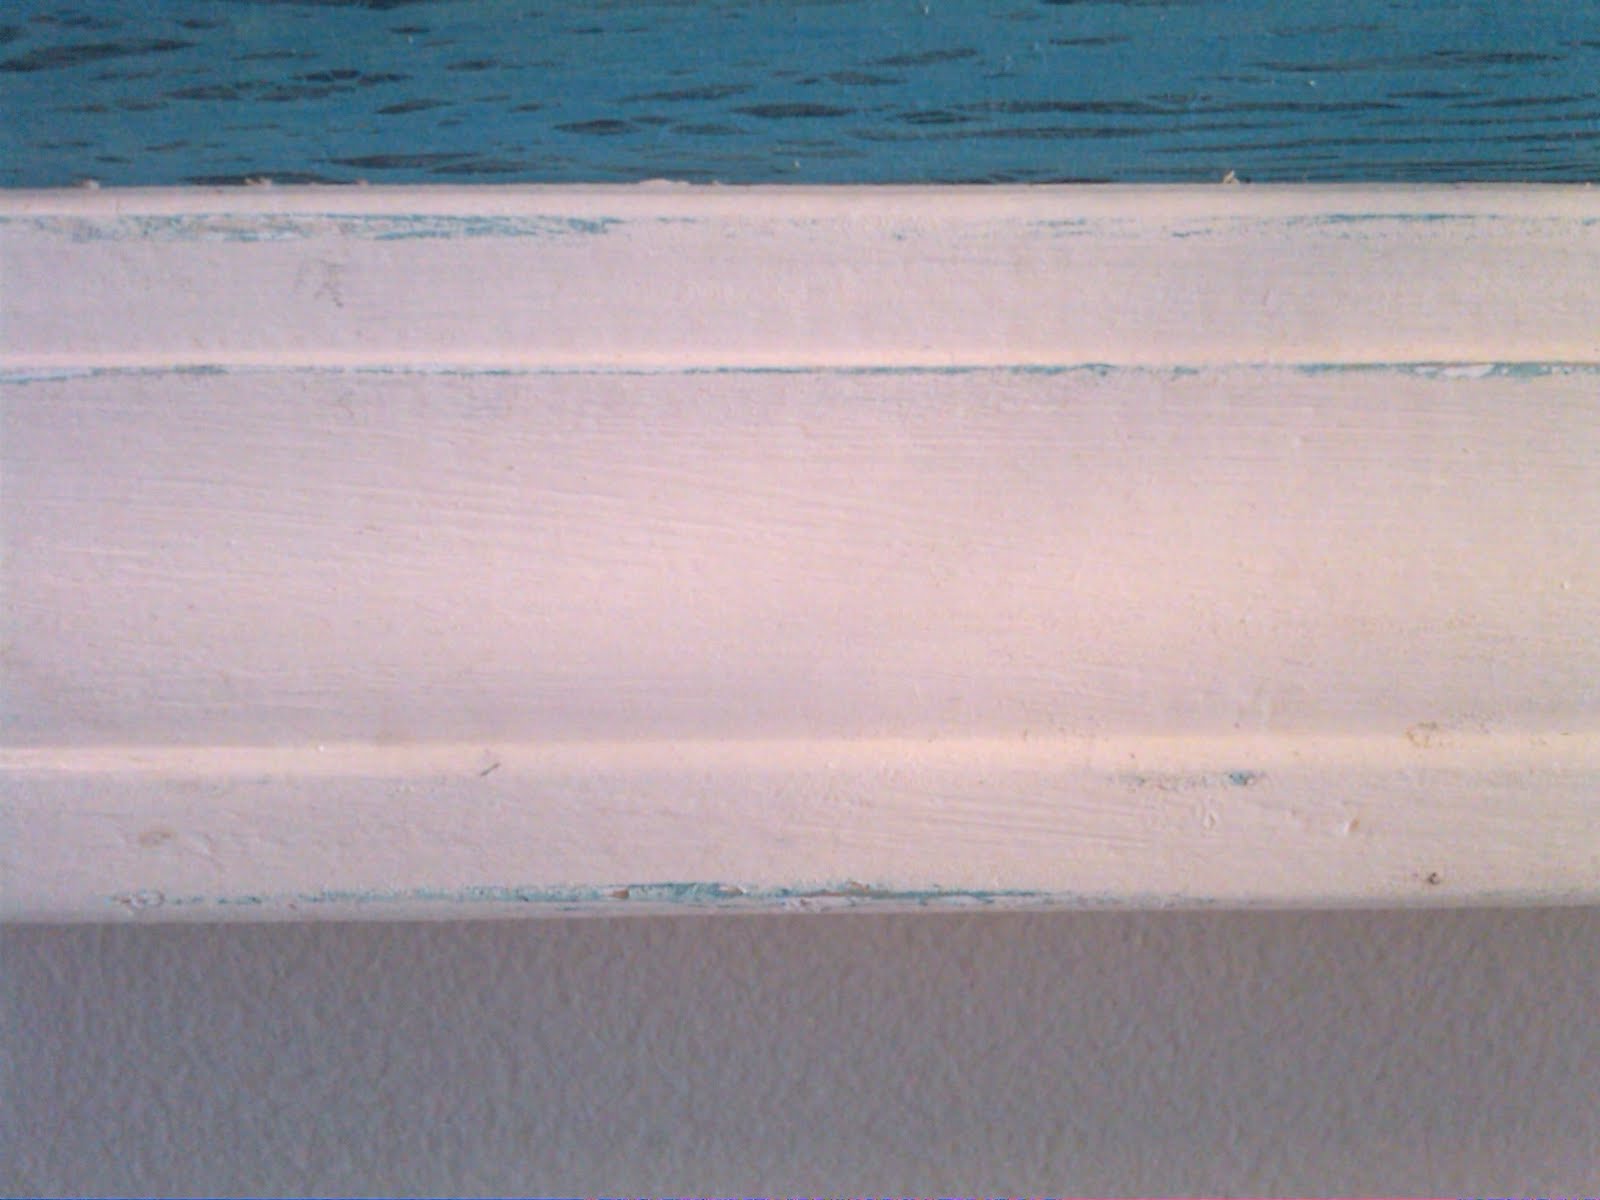
Next, I bought some casing and cut it to frame the board. I painted the casing with the green I used to tone down the black. Then I painted over it in a cream and distressed the edges. I just did a light distressing. I have all the fun tools, like a chop saw, electric palm sander and a pneumatic nail gun, so this process is pretty painless for me.


Next, I cleaned up the braces, and then did several coats of poly on them. Here are the top handles. Don’t you just love that patina?


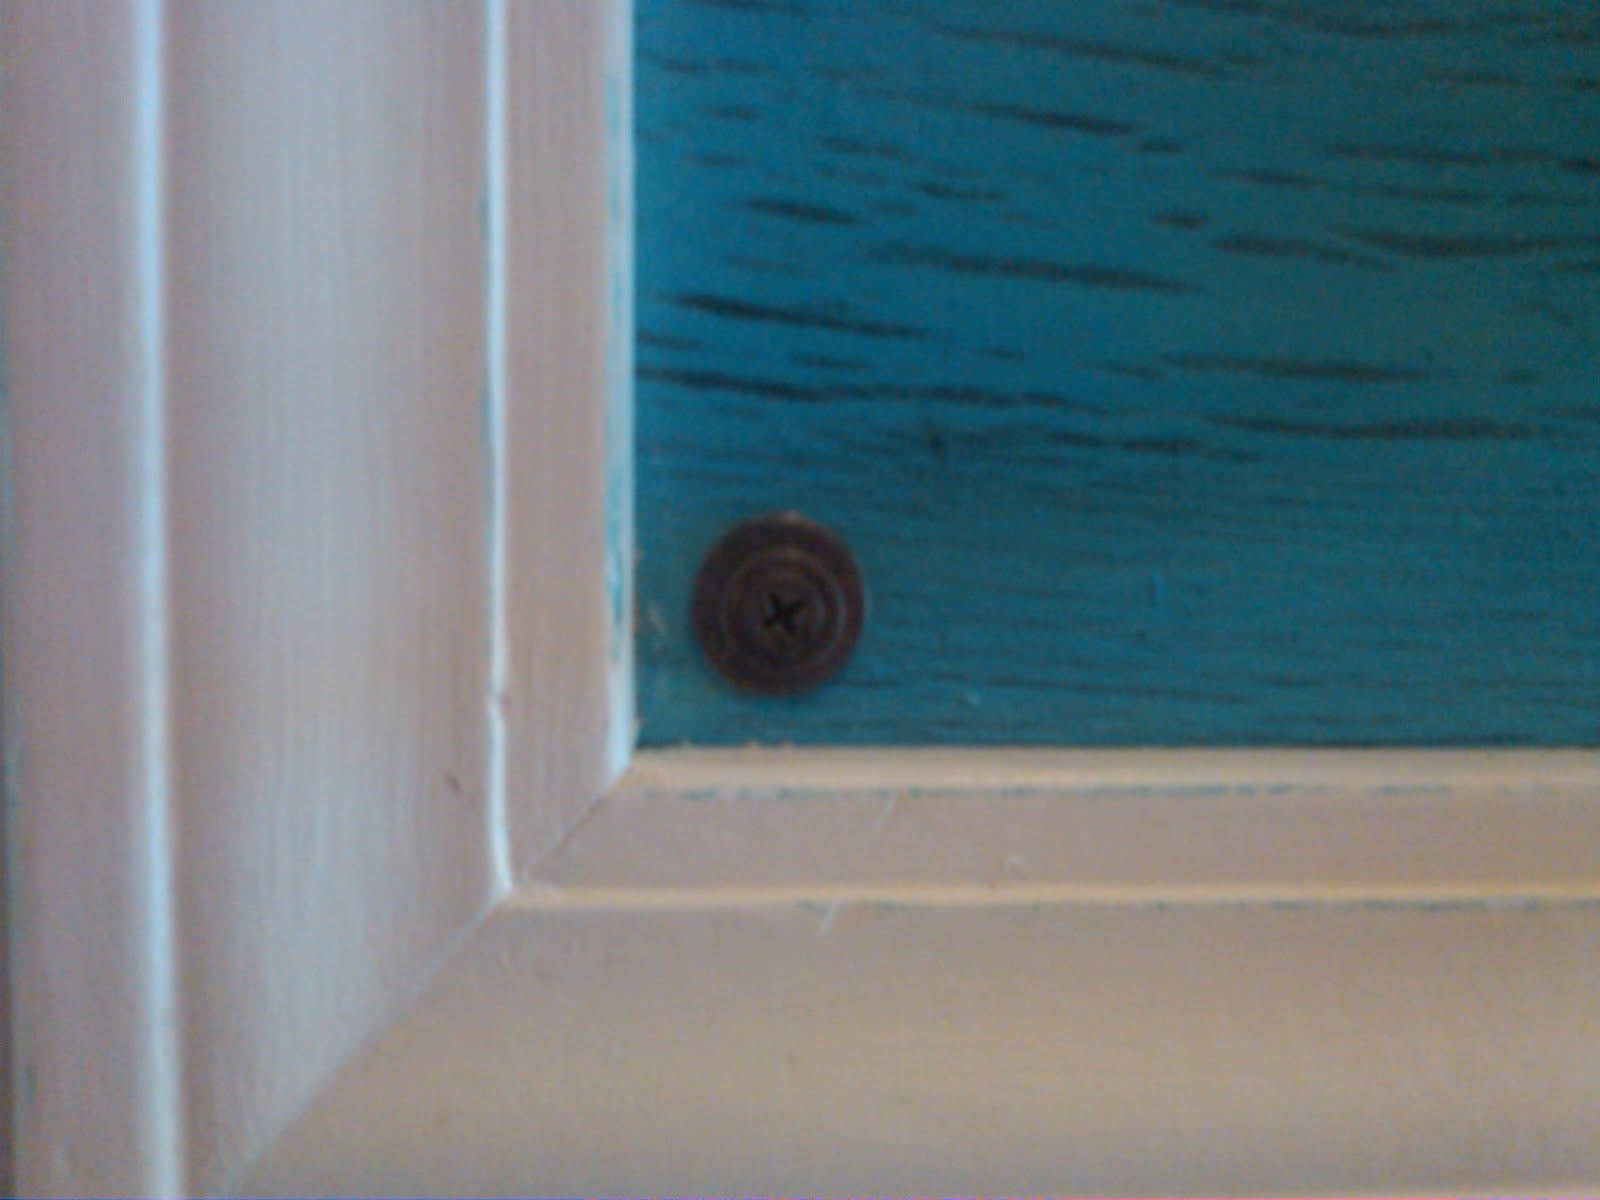
I used pipe strapping to attach the braces to the board. I painted the straps and the screws with my Hammered Metal Bronze paint. I wanted the strapping to blend in with the metal of the braces. It’s actually a pretty good match.

Hubs helped me hang it, because full-discloser here…this sucker is heavy! I also painted the screws and washers for attaching this to the wall. I used the washers to give it a stronger base against the screws.
Before I show you the finished rack, let me just explain that this entry way is long and narrow and it’s hard to get the right angle on the space. The only natural light comes from the door and it’s incredibly difficult to get any kind of decent quality pictures of this space. Also, you may recognize the Mirror Shelf, Fish Tank Stand and Glass Marble Candle Globe
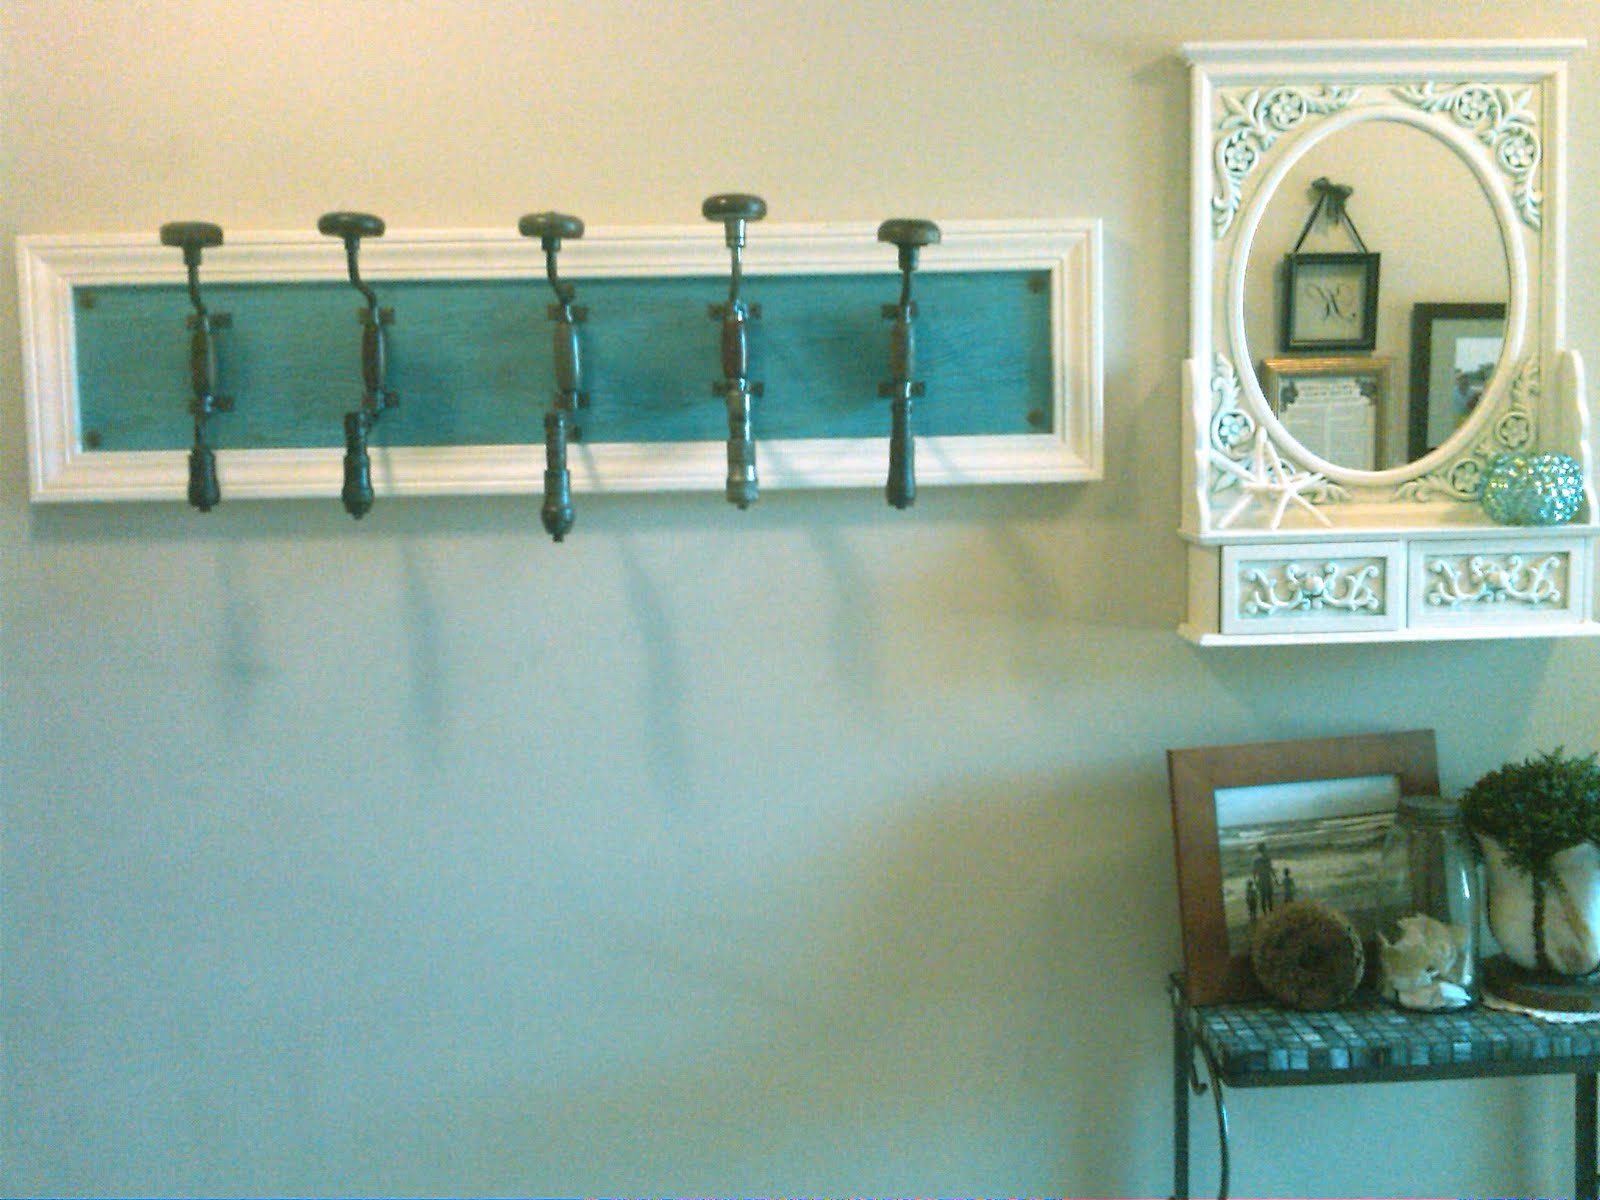
Another angle:

One last shot:
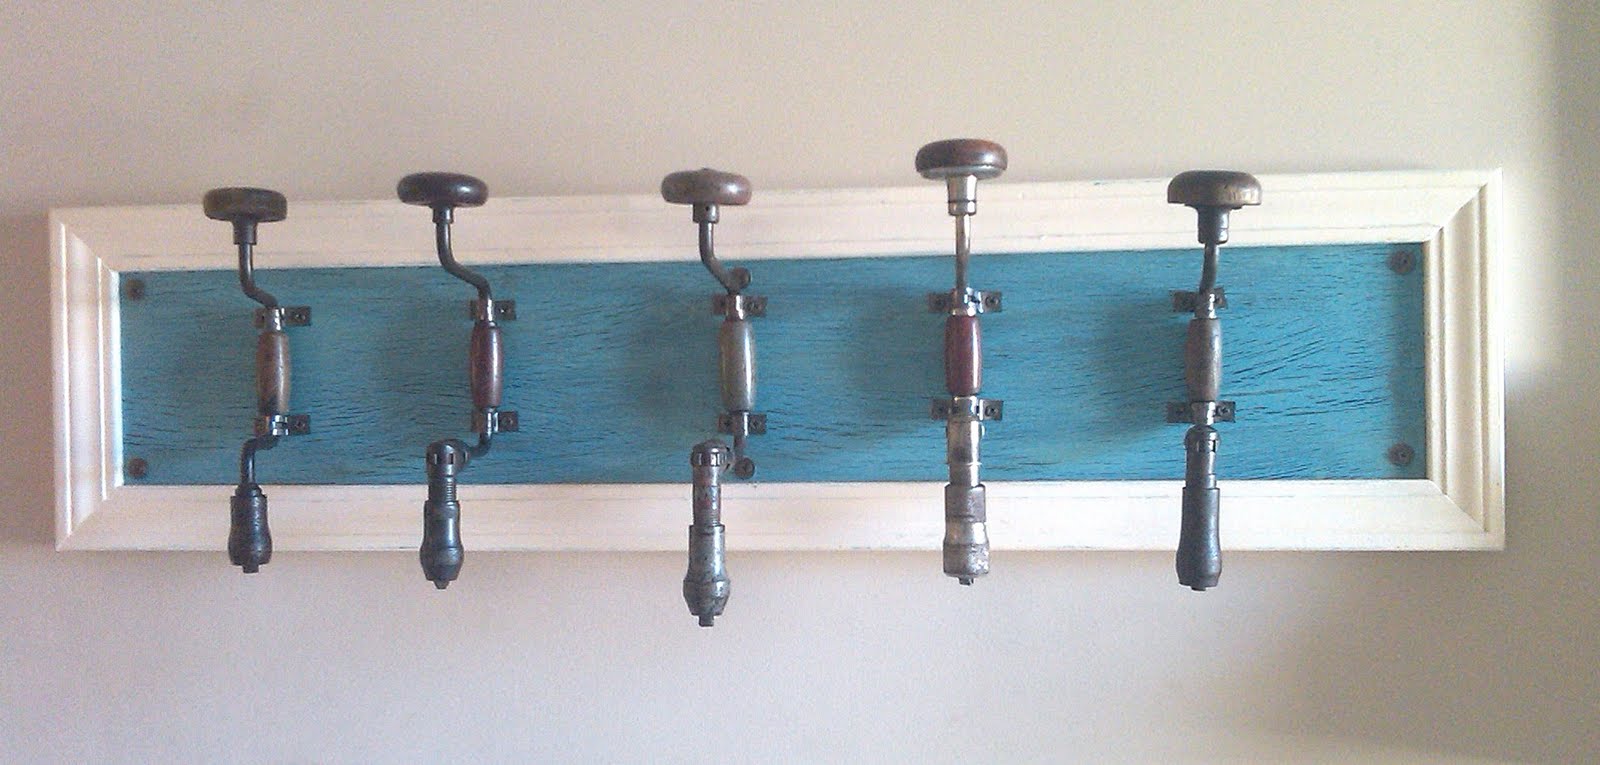
Thanks Sue and Ki for the great inspiration. This one is definitely coming with me to the next house (Sadly, there WILL be a next house. One day I may be able to stay put).
Cost Breakdown:
Braces – $30
Particle Board – $3
Casing – $14
Strapping & Screws – $4.00
Paint – $6.00
Total Cost: $57
Total Time – No Clue. I did this one in stages over 3 months

![]()
I’m linking this project to the parties on my Link’s page, plus I’m trying my first Blog Hop. Join In the Fun.
*This Party is open to any CREATIVE project you’ve made or created and would like to enter this week!
*Please link the url of the post title, not your blog homepage
*Please add my party button to your post or a link back so others can be inspired
*So everyone gets some visits PLEASE visit the 2 people before and after you and let them know you are visiting from Frou-FruGal.
*Please link the url of the post title, not your blog homepage
*Please add my party button to your post or a link back so others can be inspired
*So everyone gets some visits PLEASE visit the 2 people before and after you and let them know you are visiting from Frou-FruGal.